Yoga

5 Benefits of Backbends

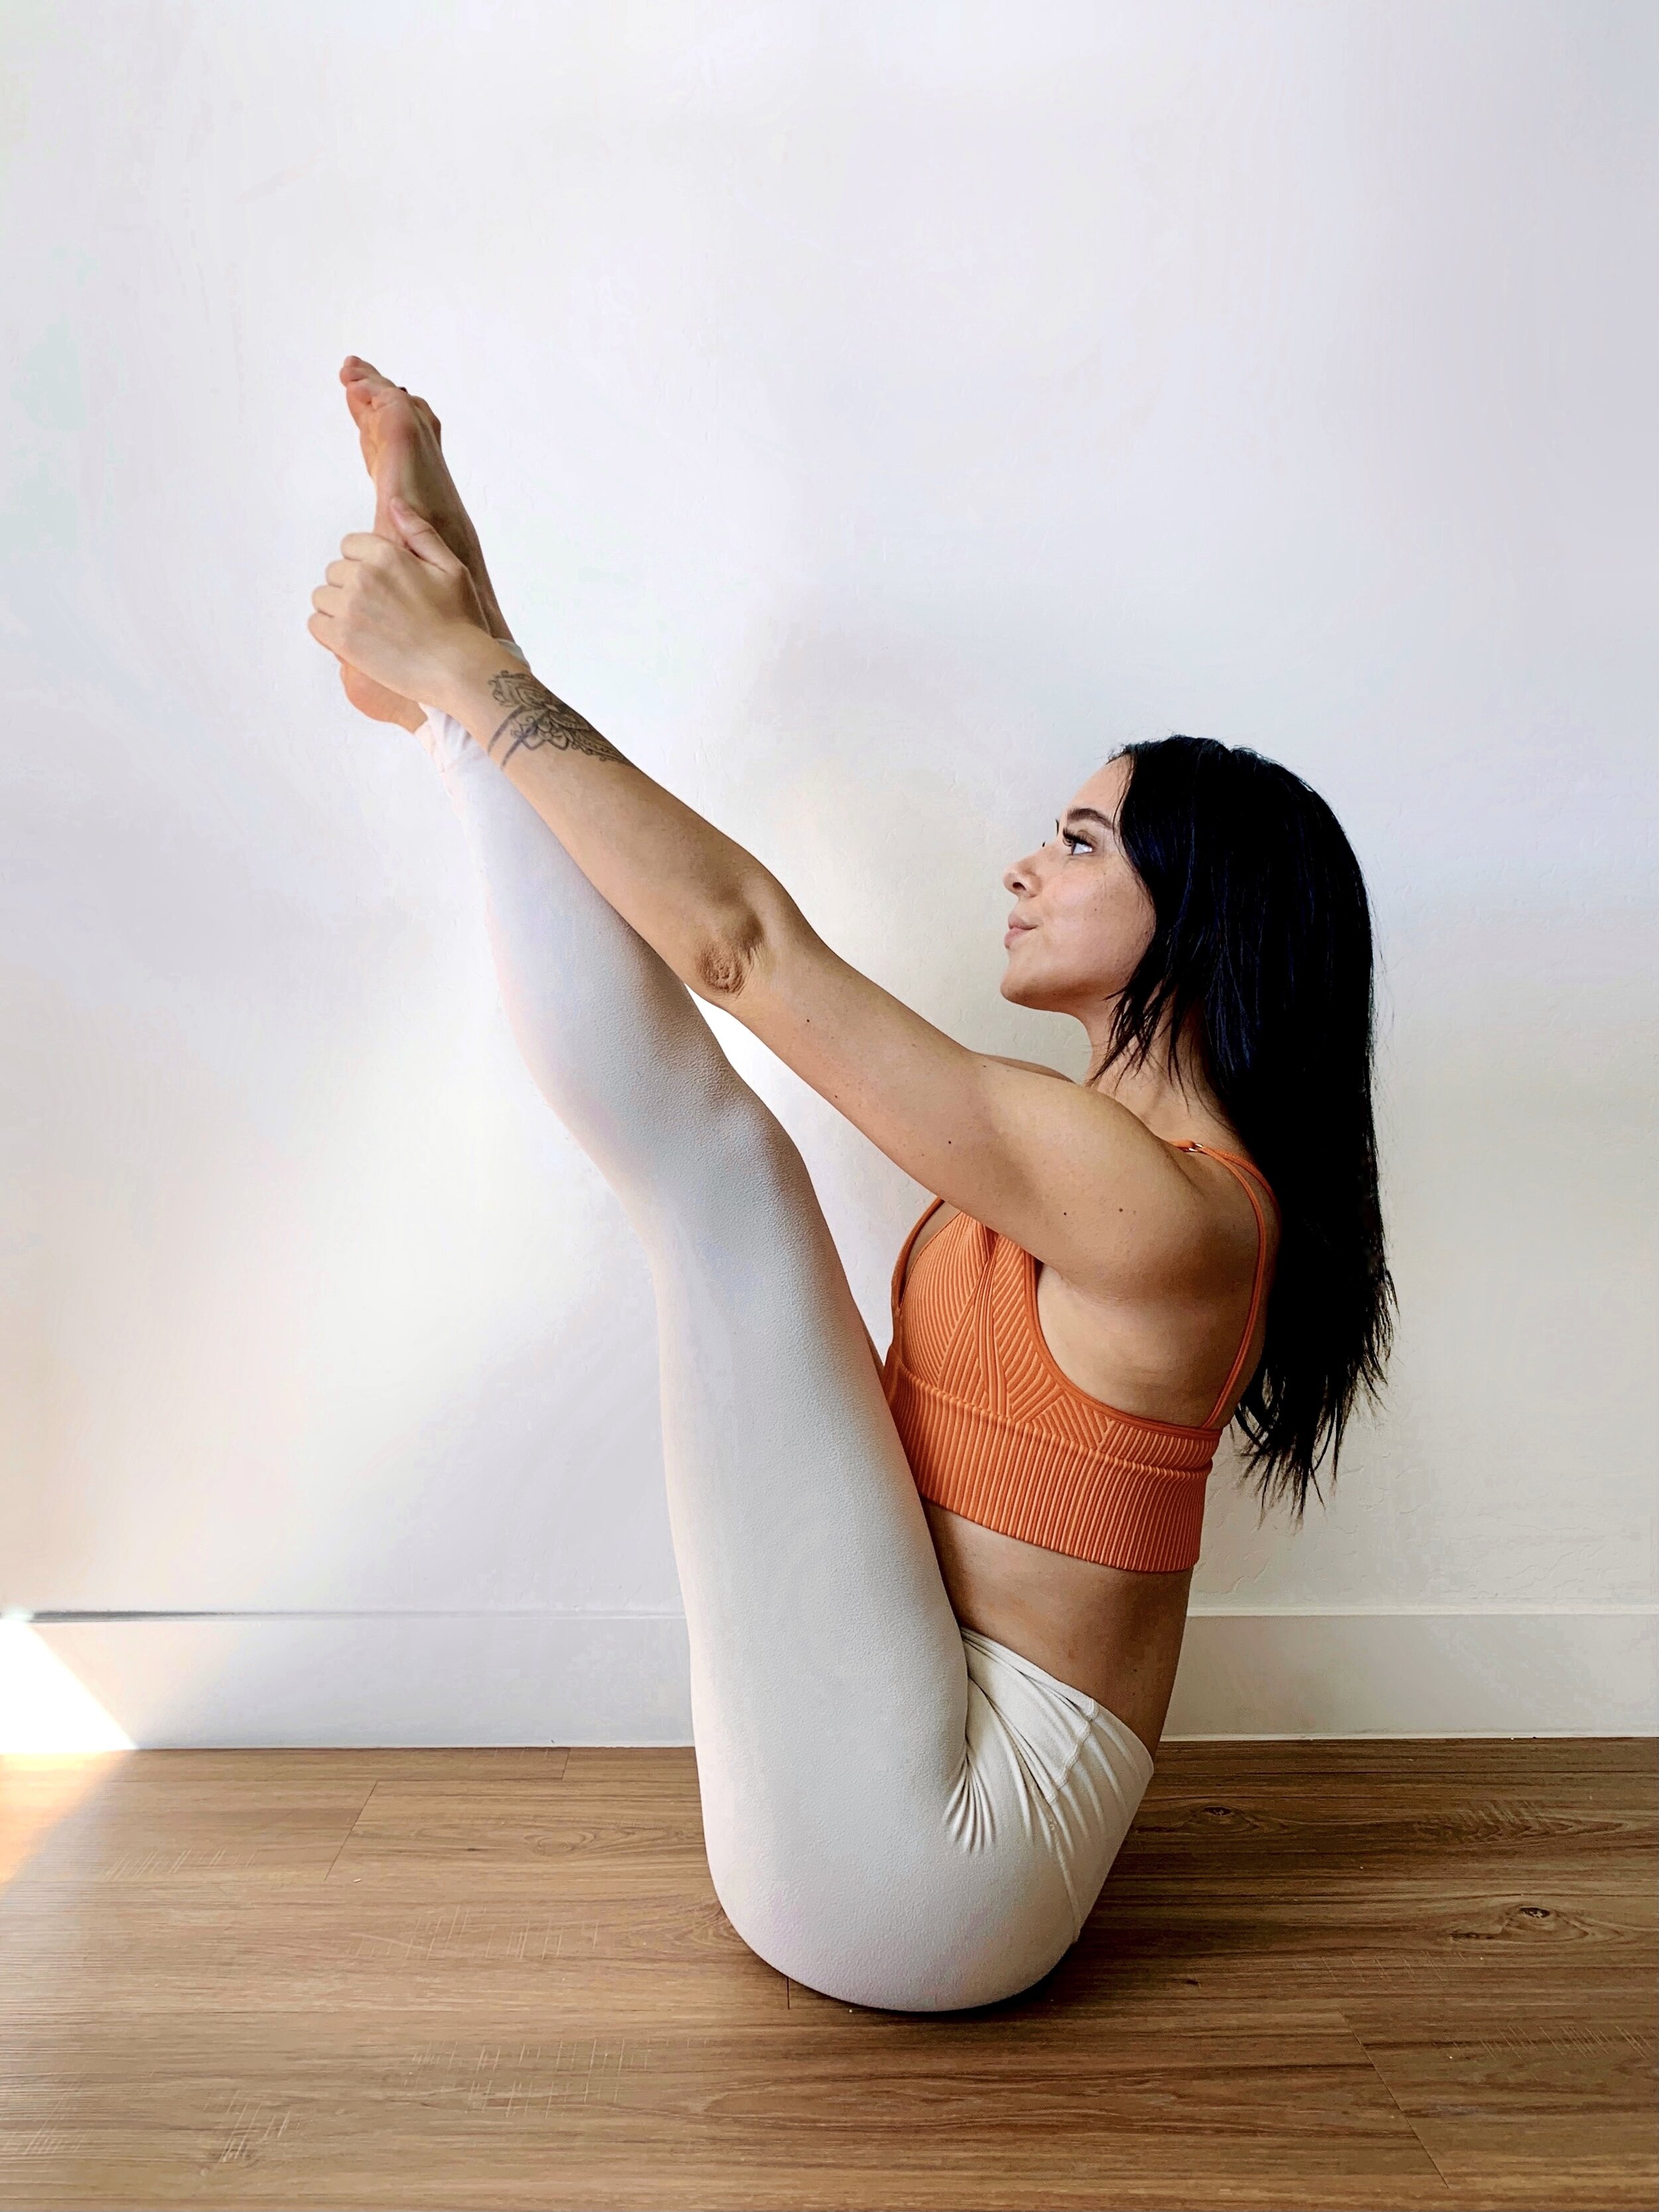
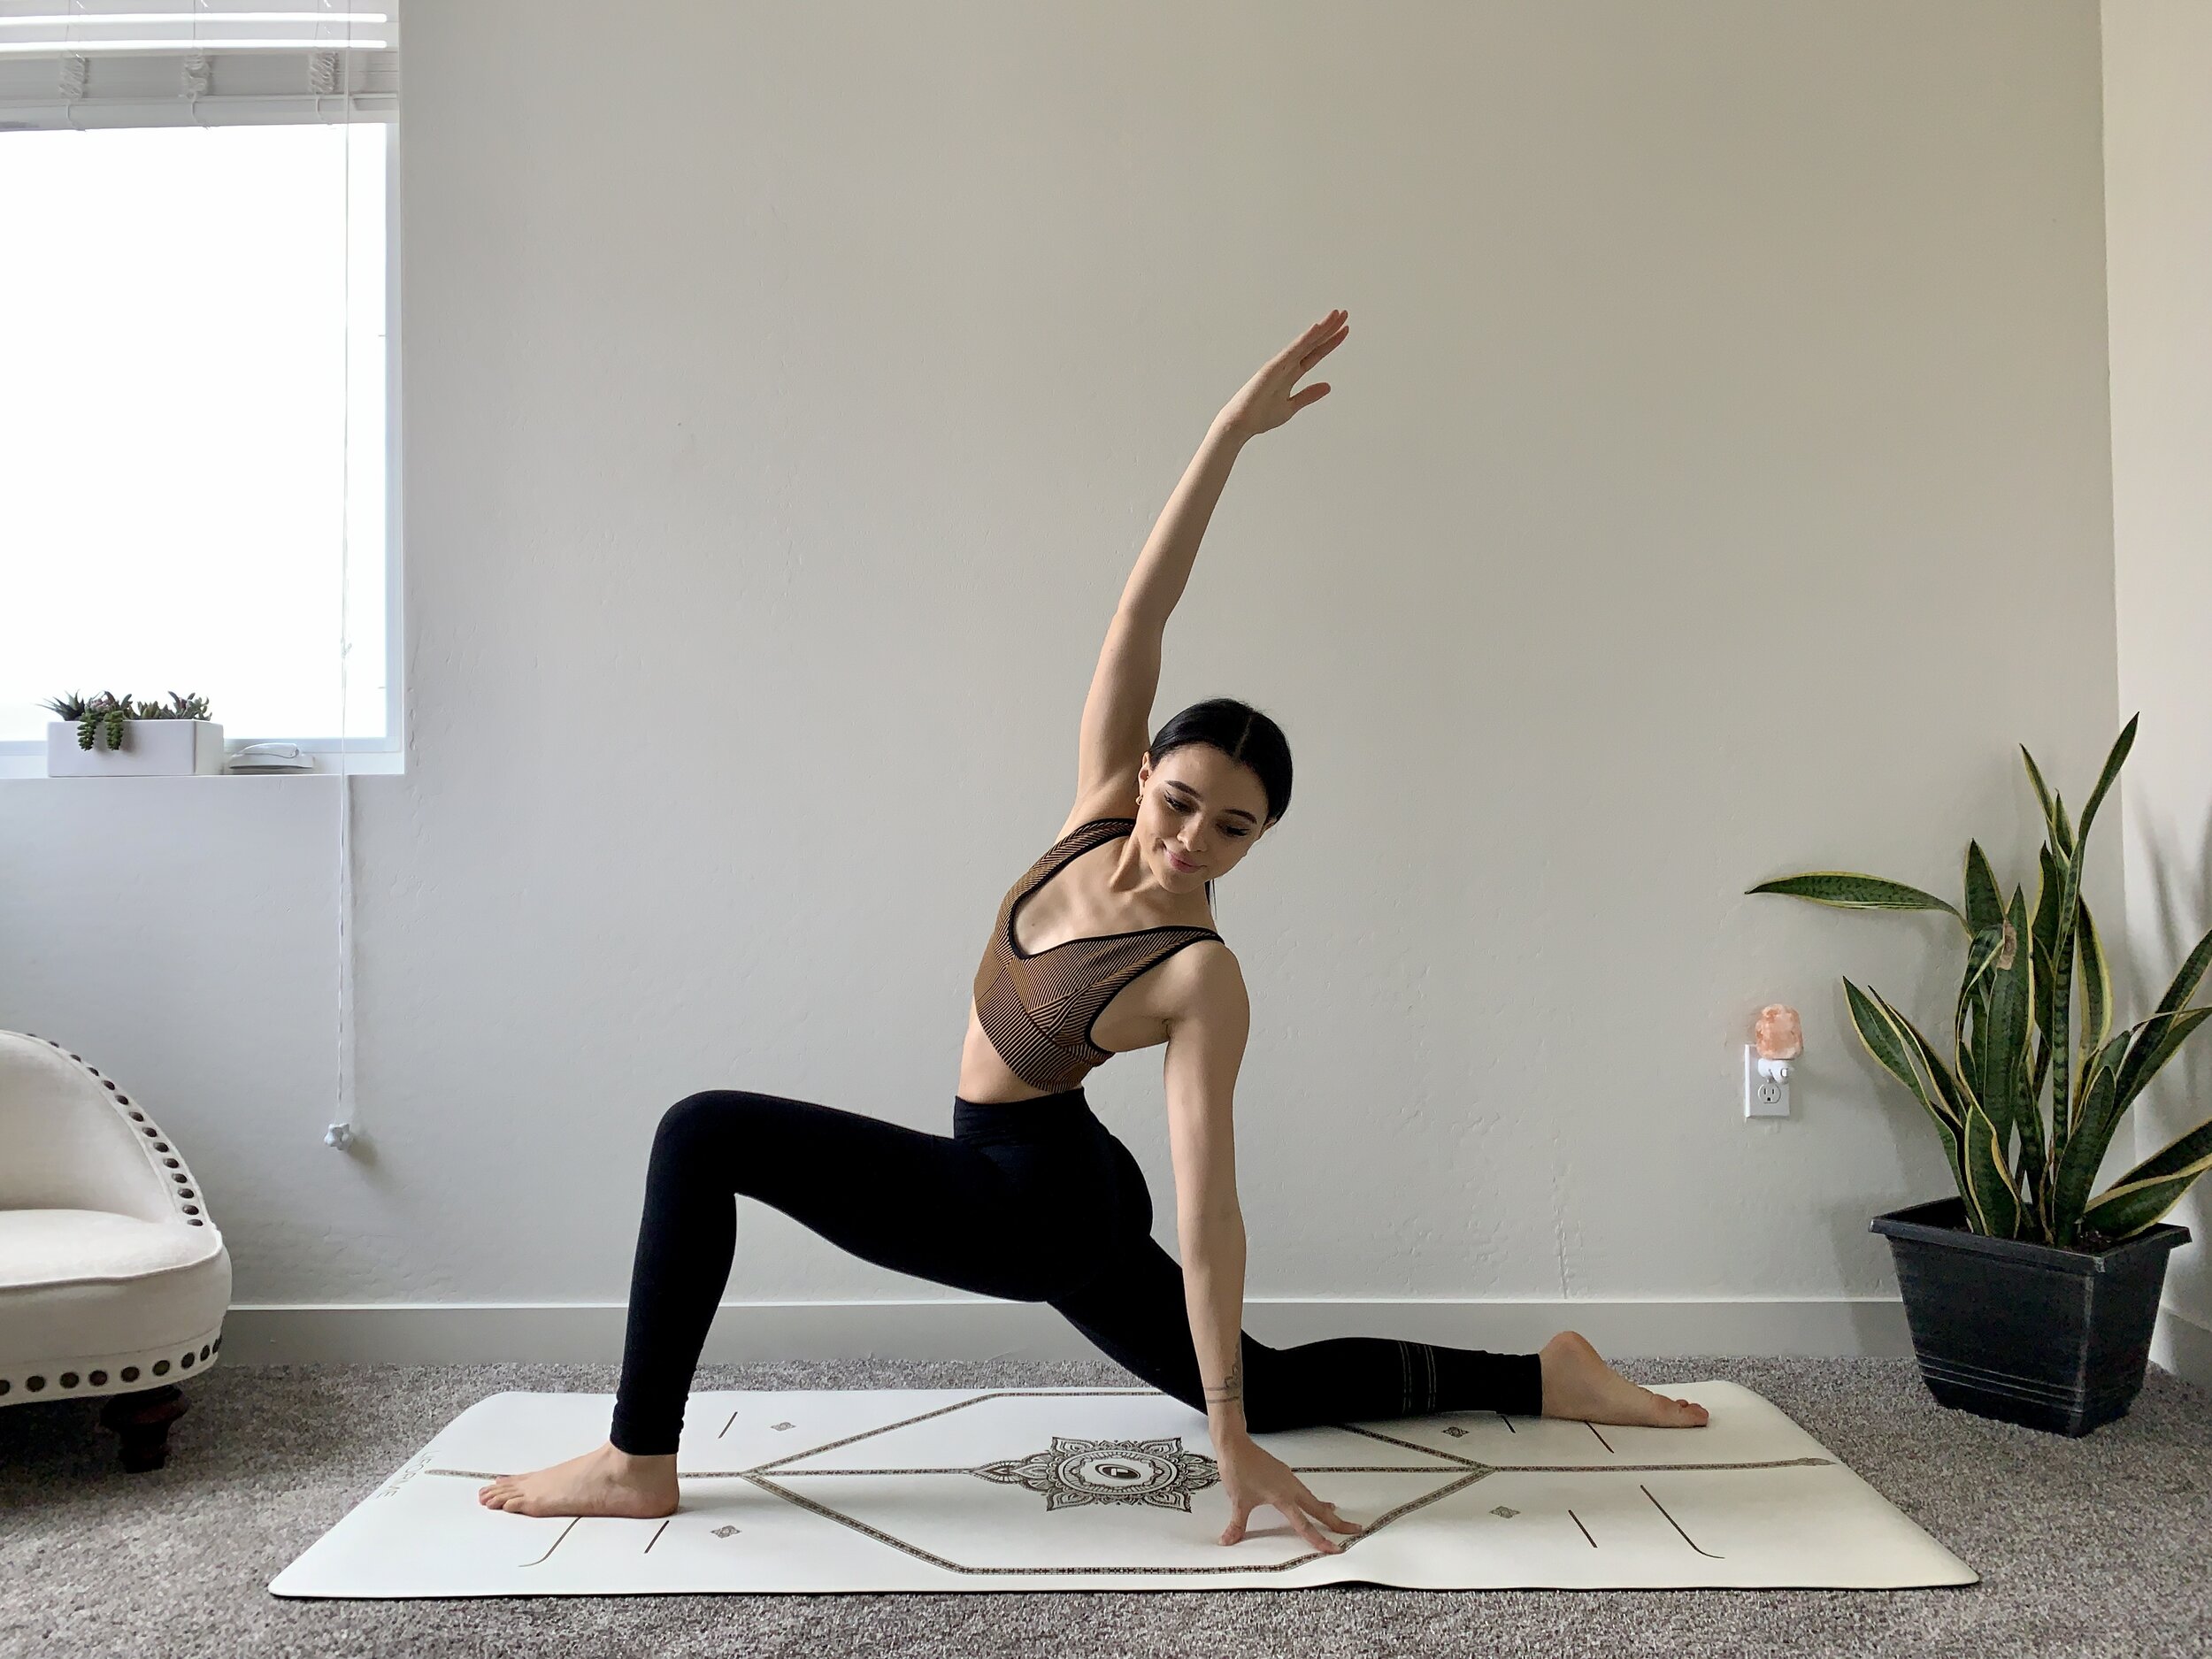
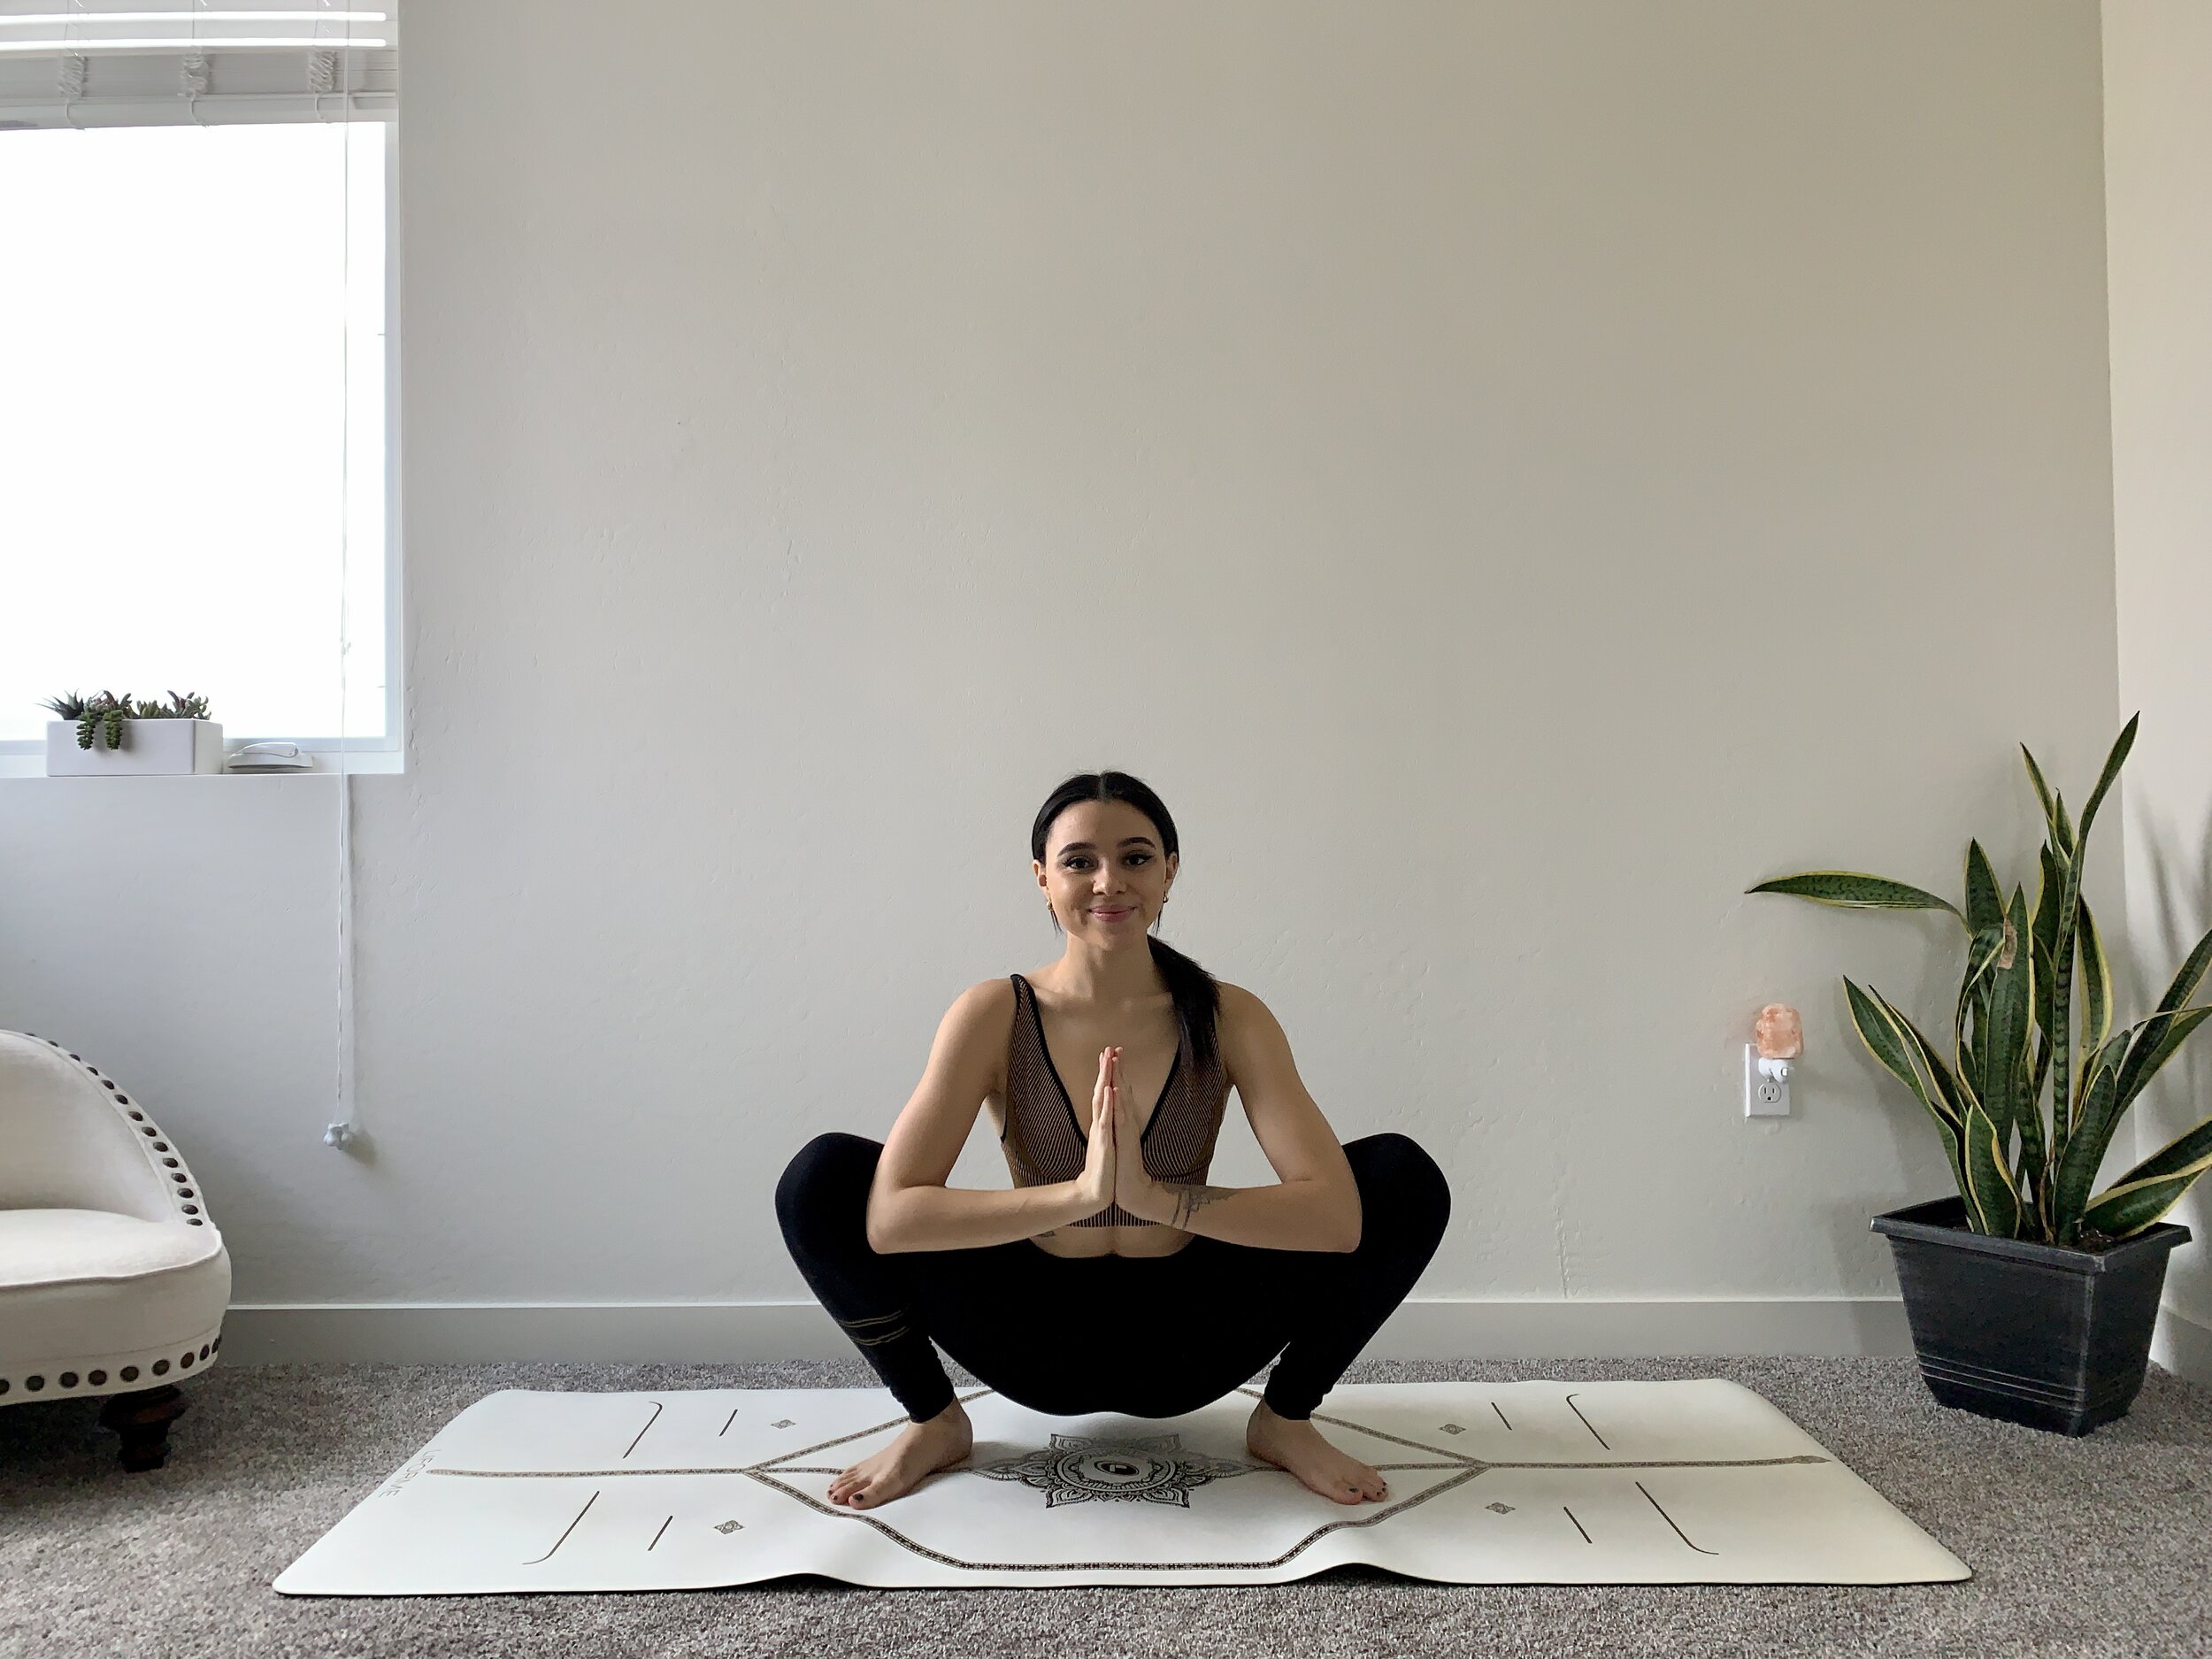
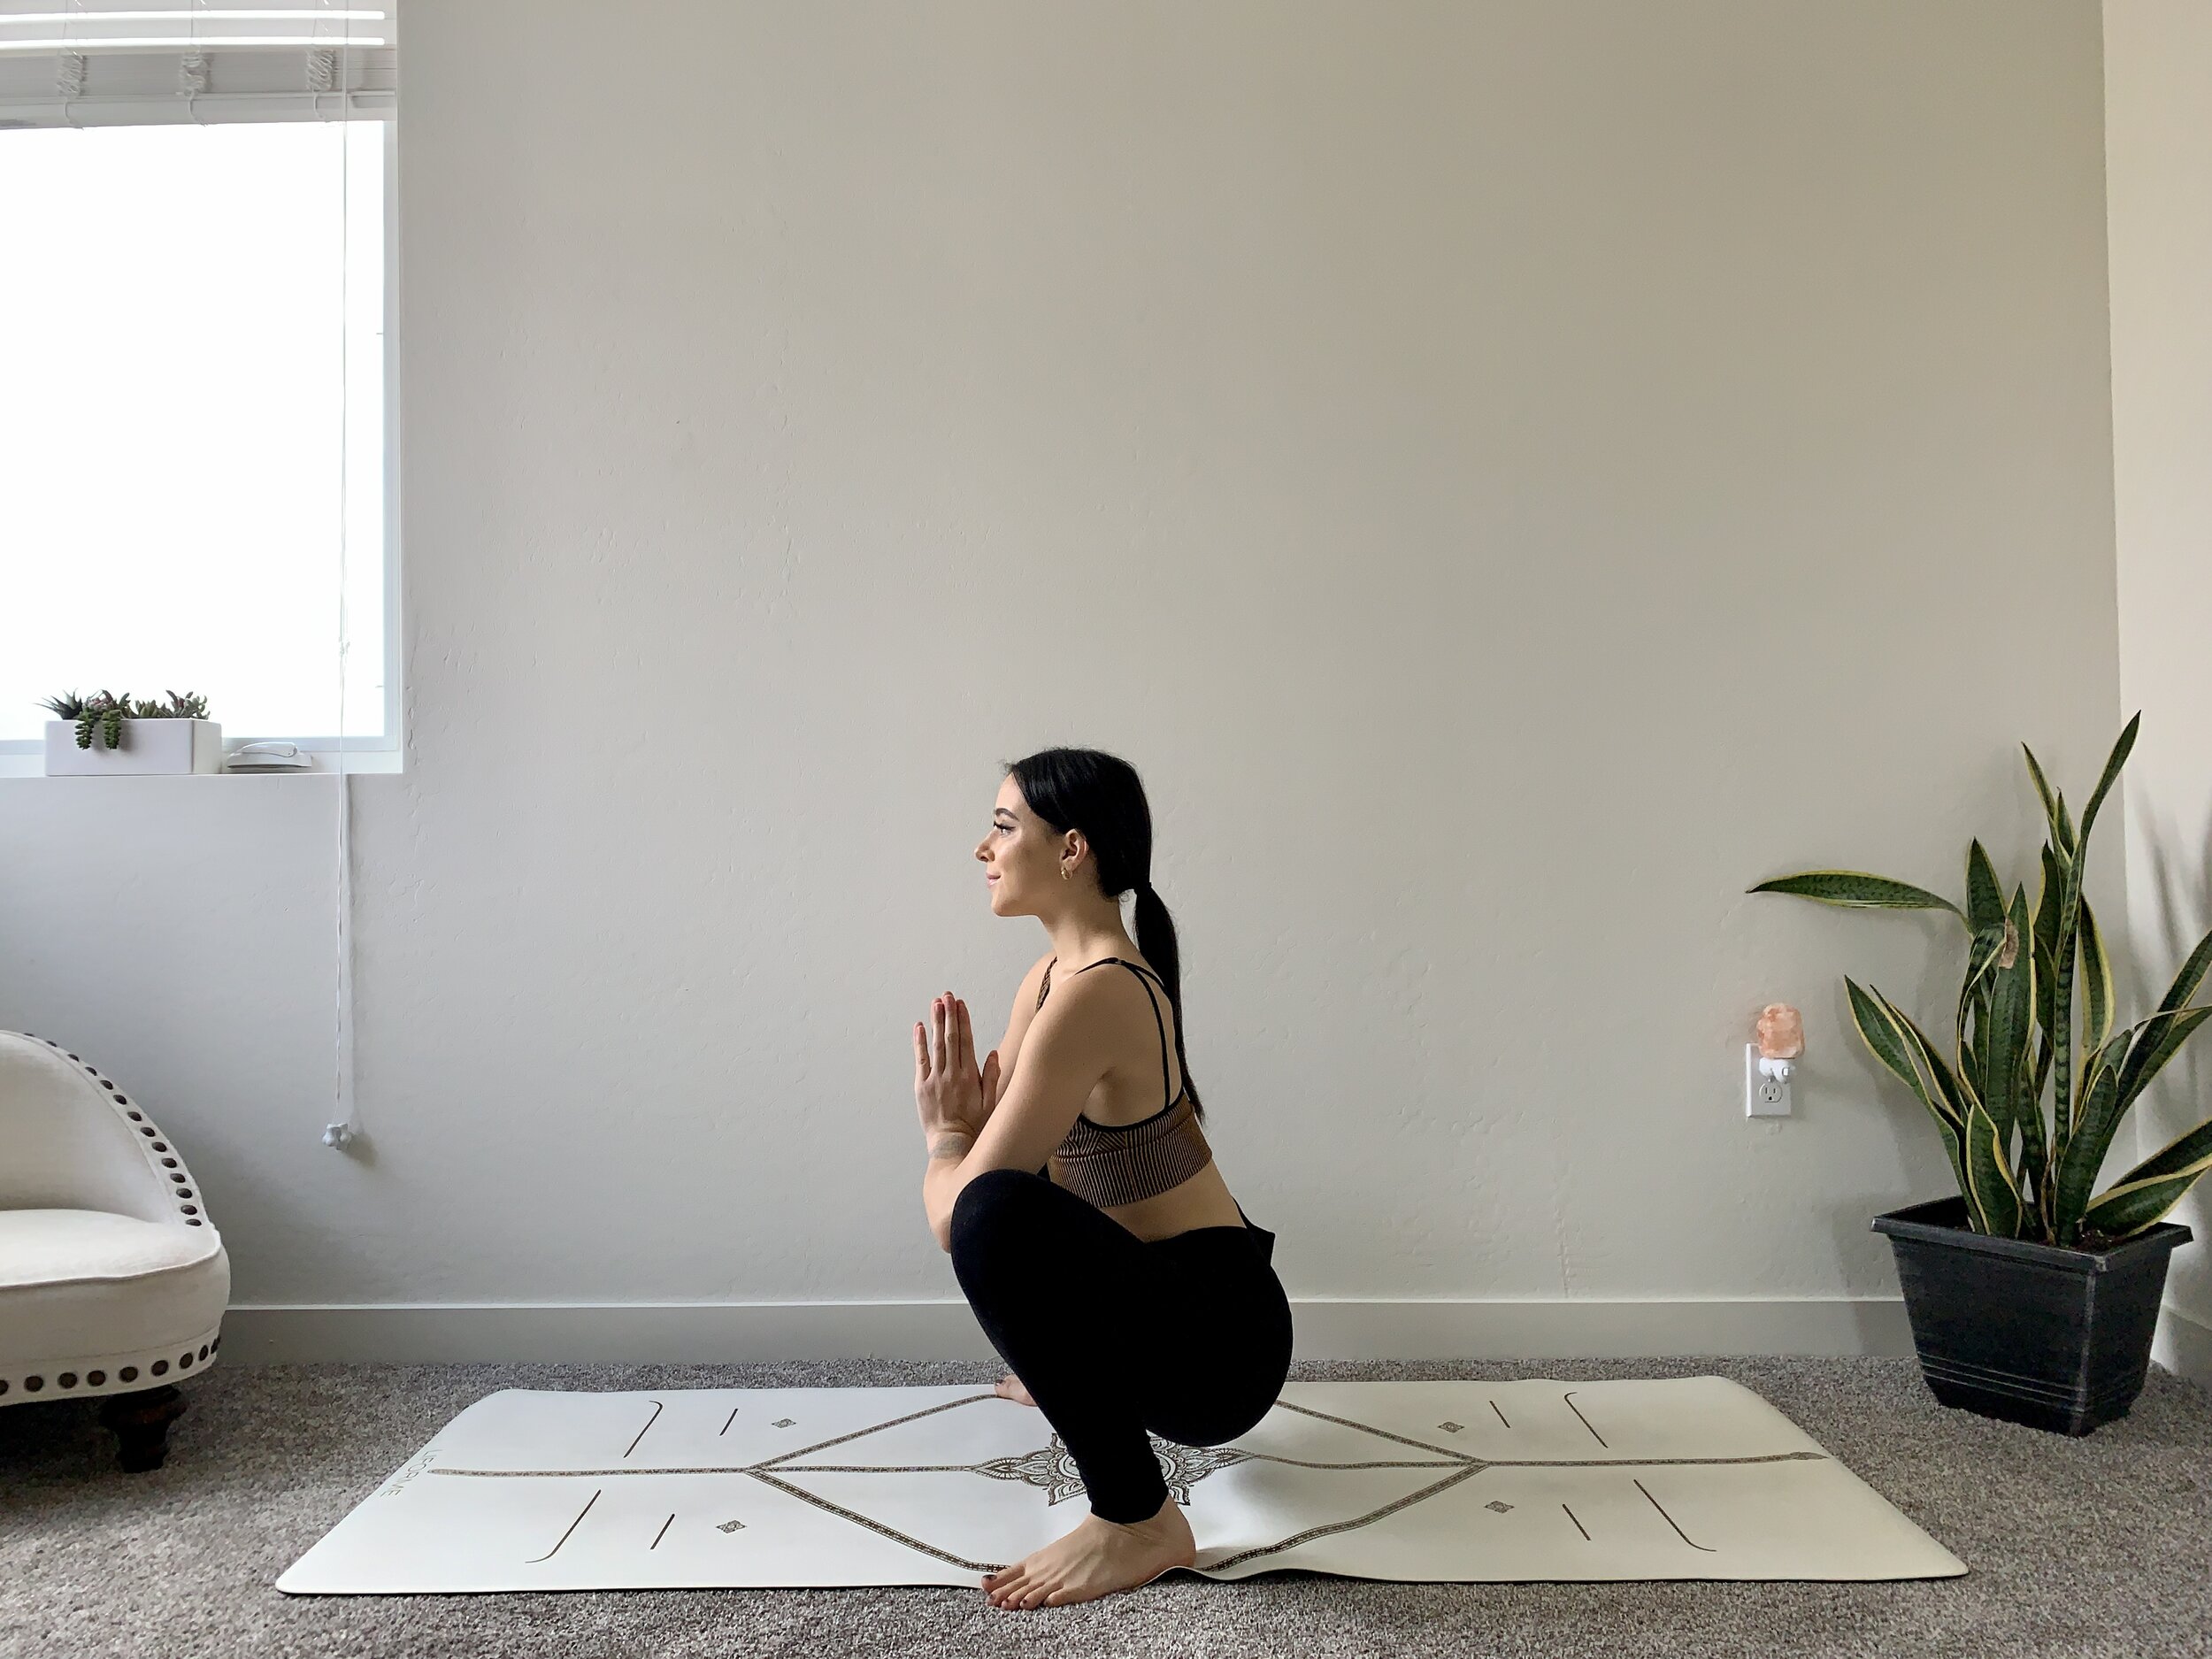
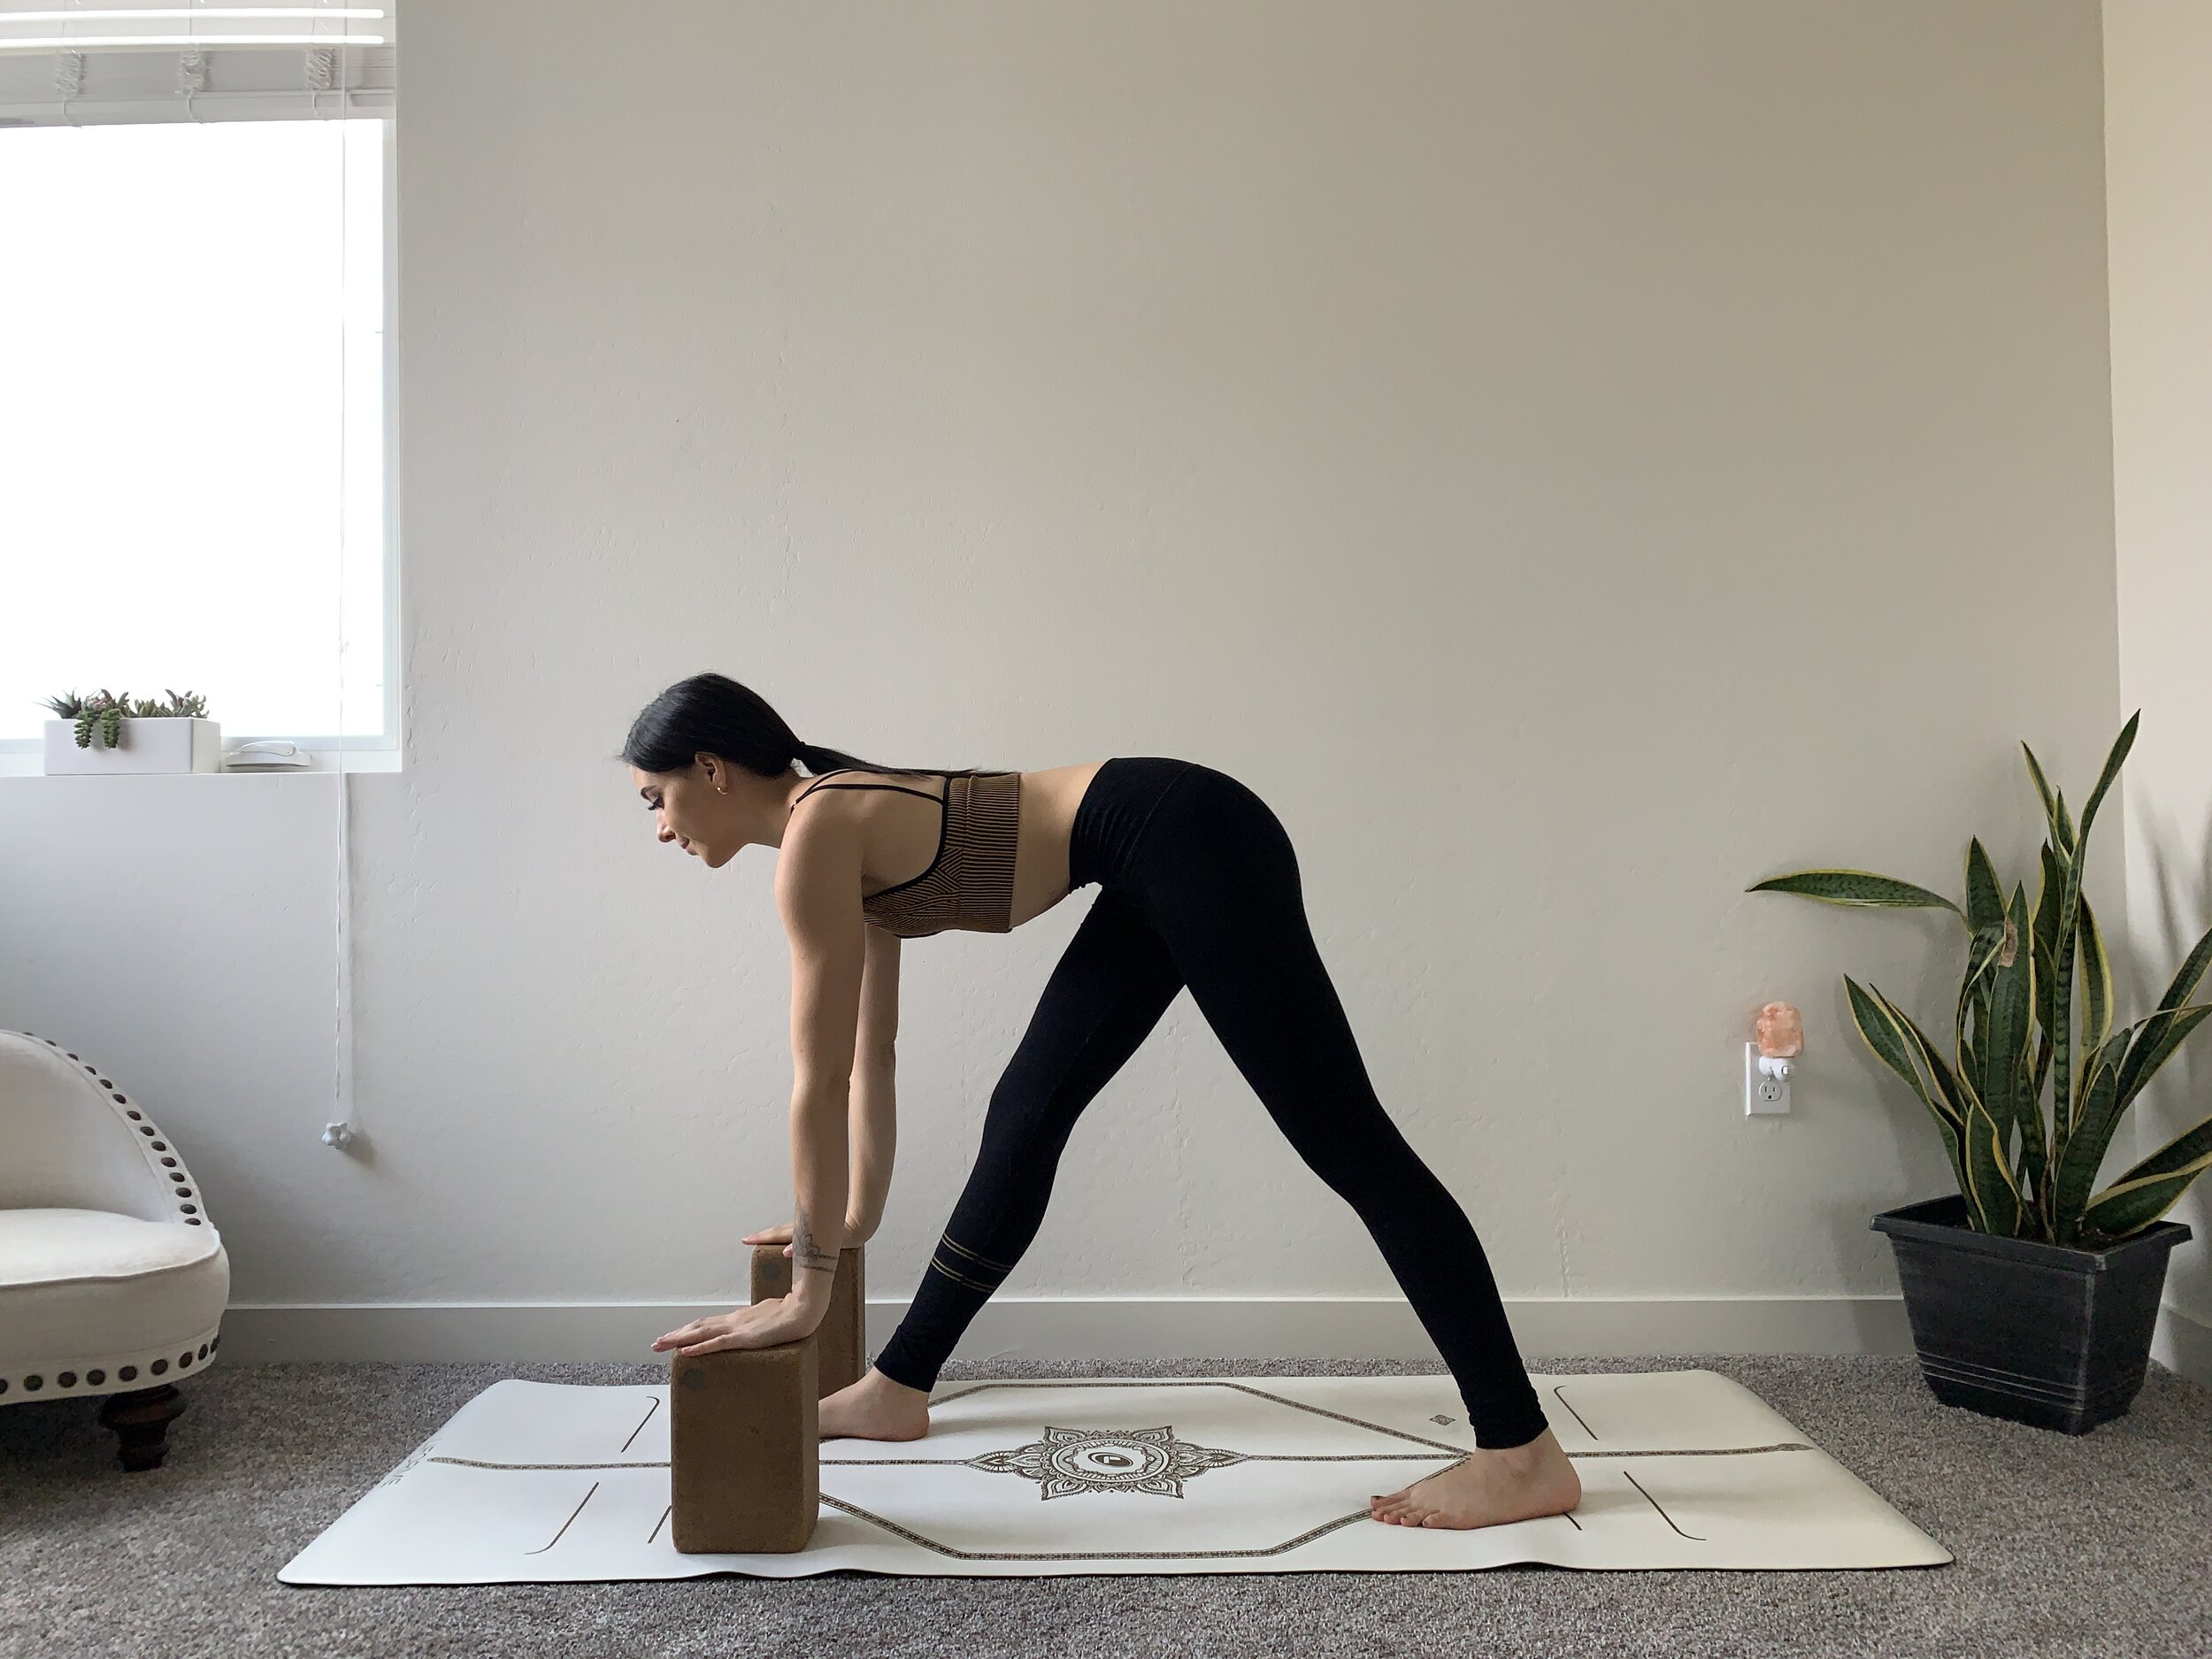
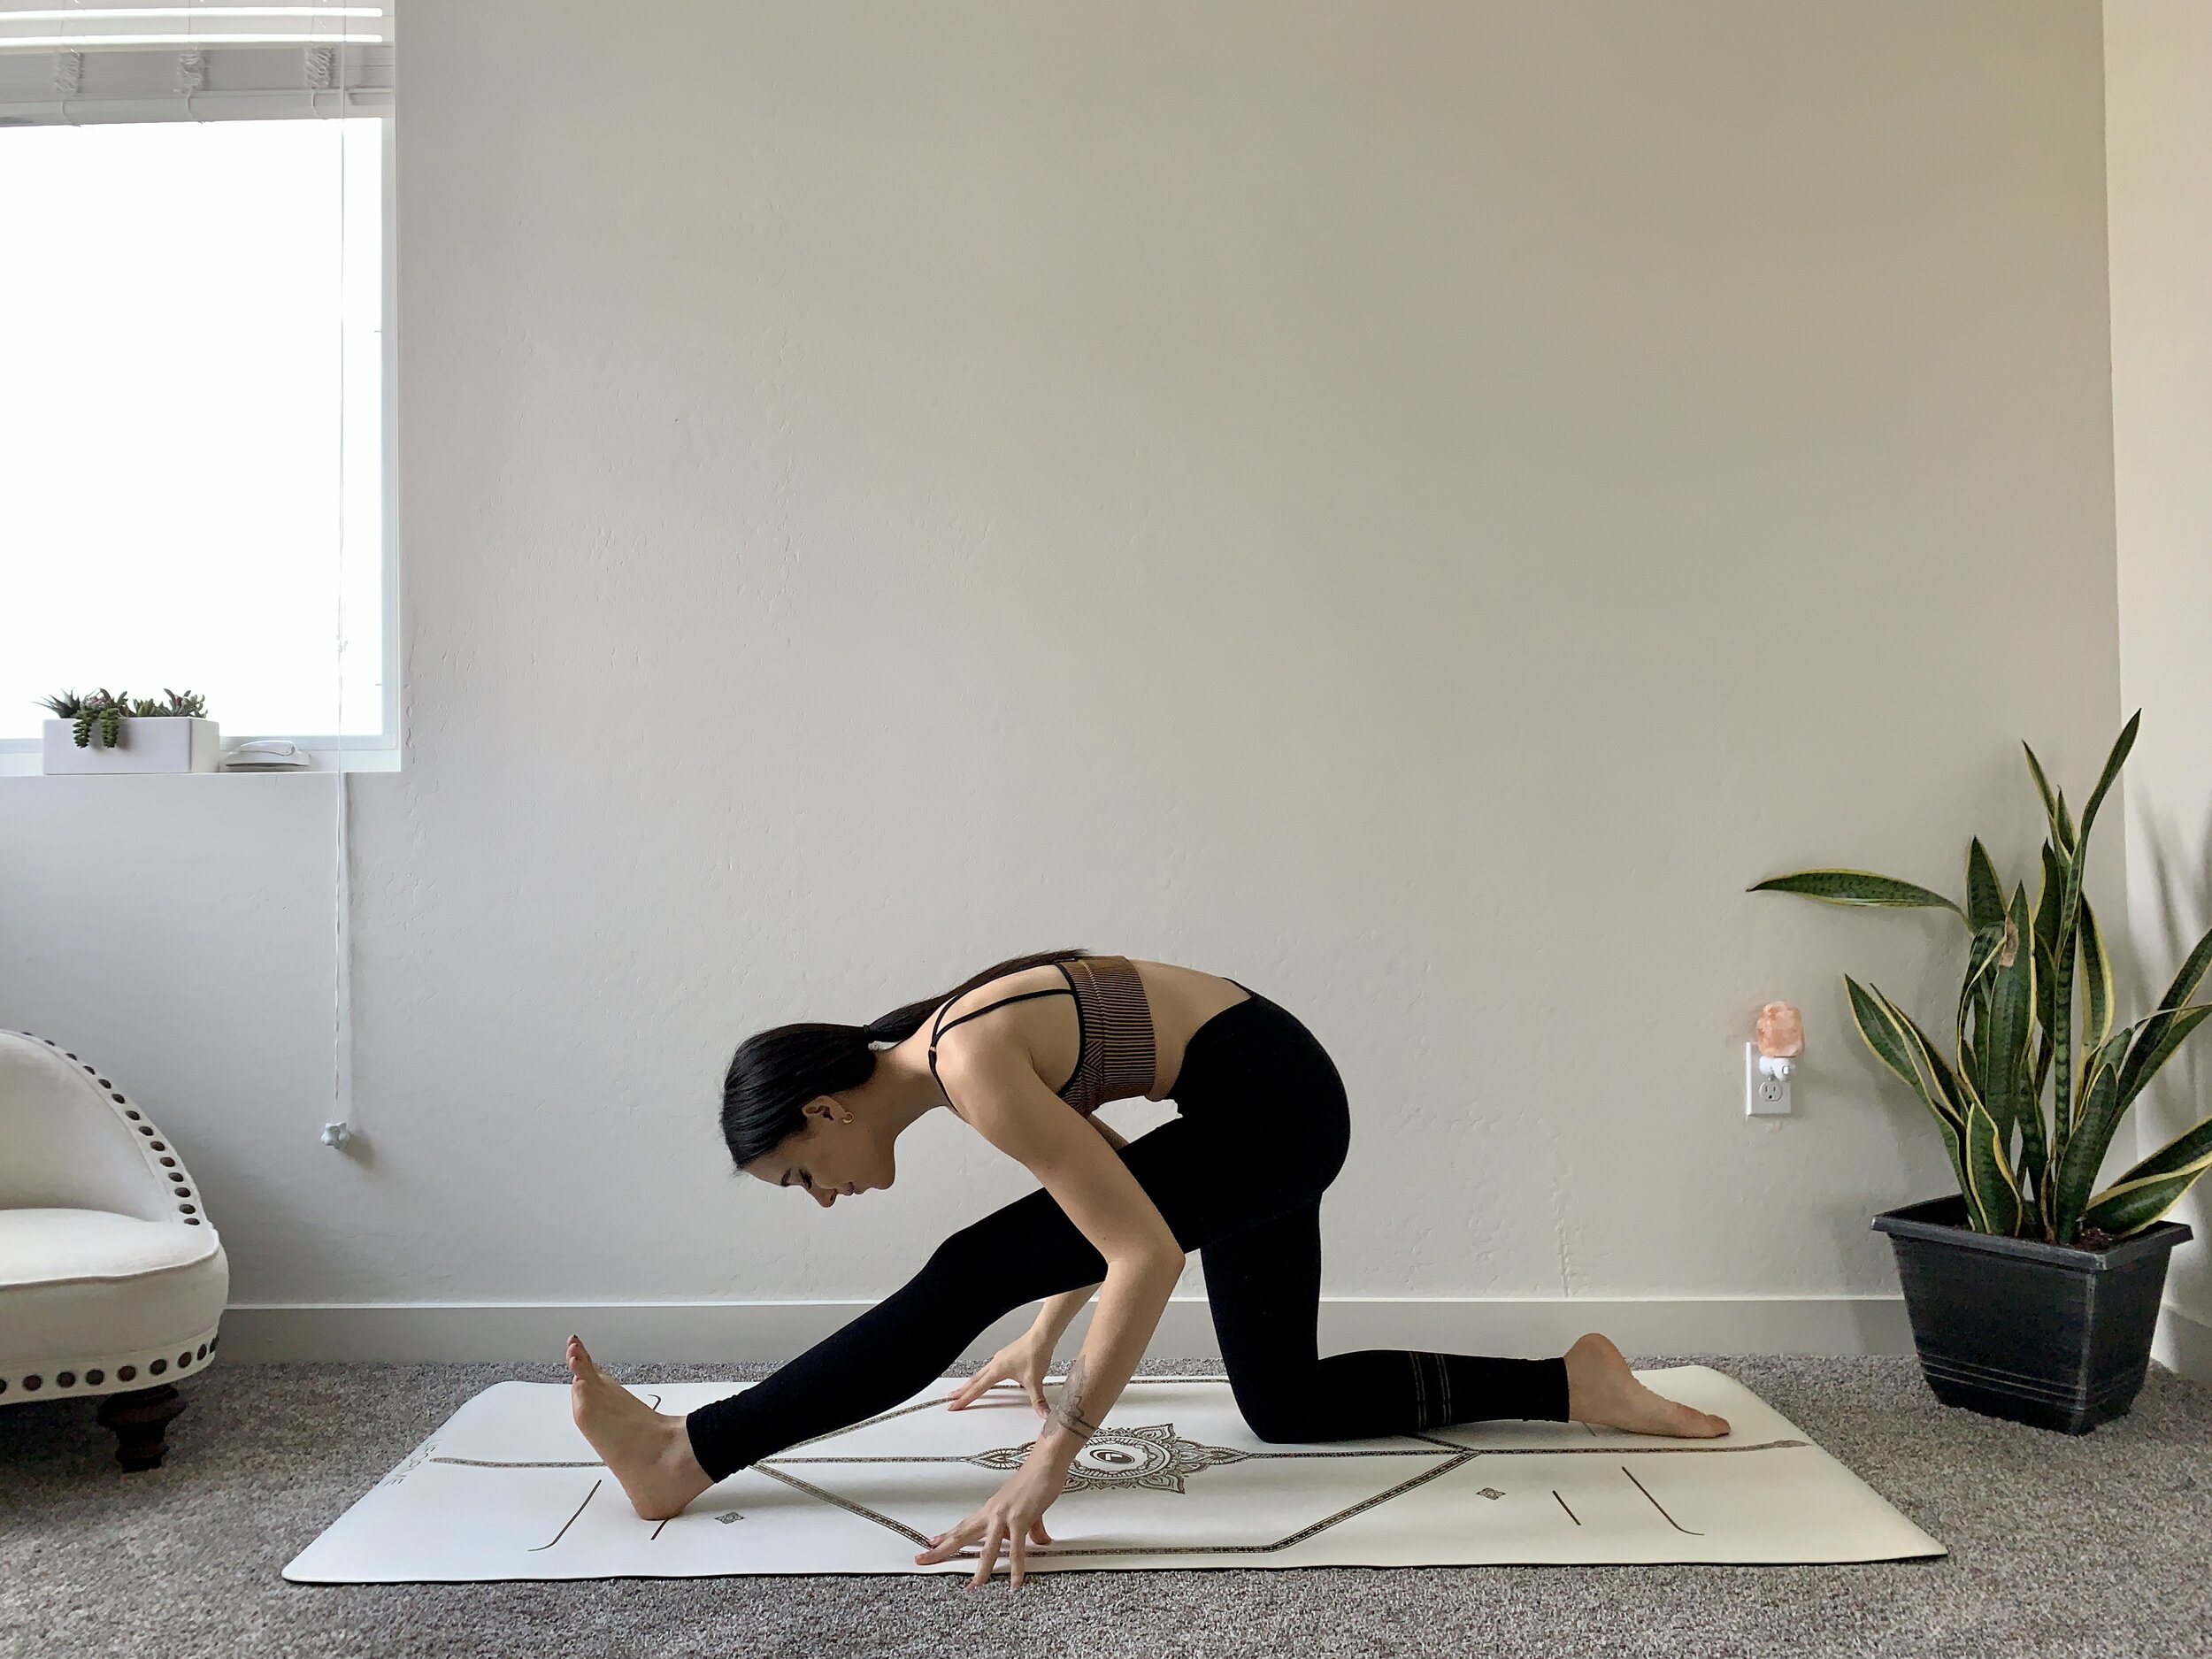
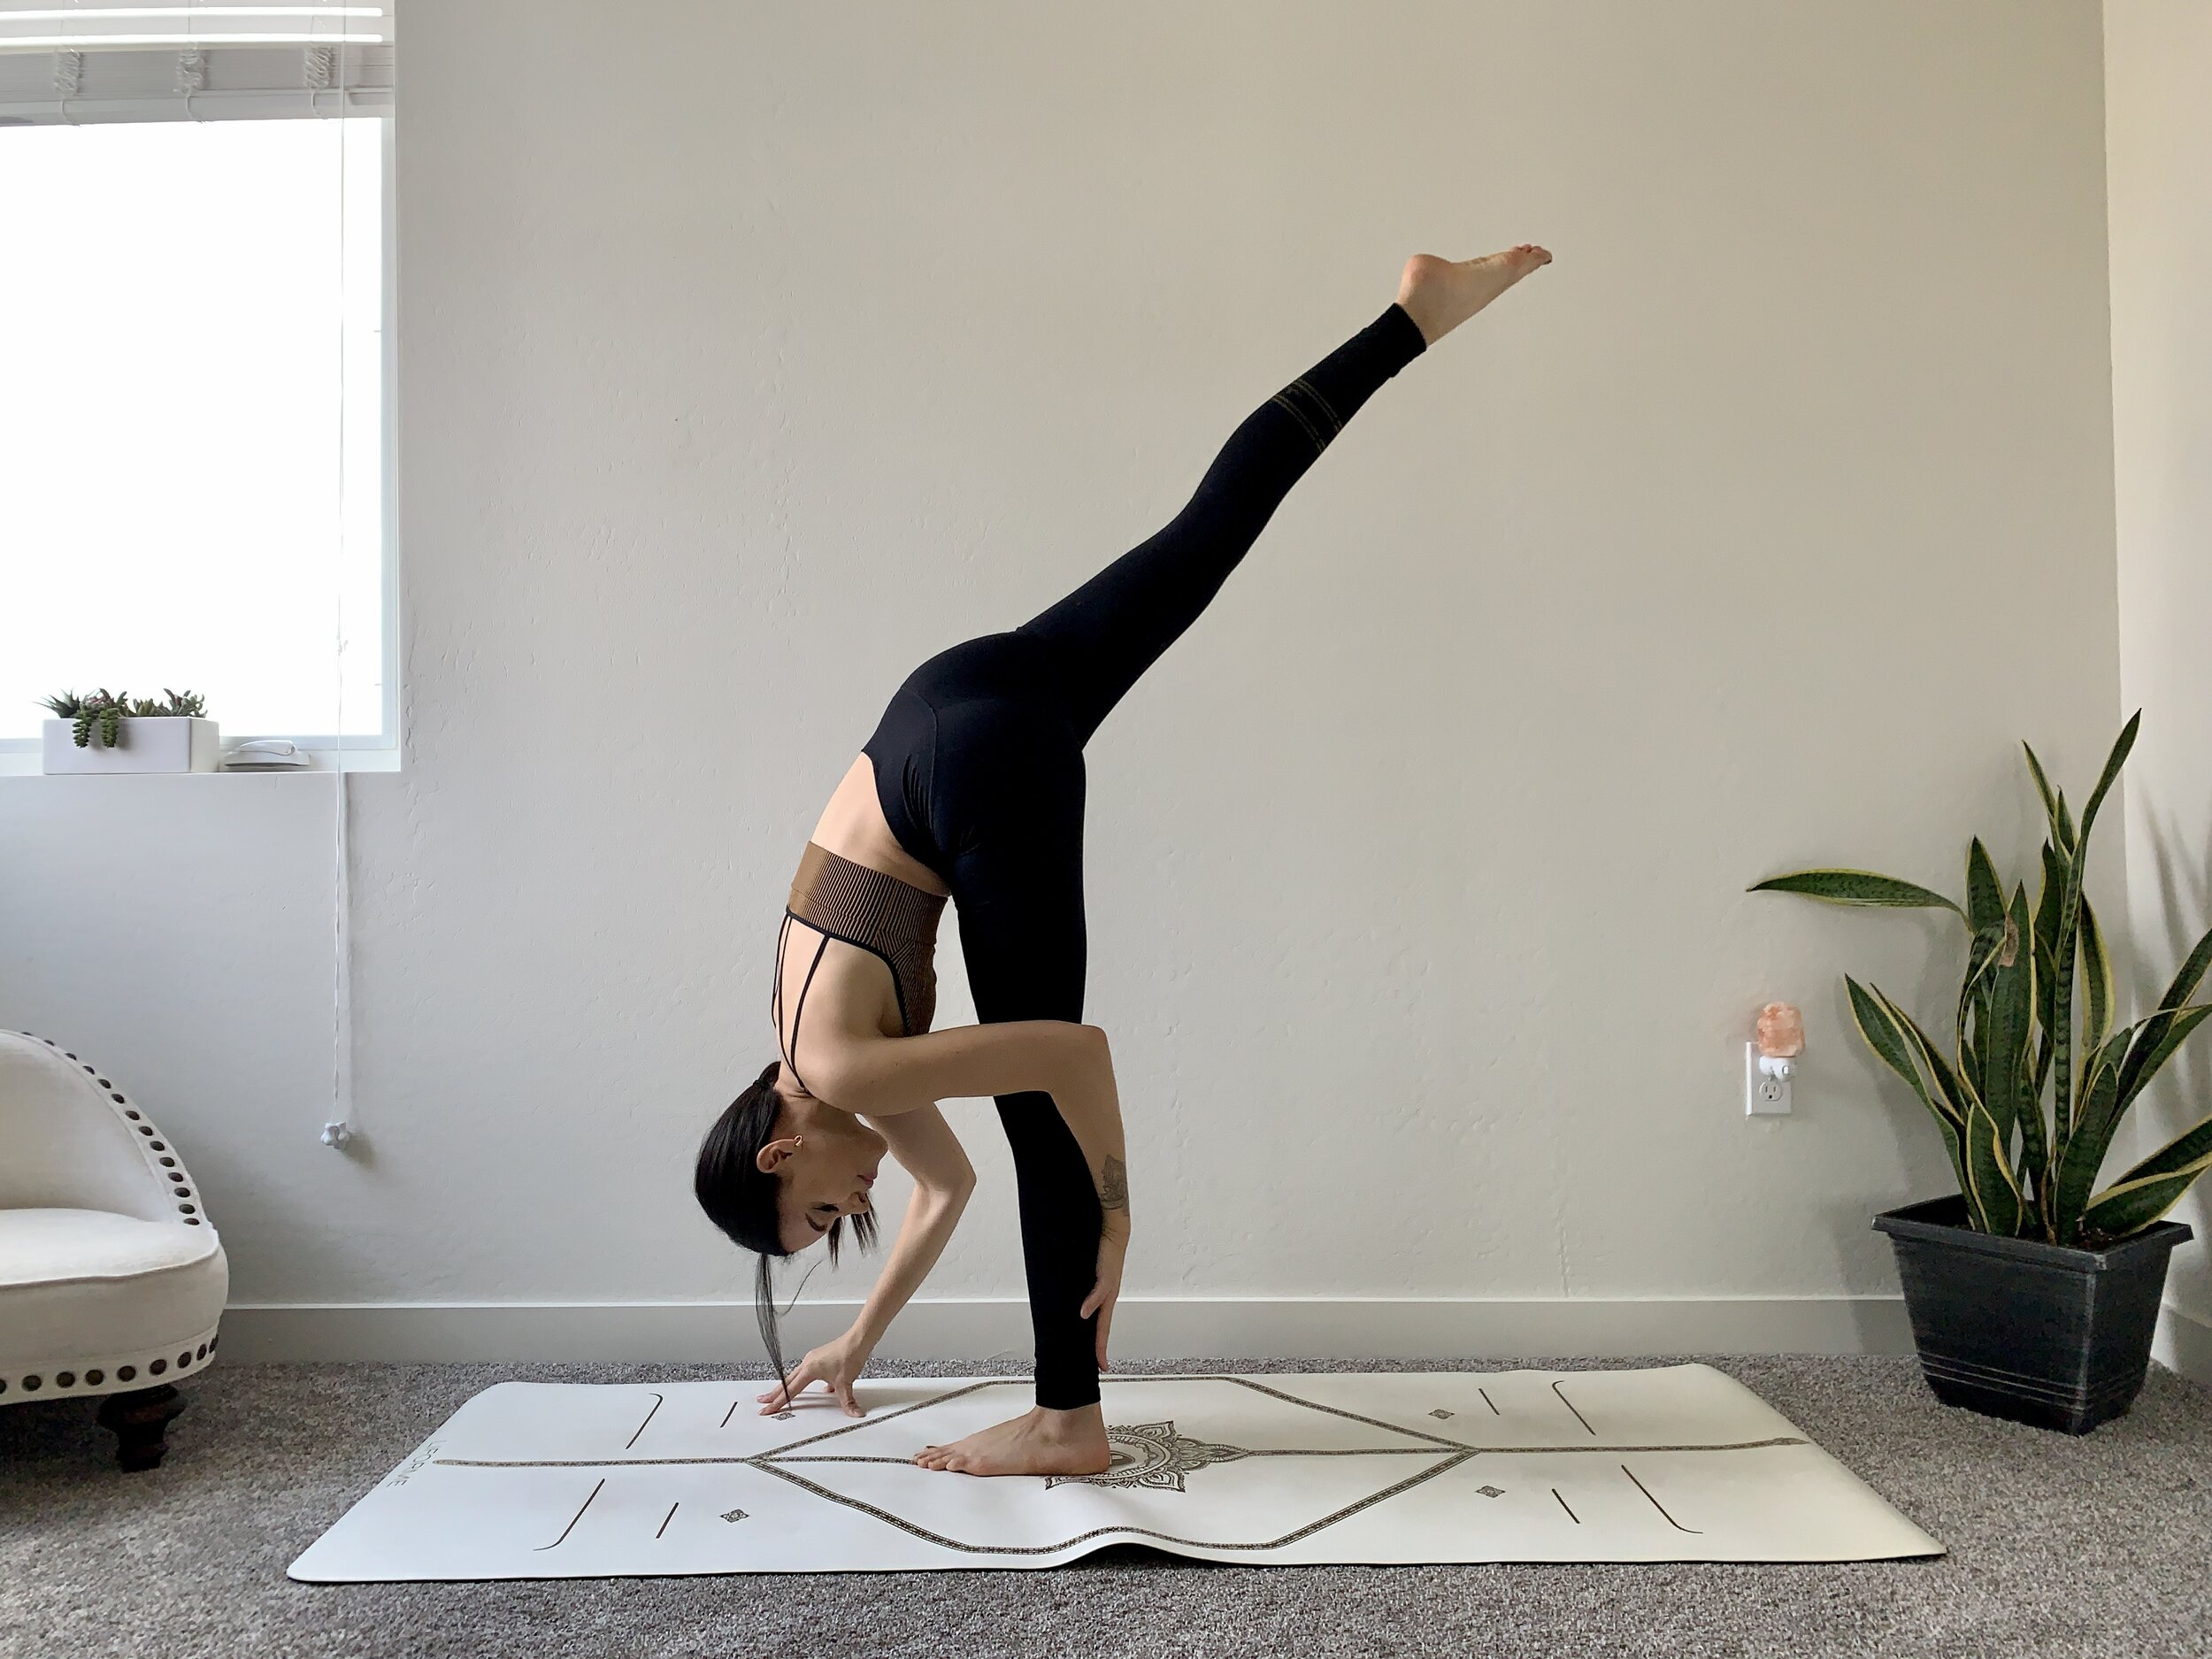
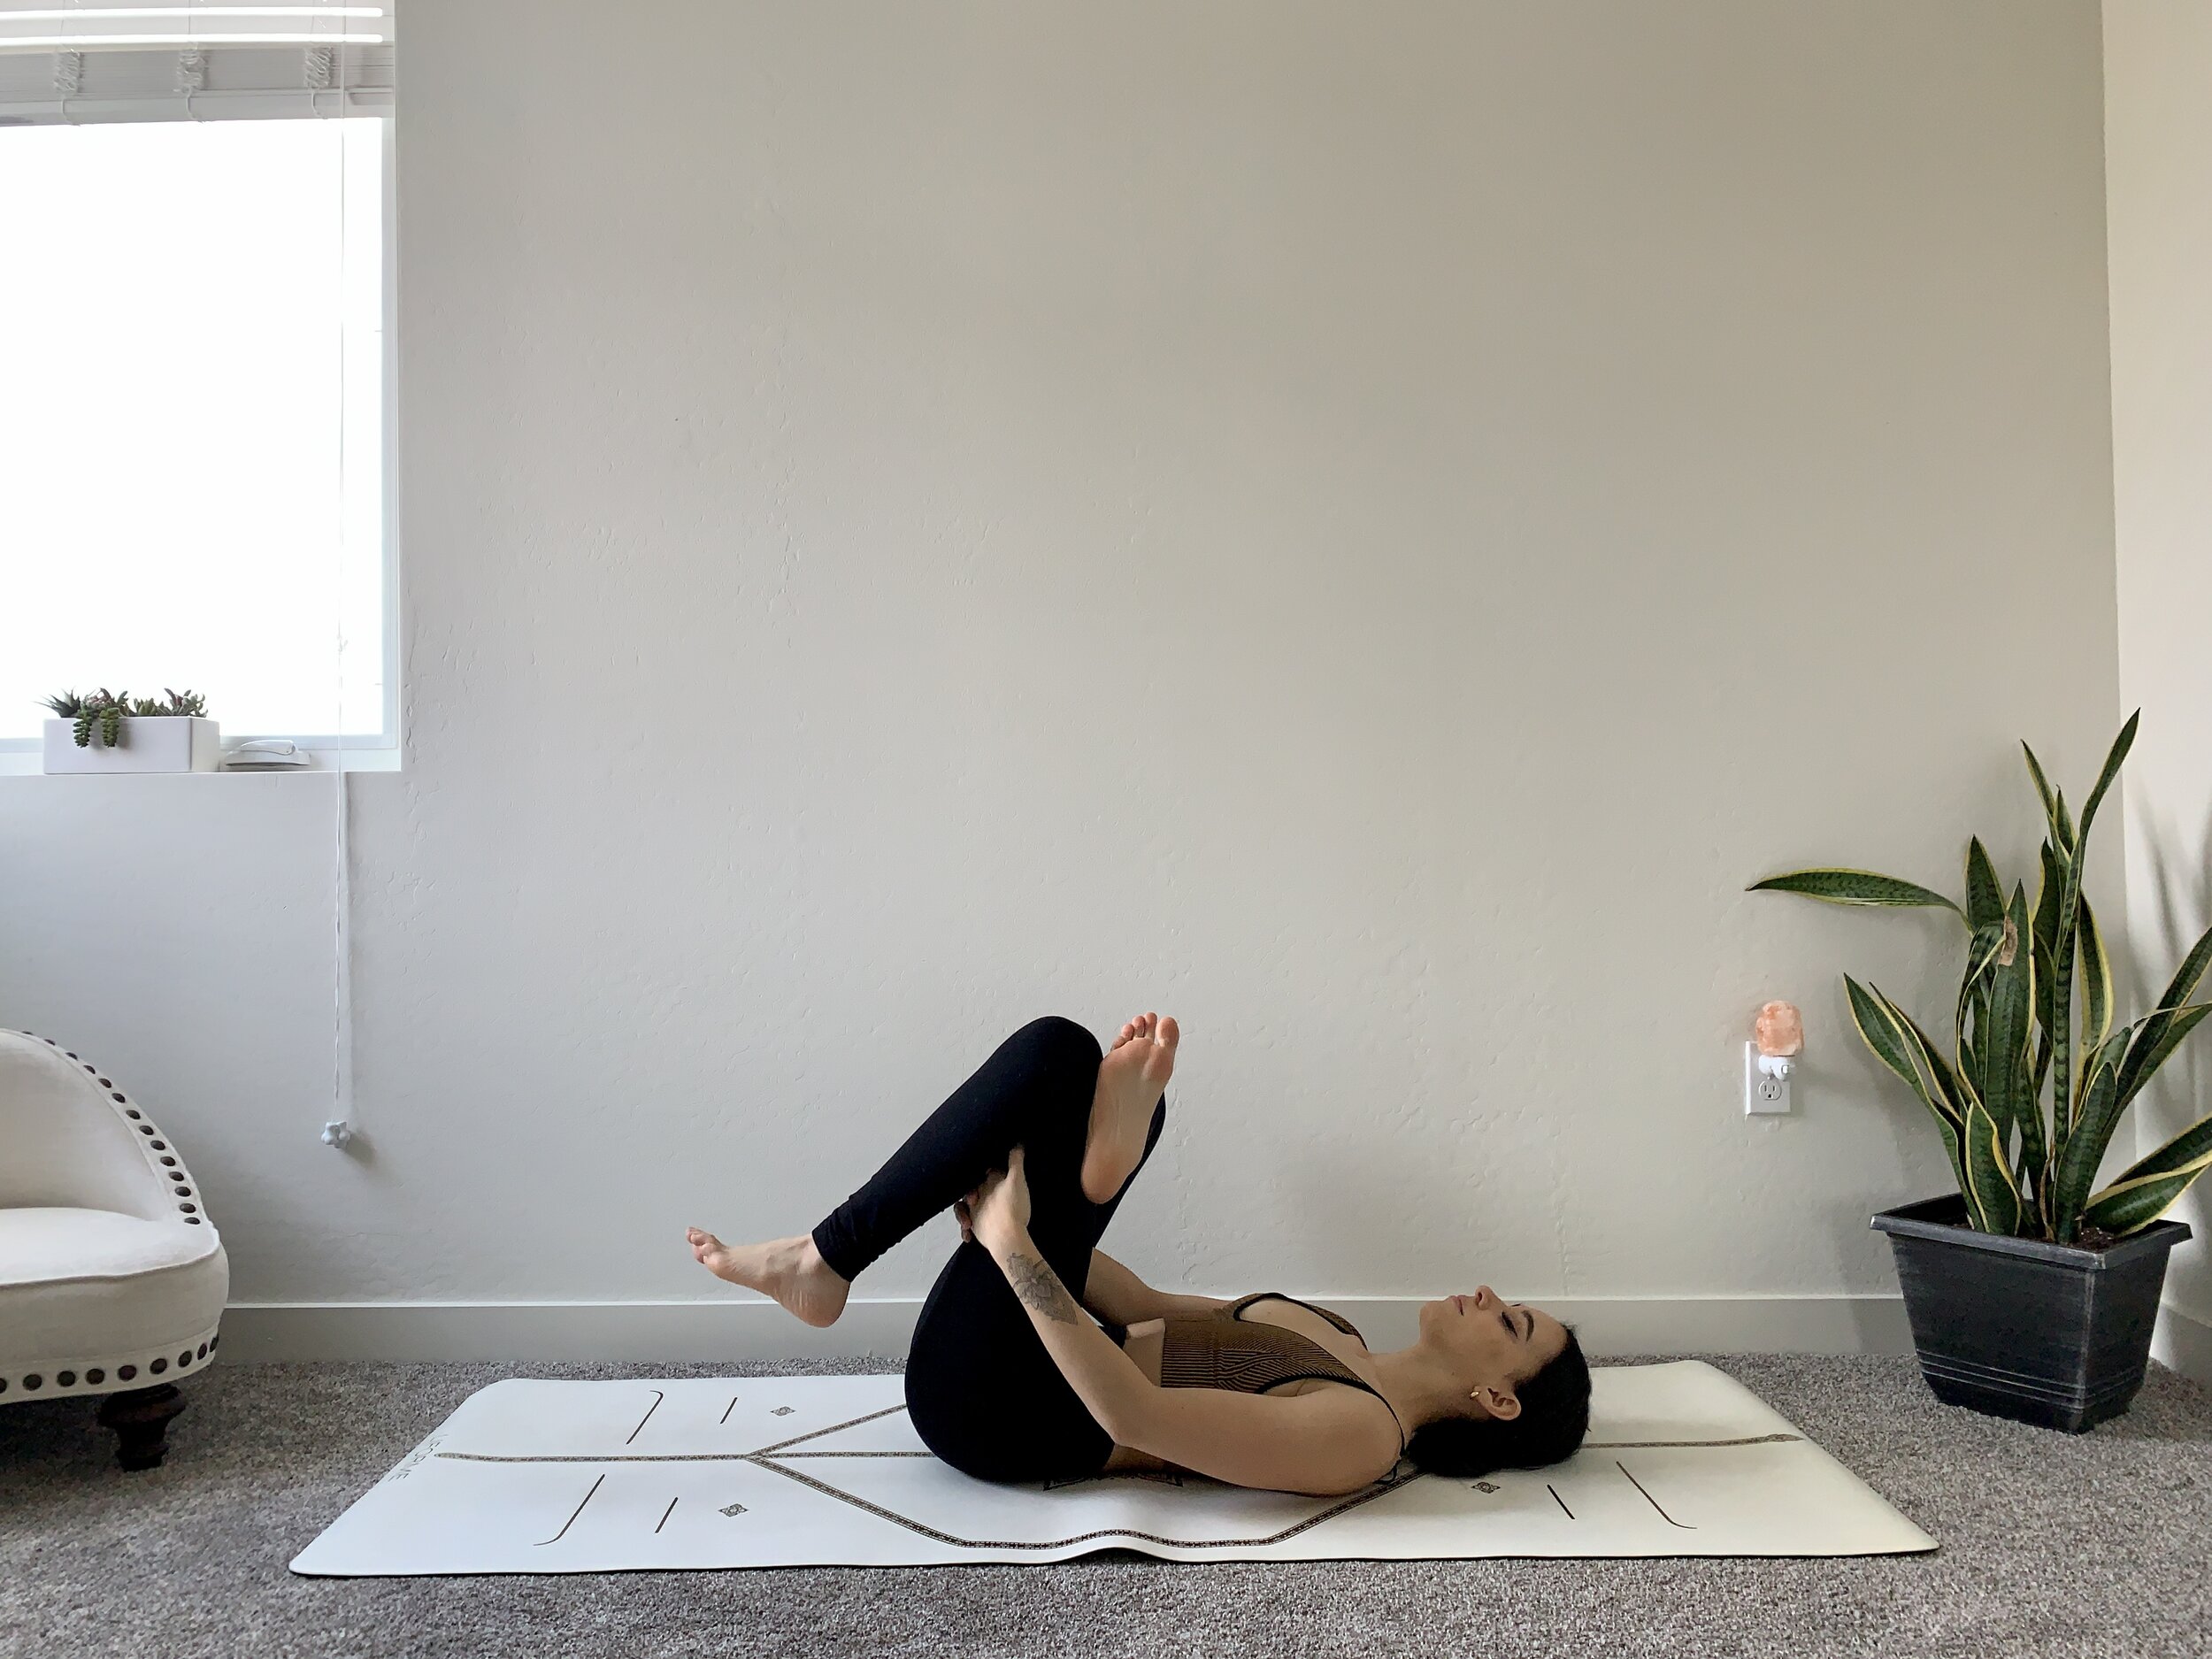
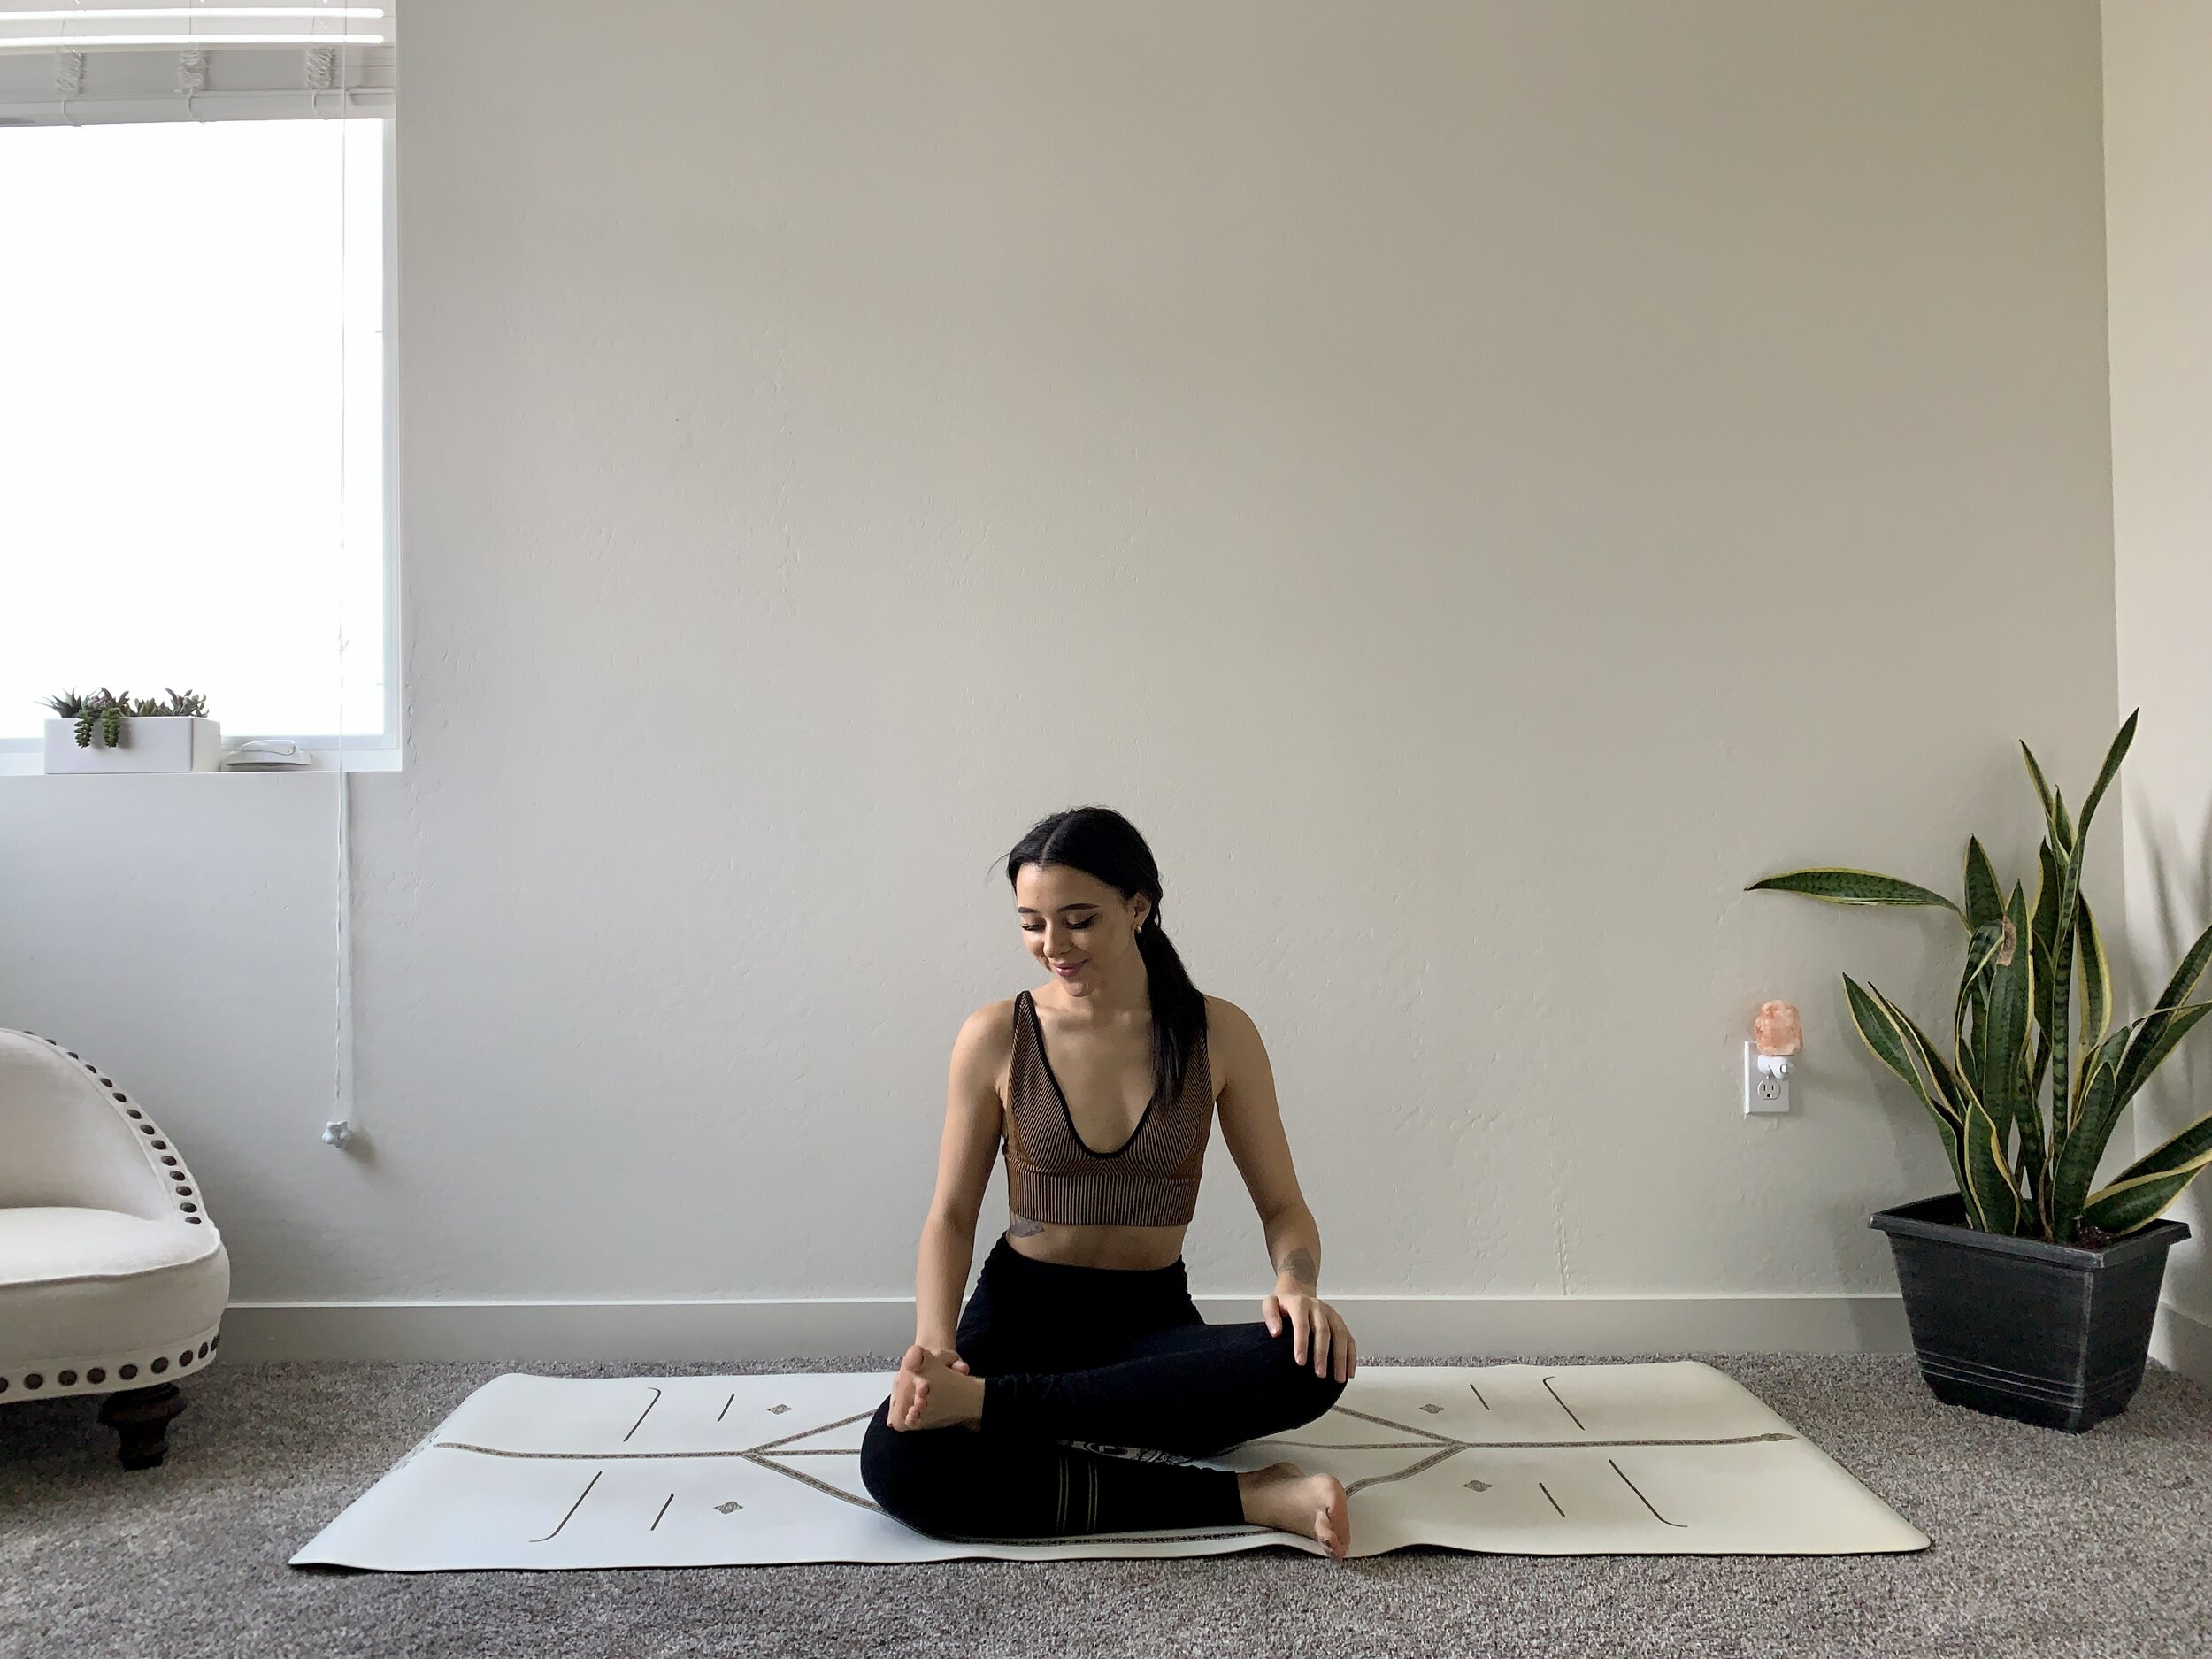
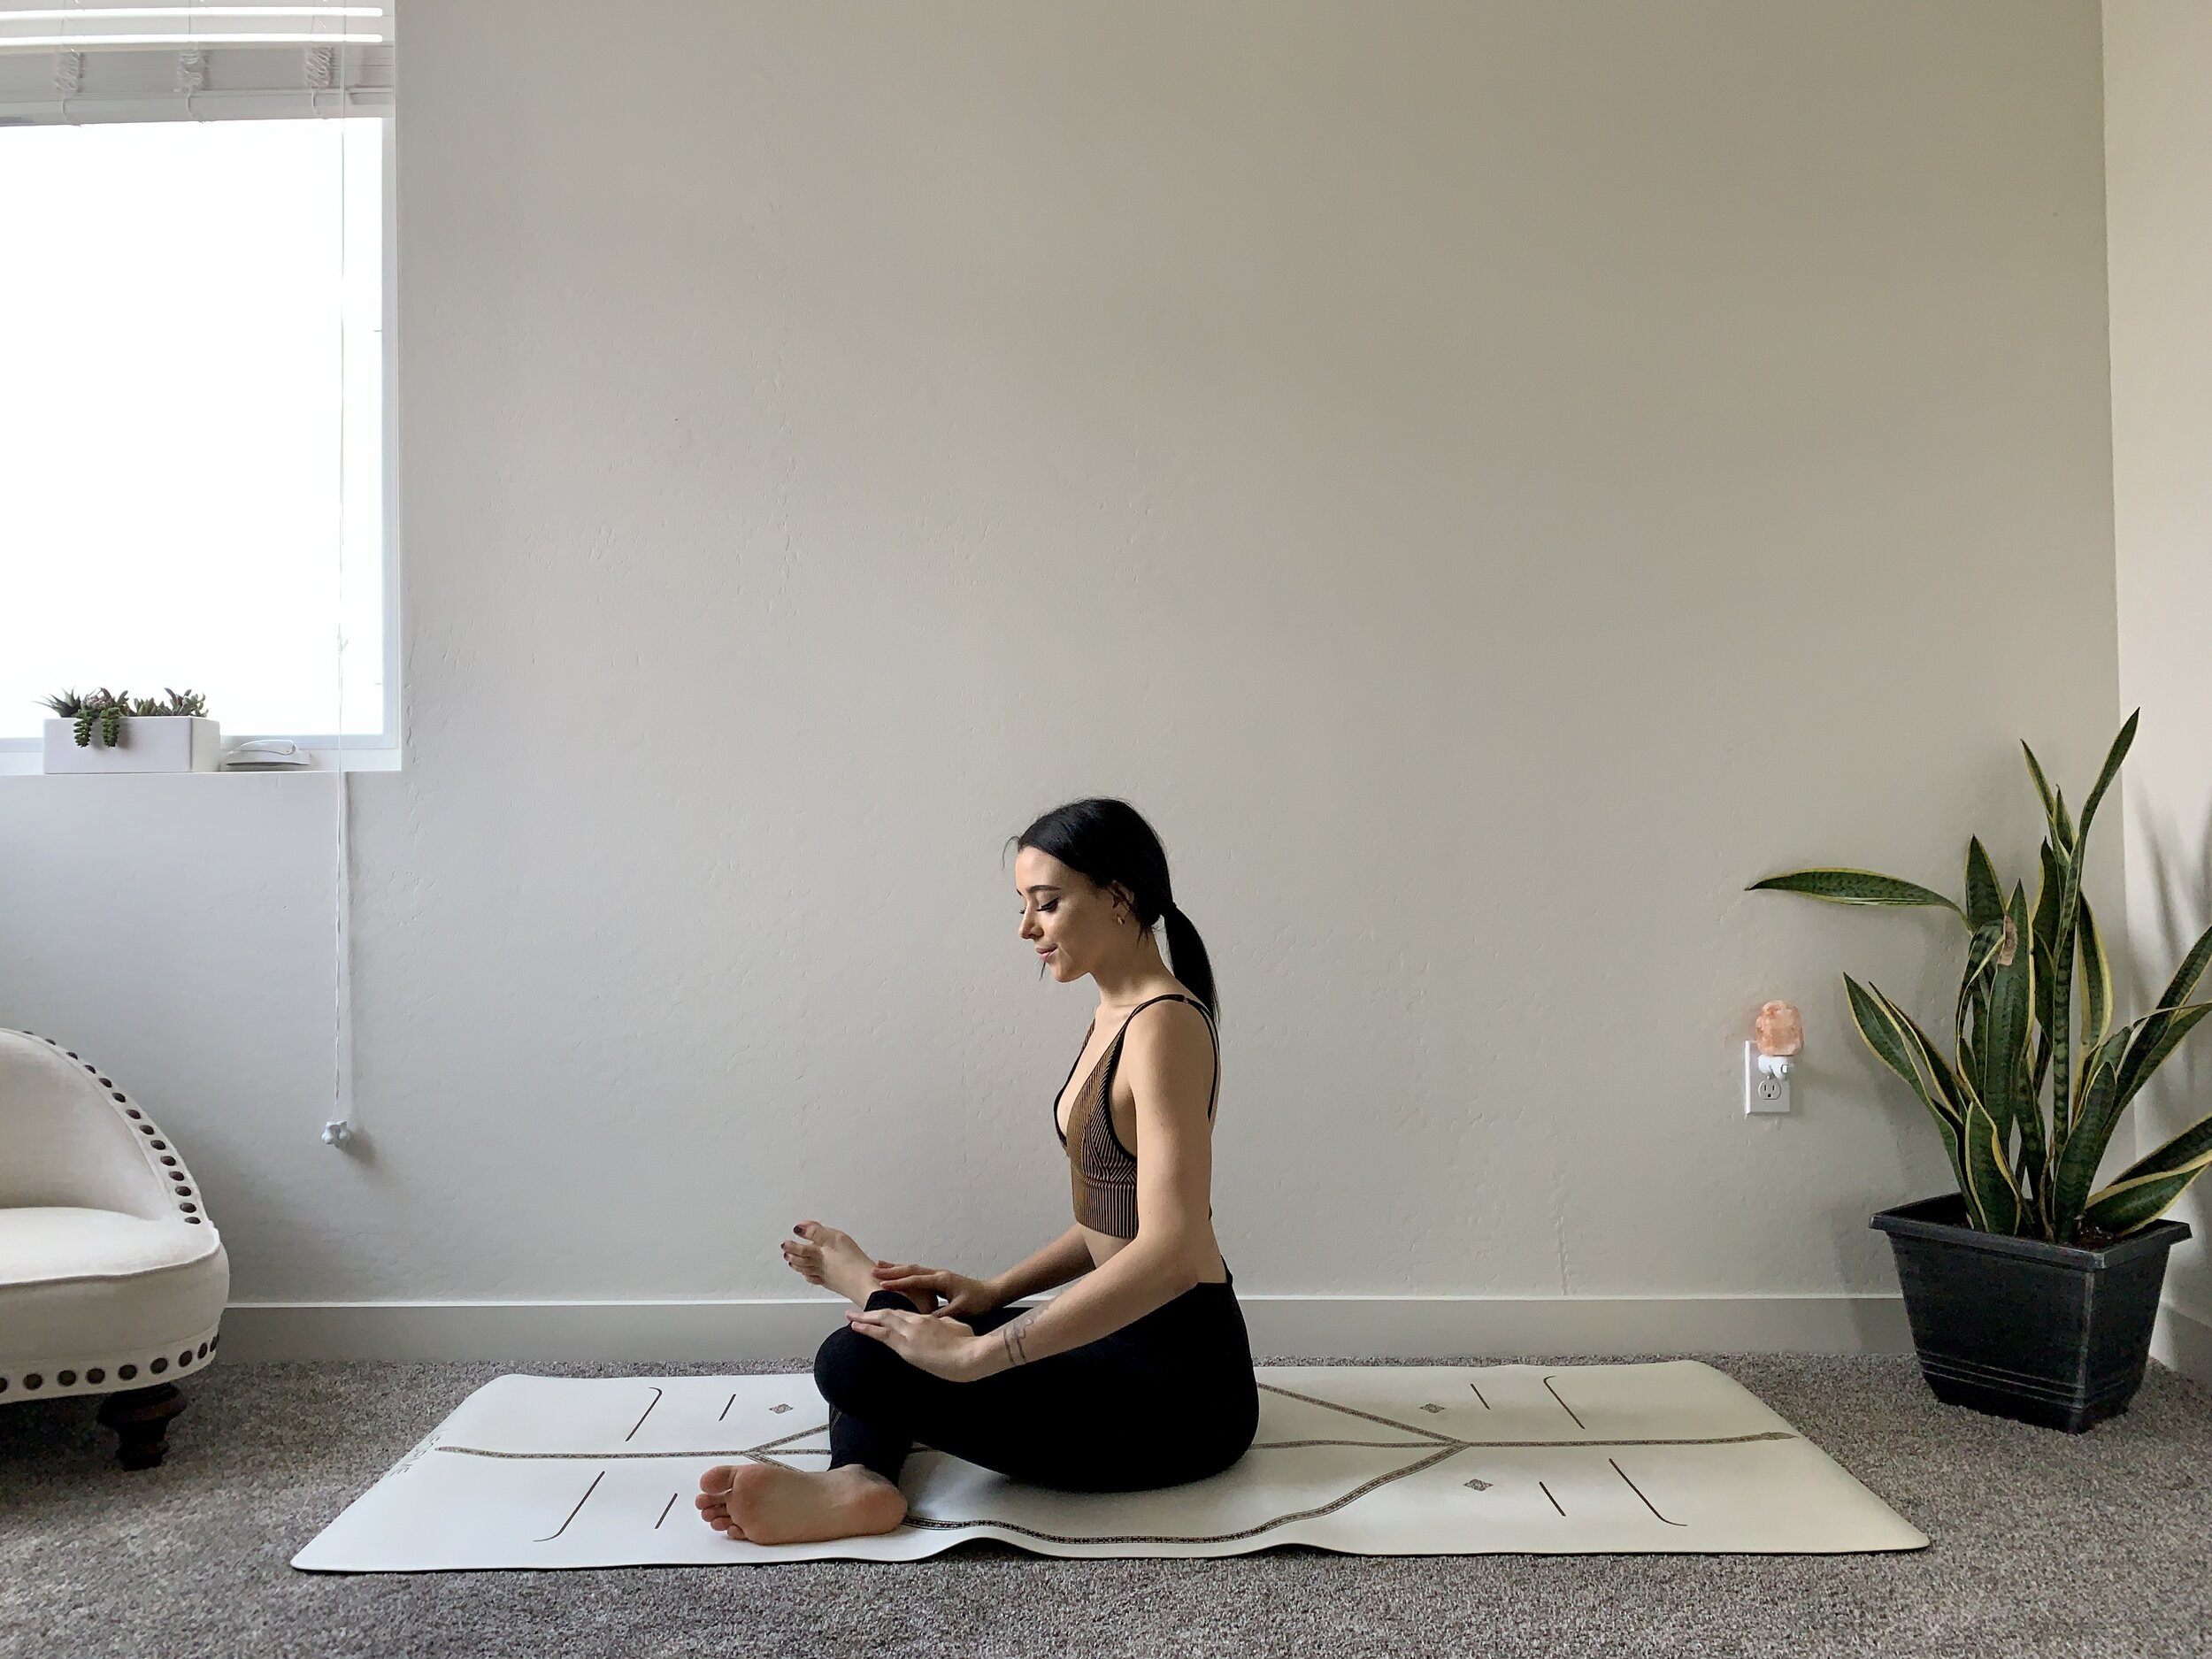
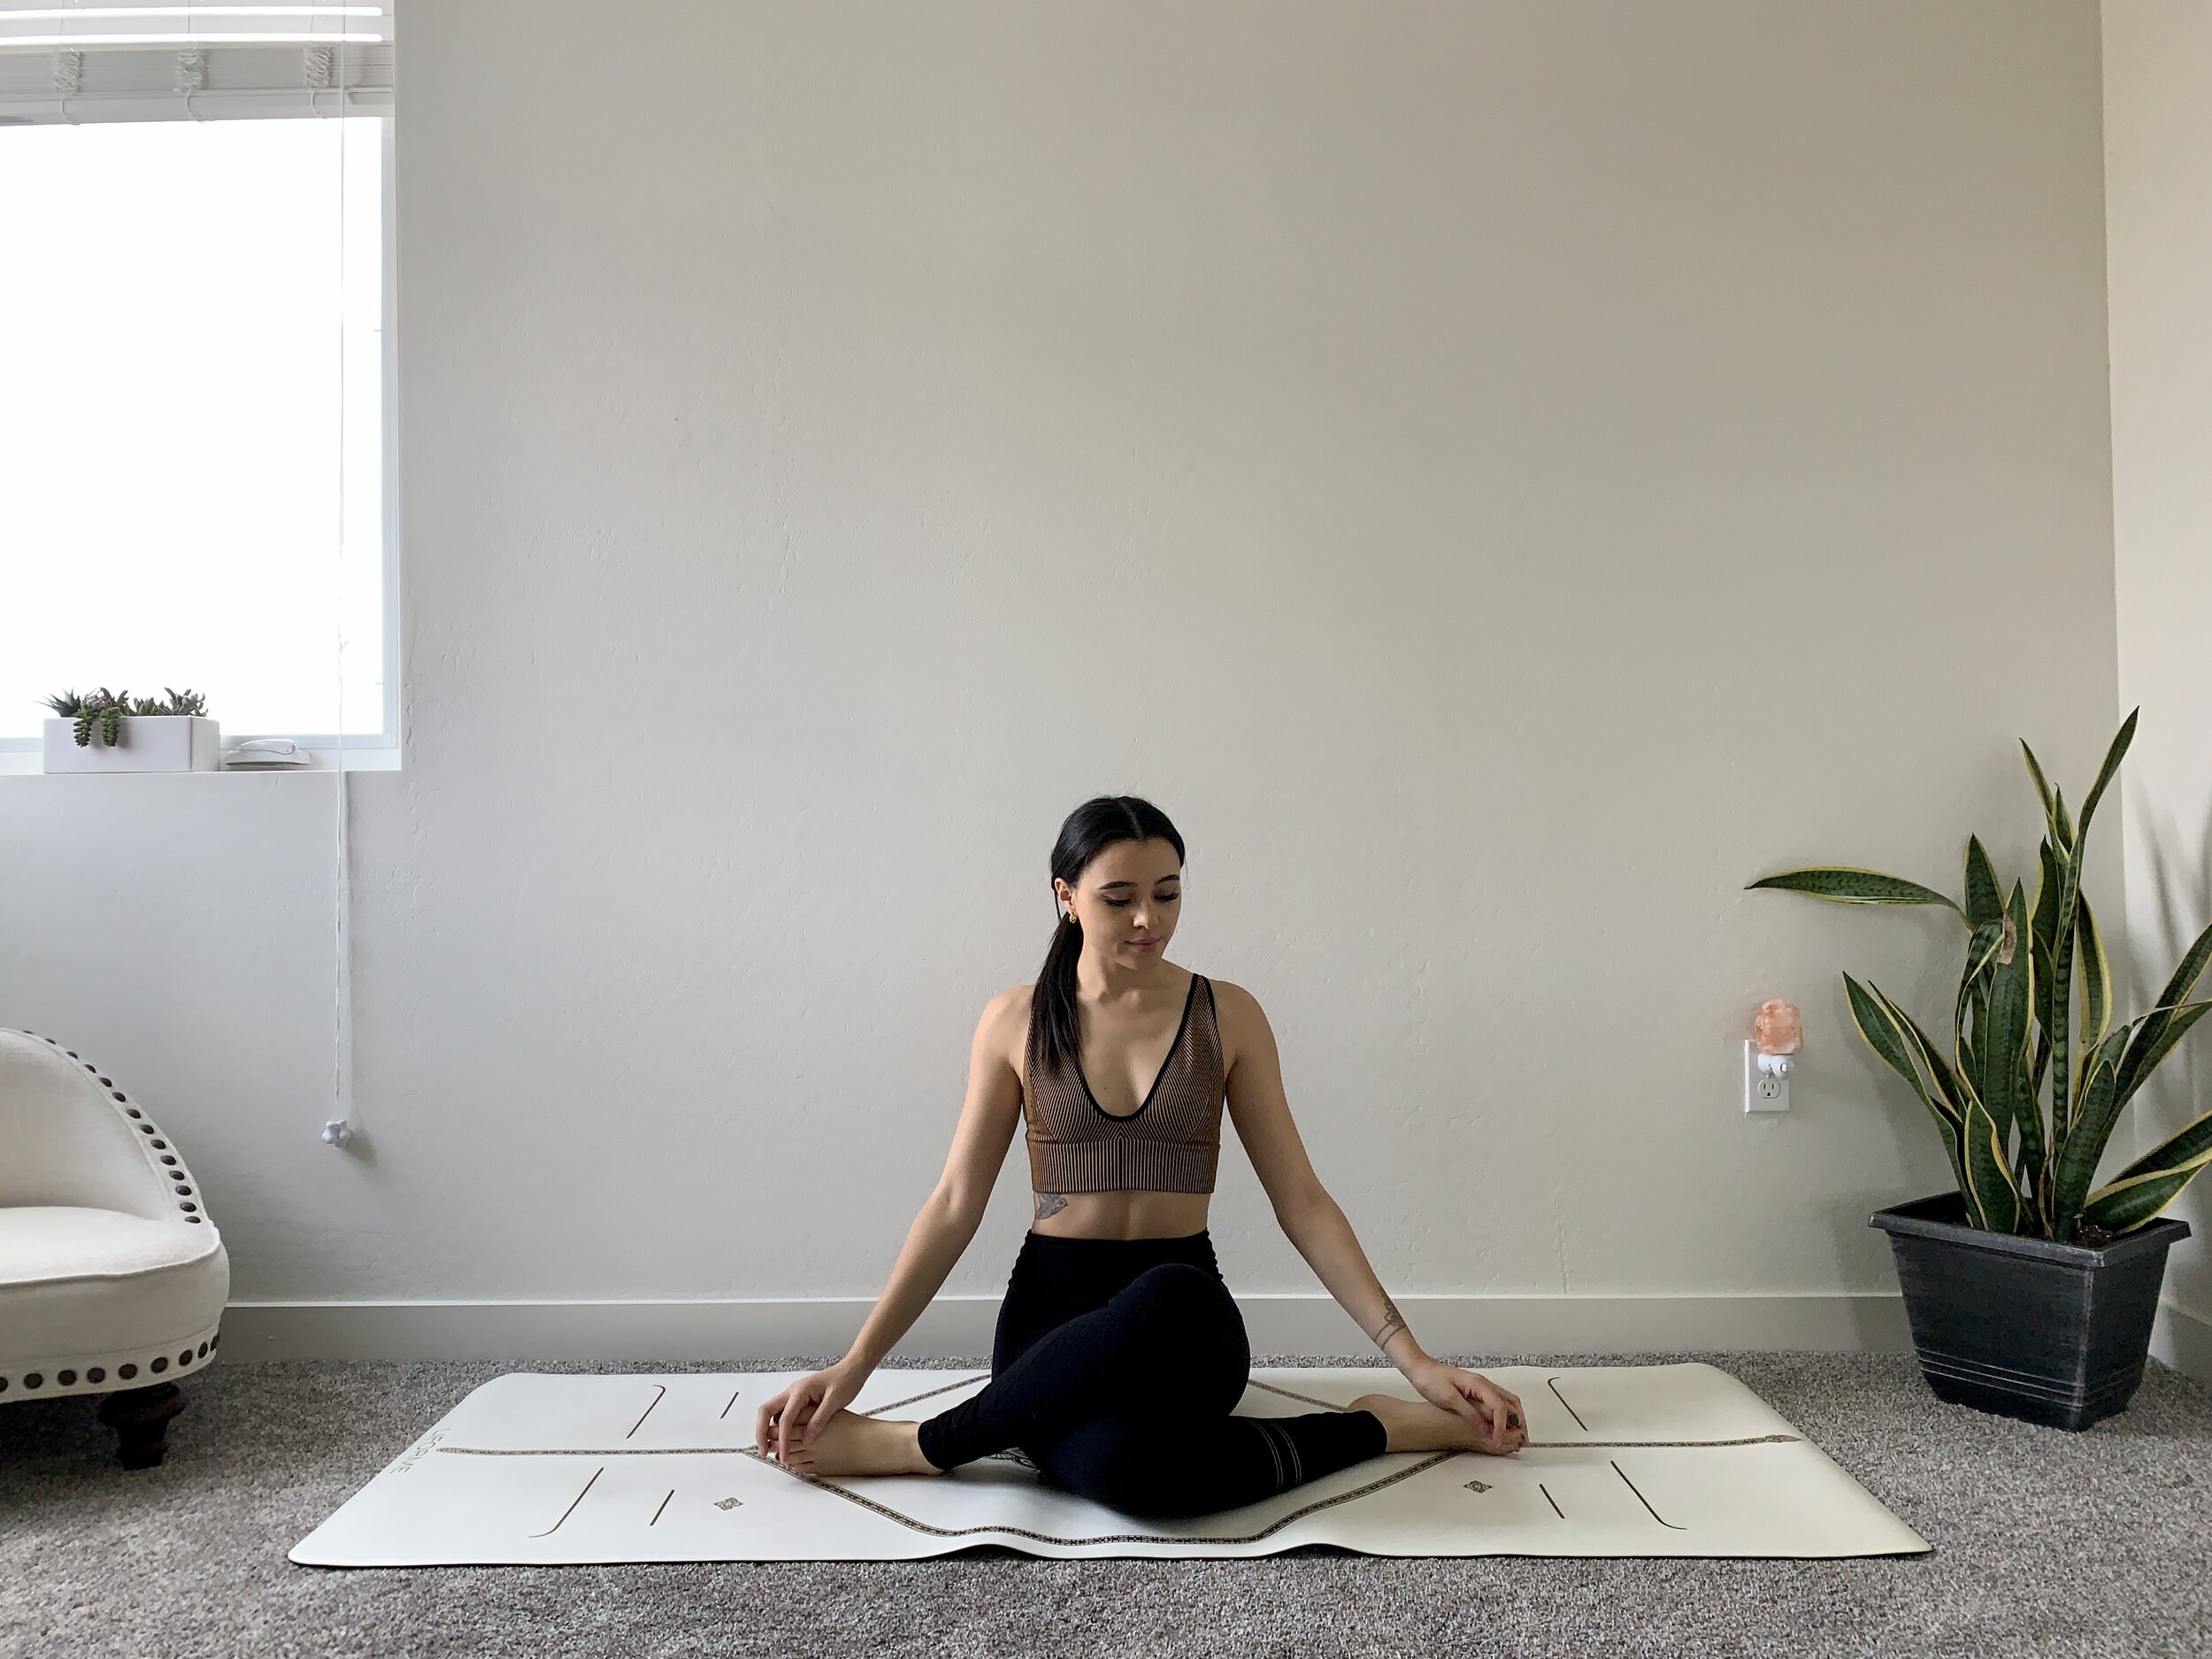
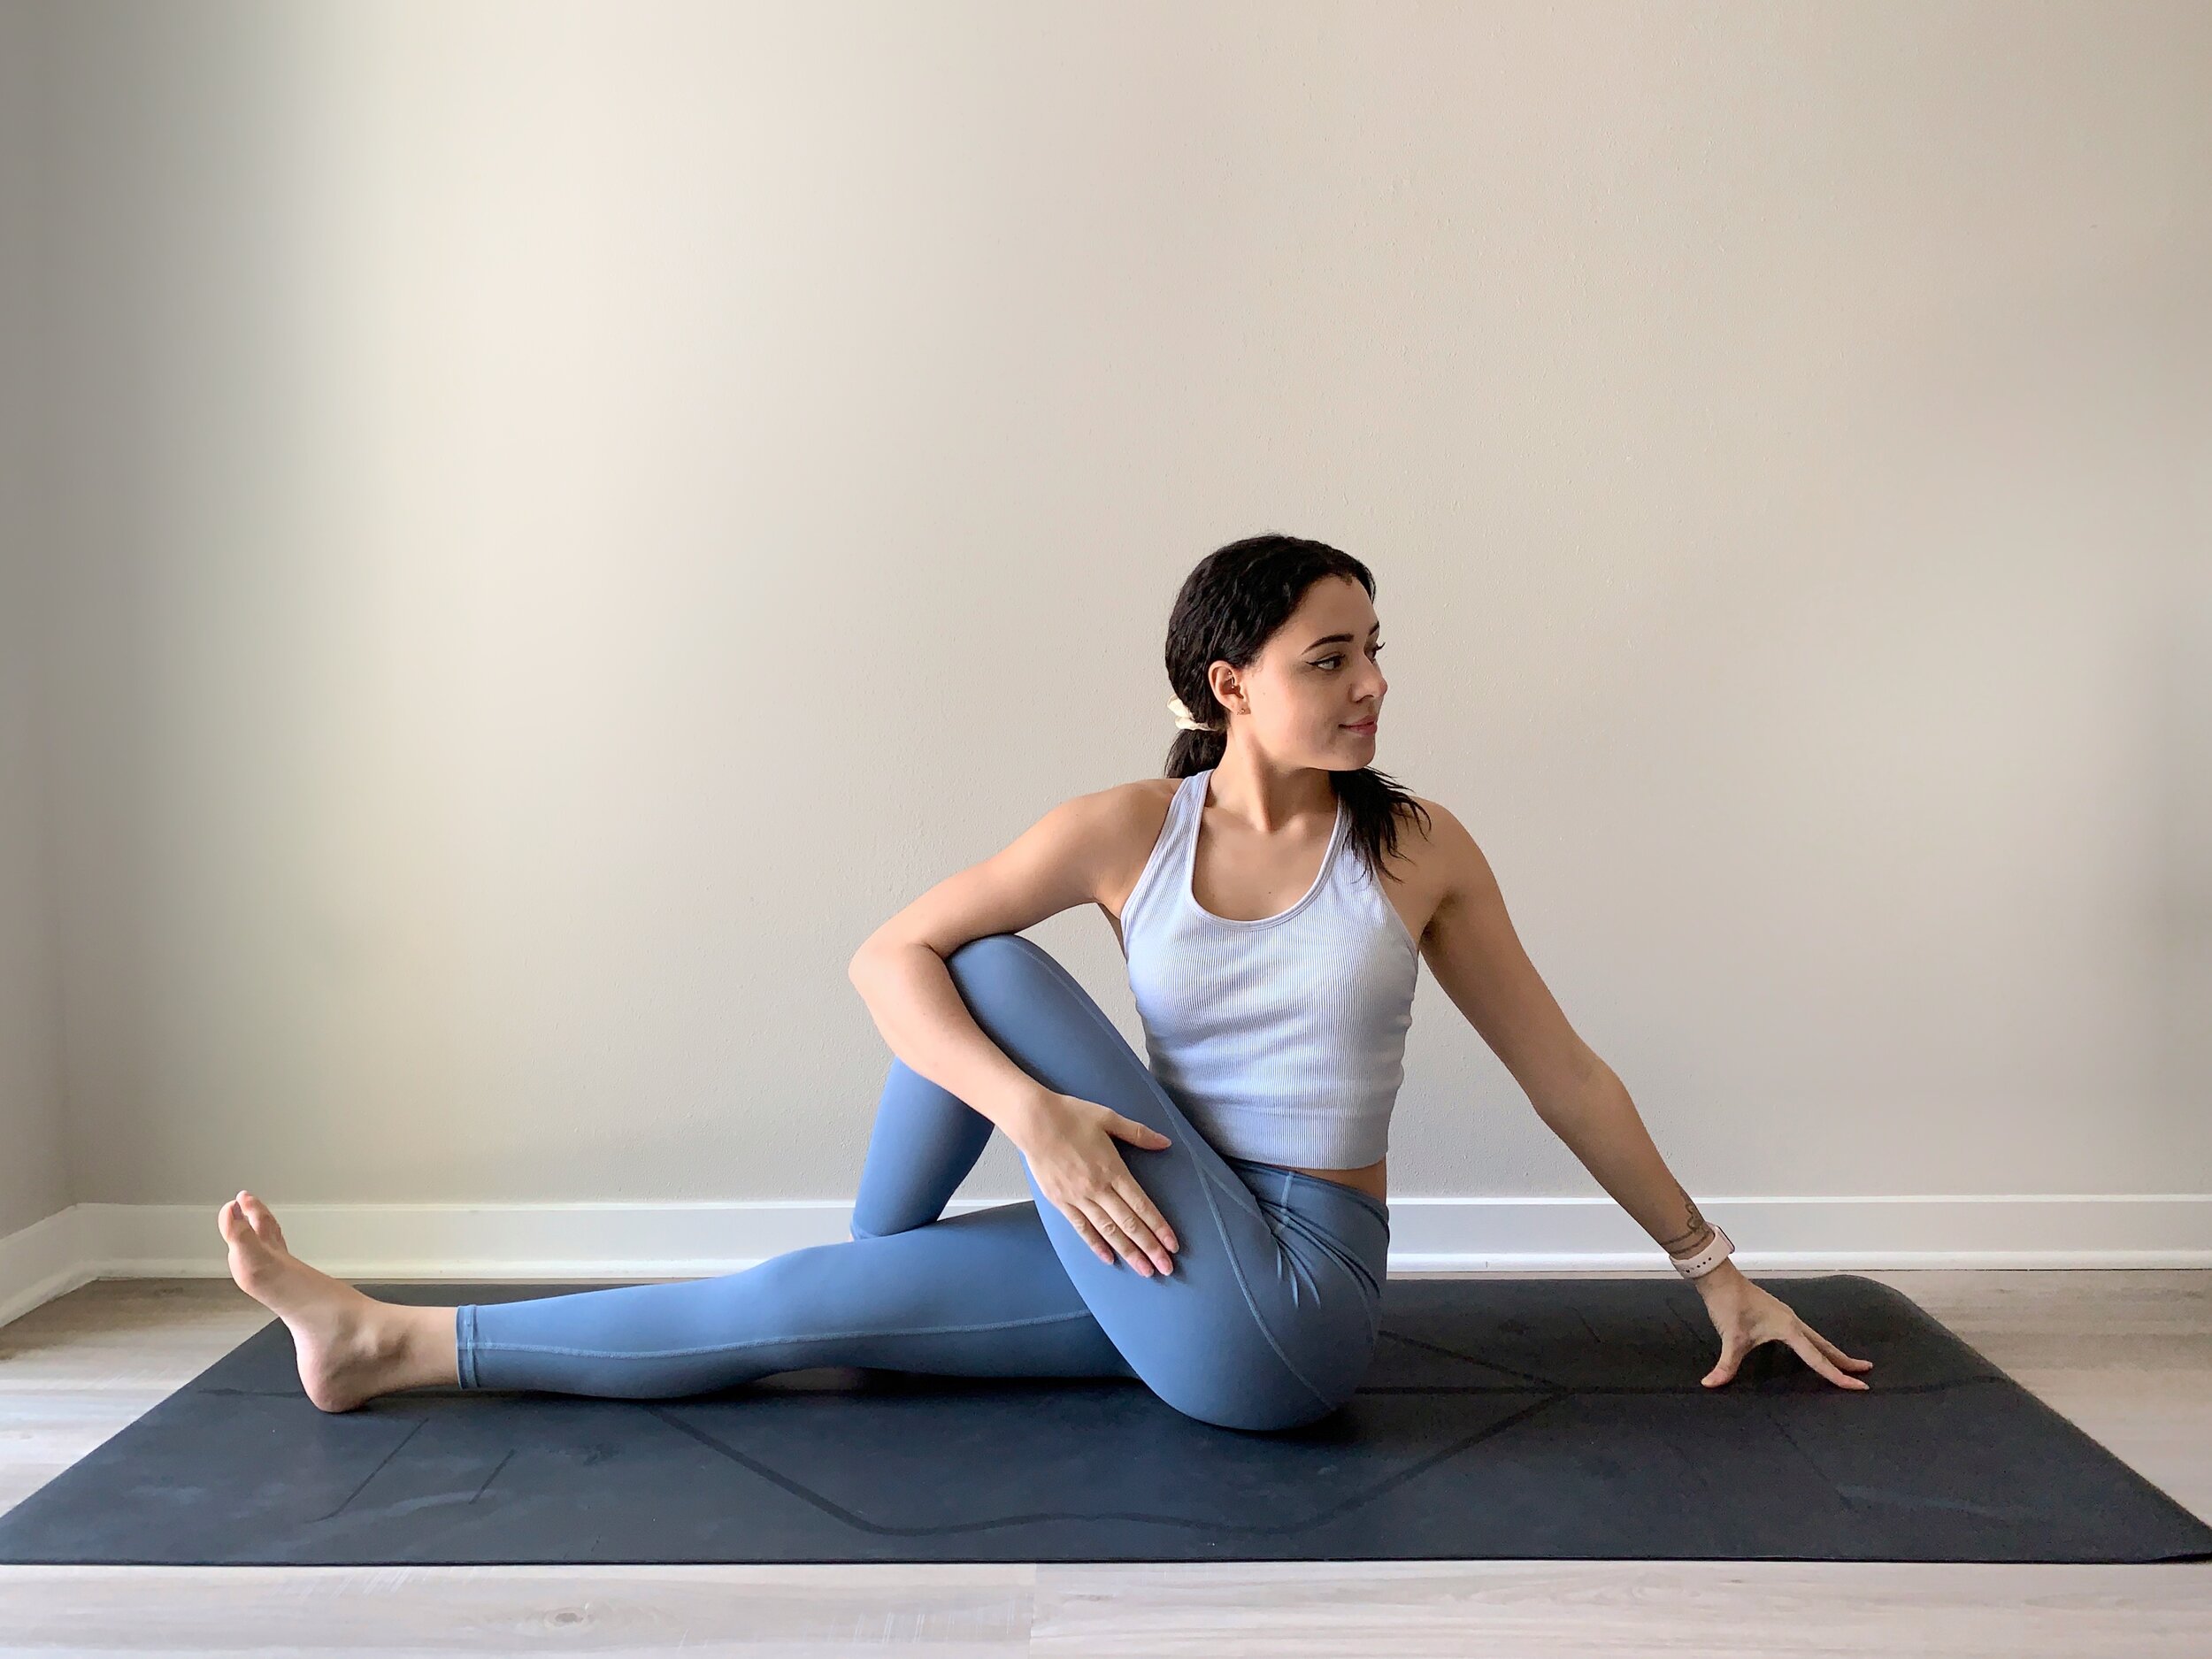
Backbends are an essential part of our yoga practice and so important for the holistic health of our body and mind. In this post I will be explaining some of the physical, emotional and mental benefits of backbends.

FIRST — WHY DO WE BEND BACKWARDS IN YOGA?

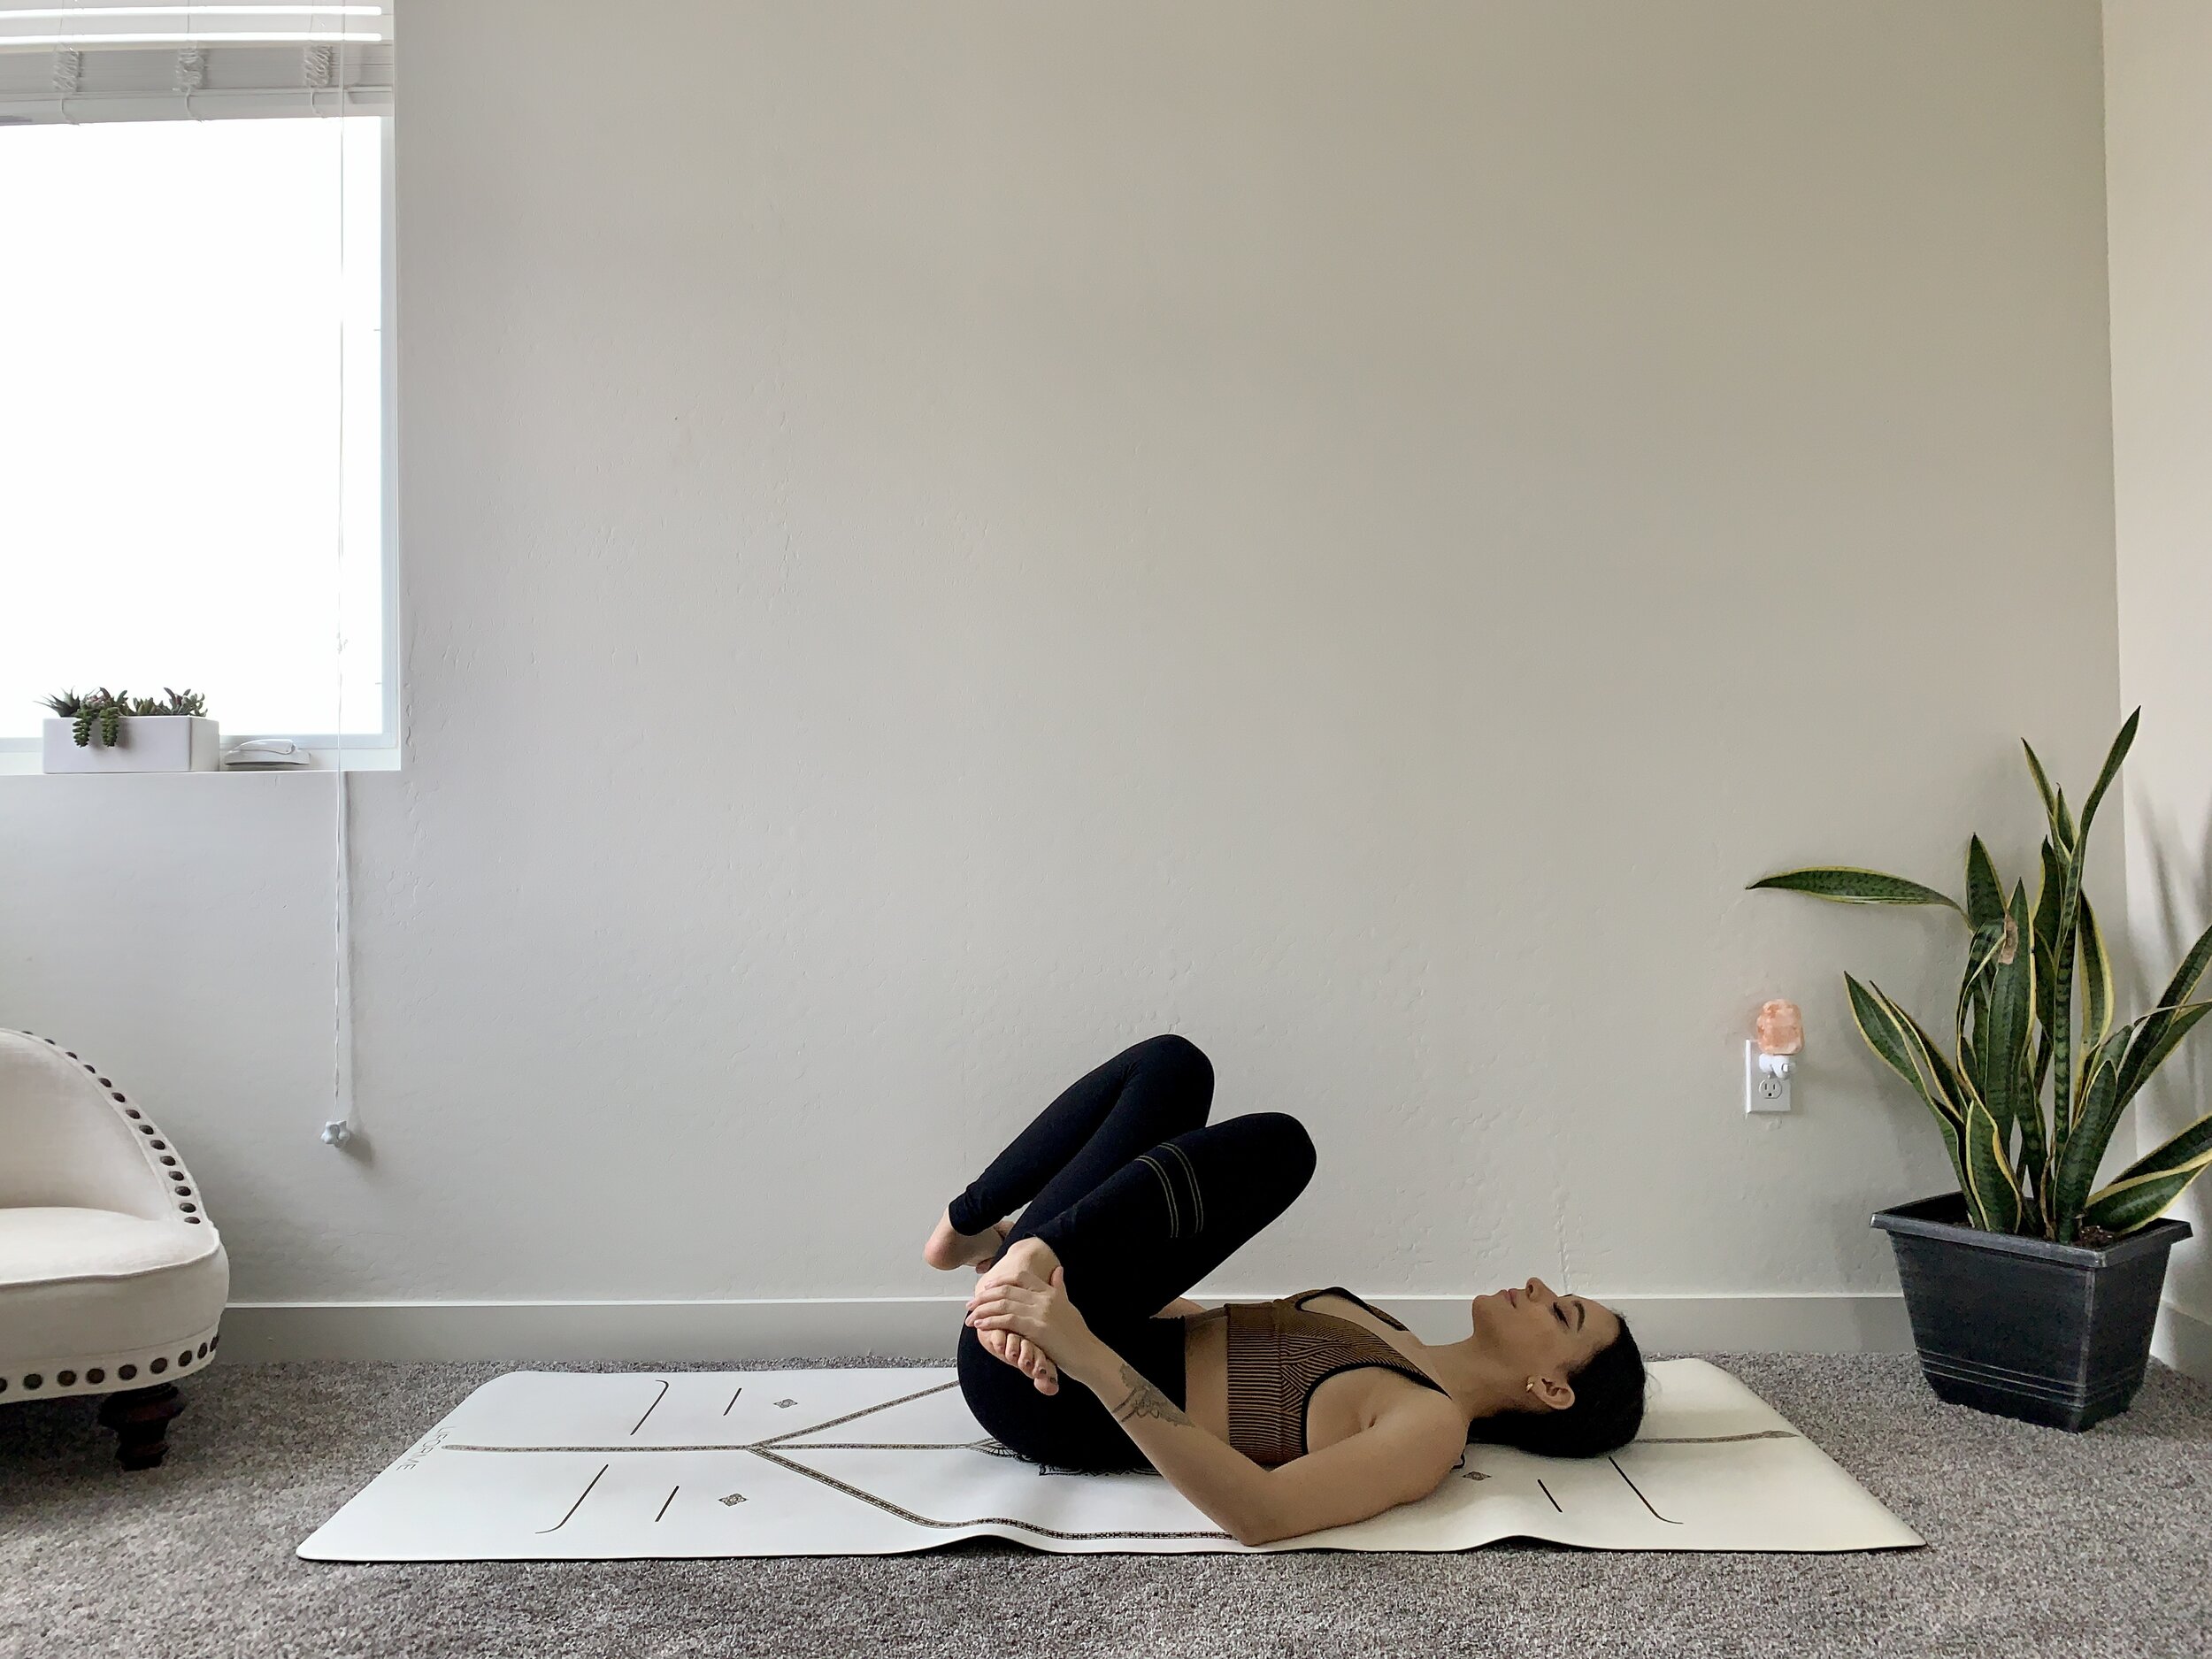
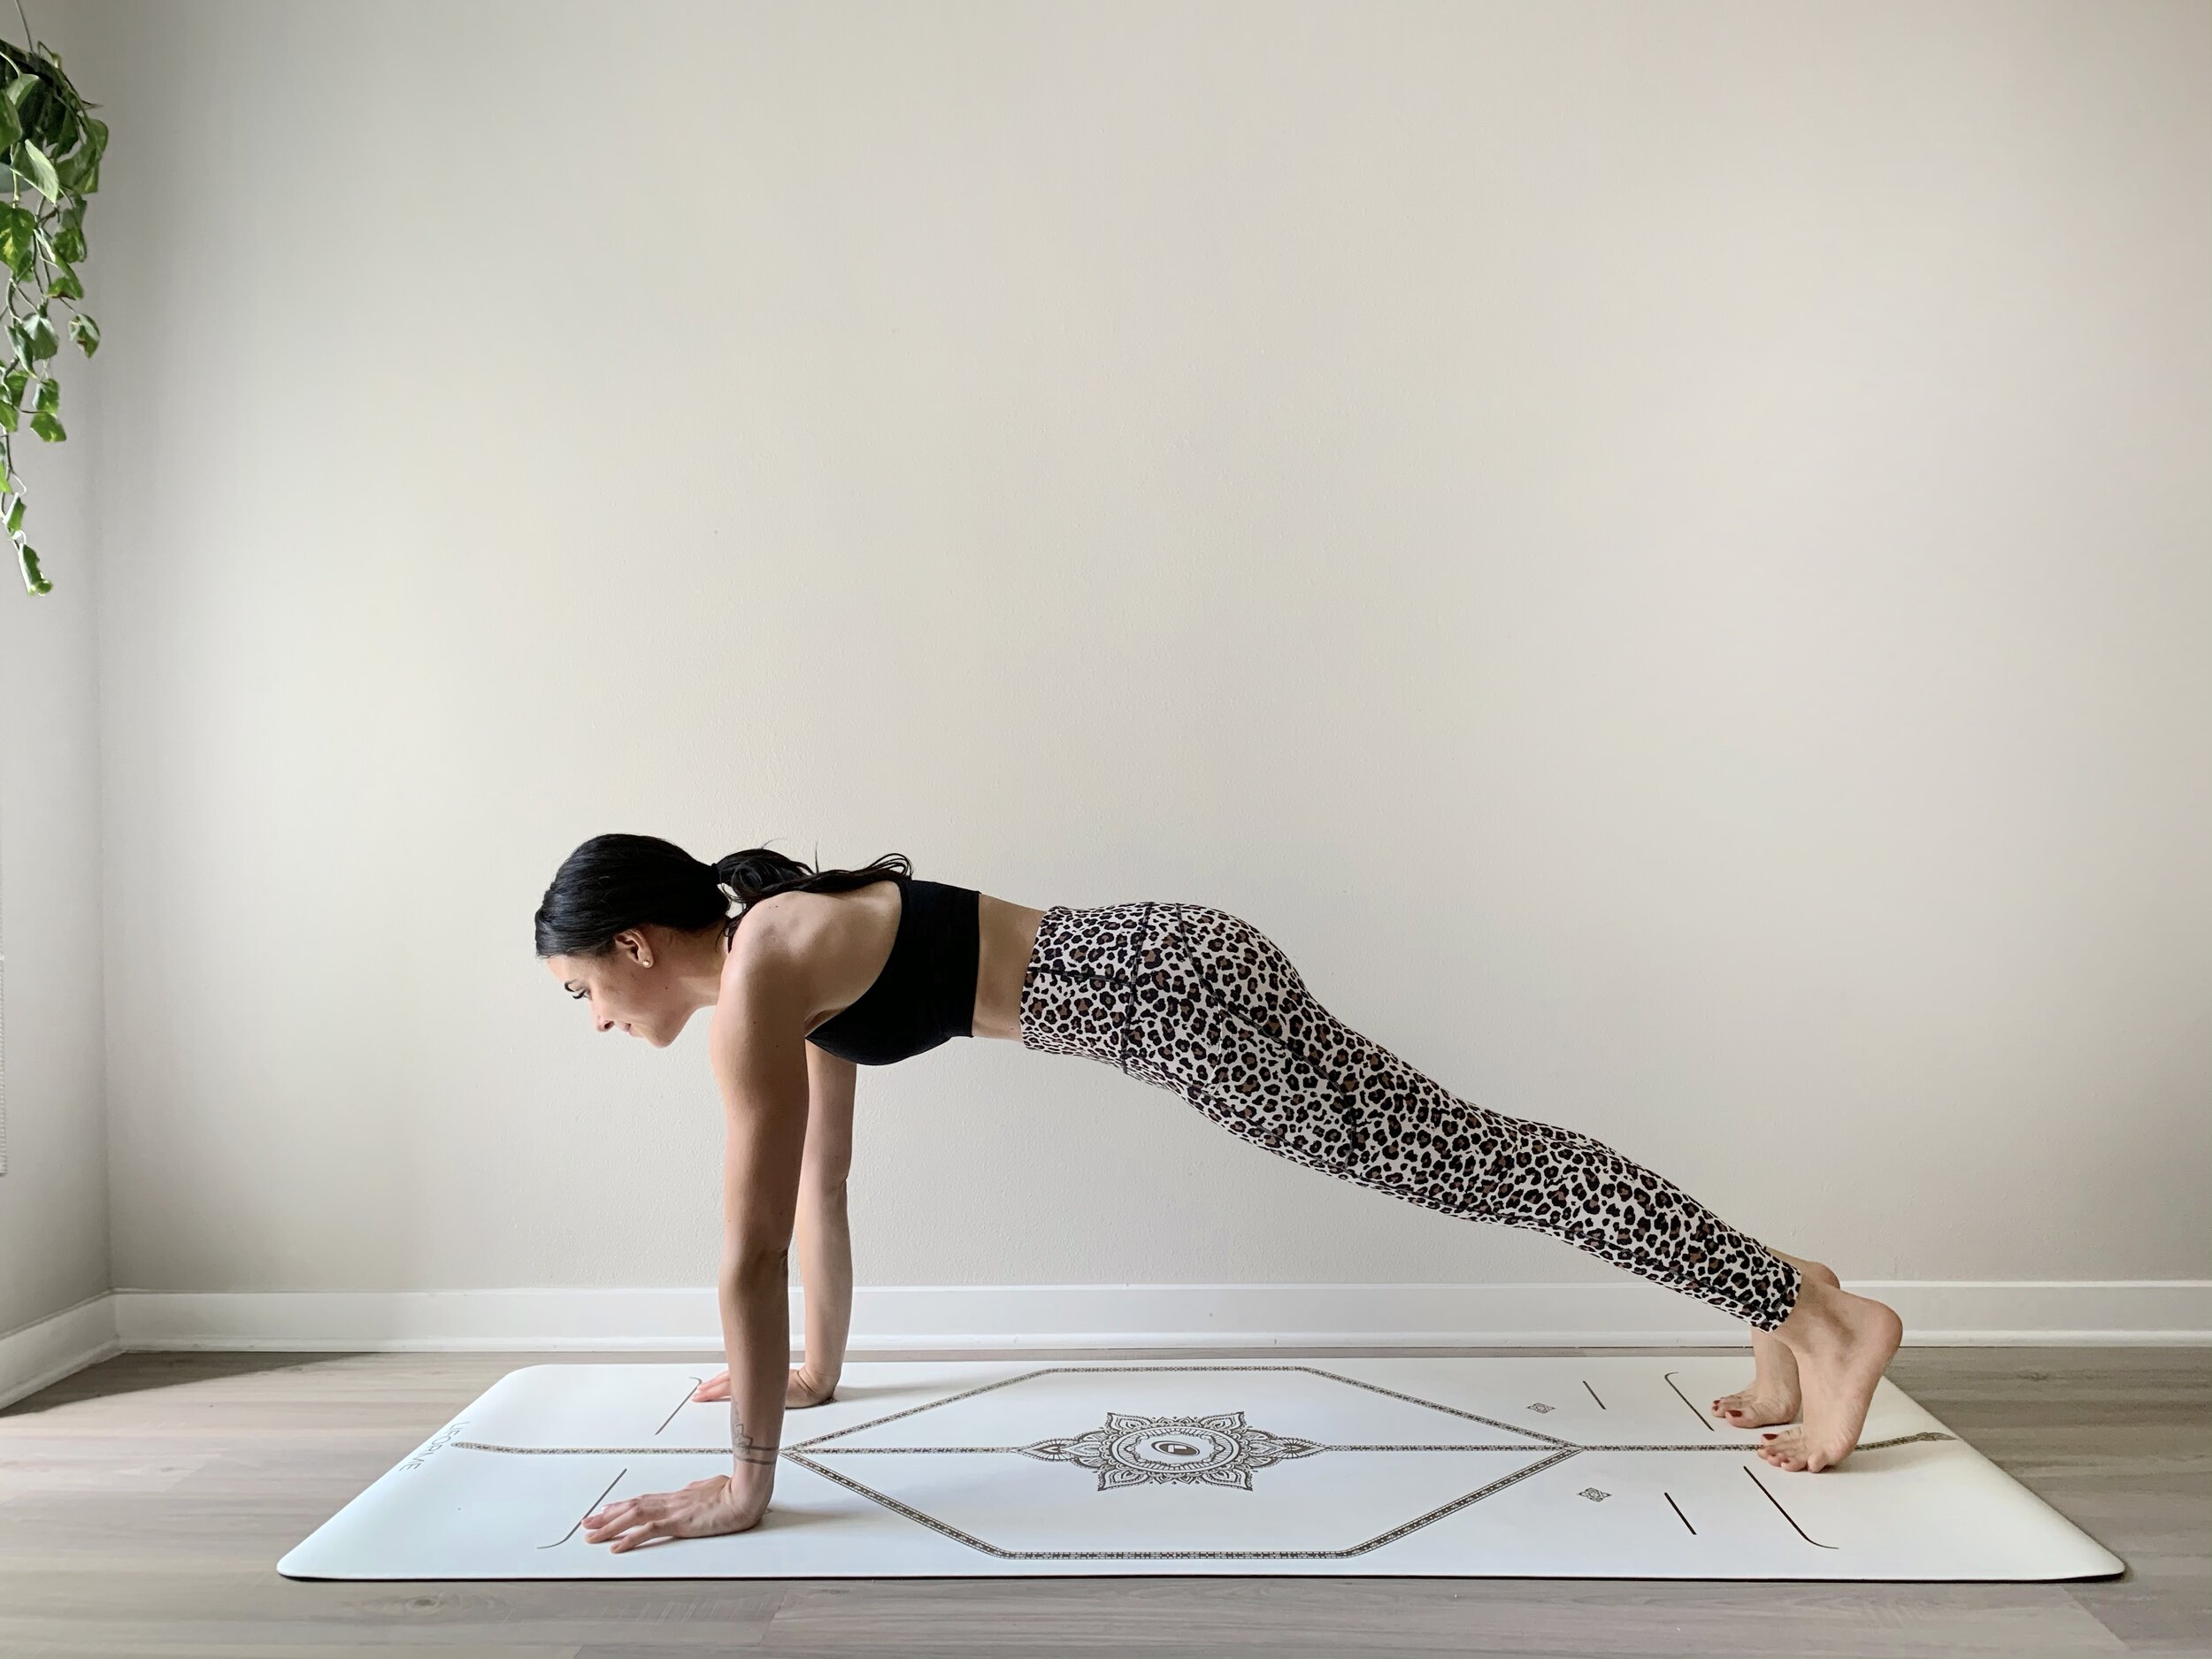
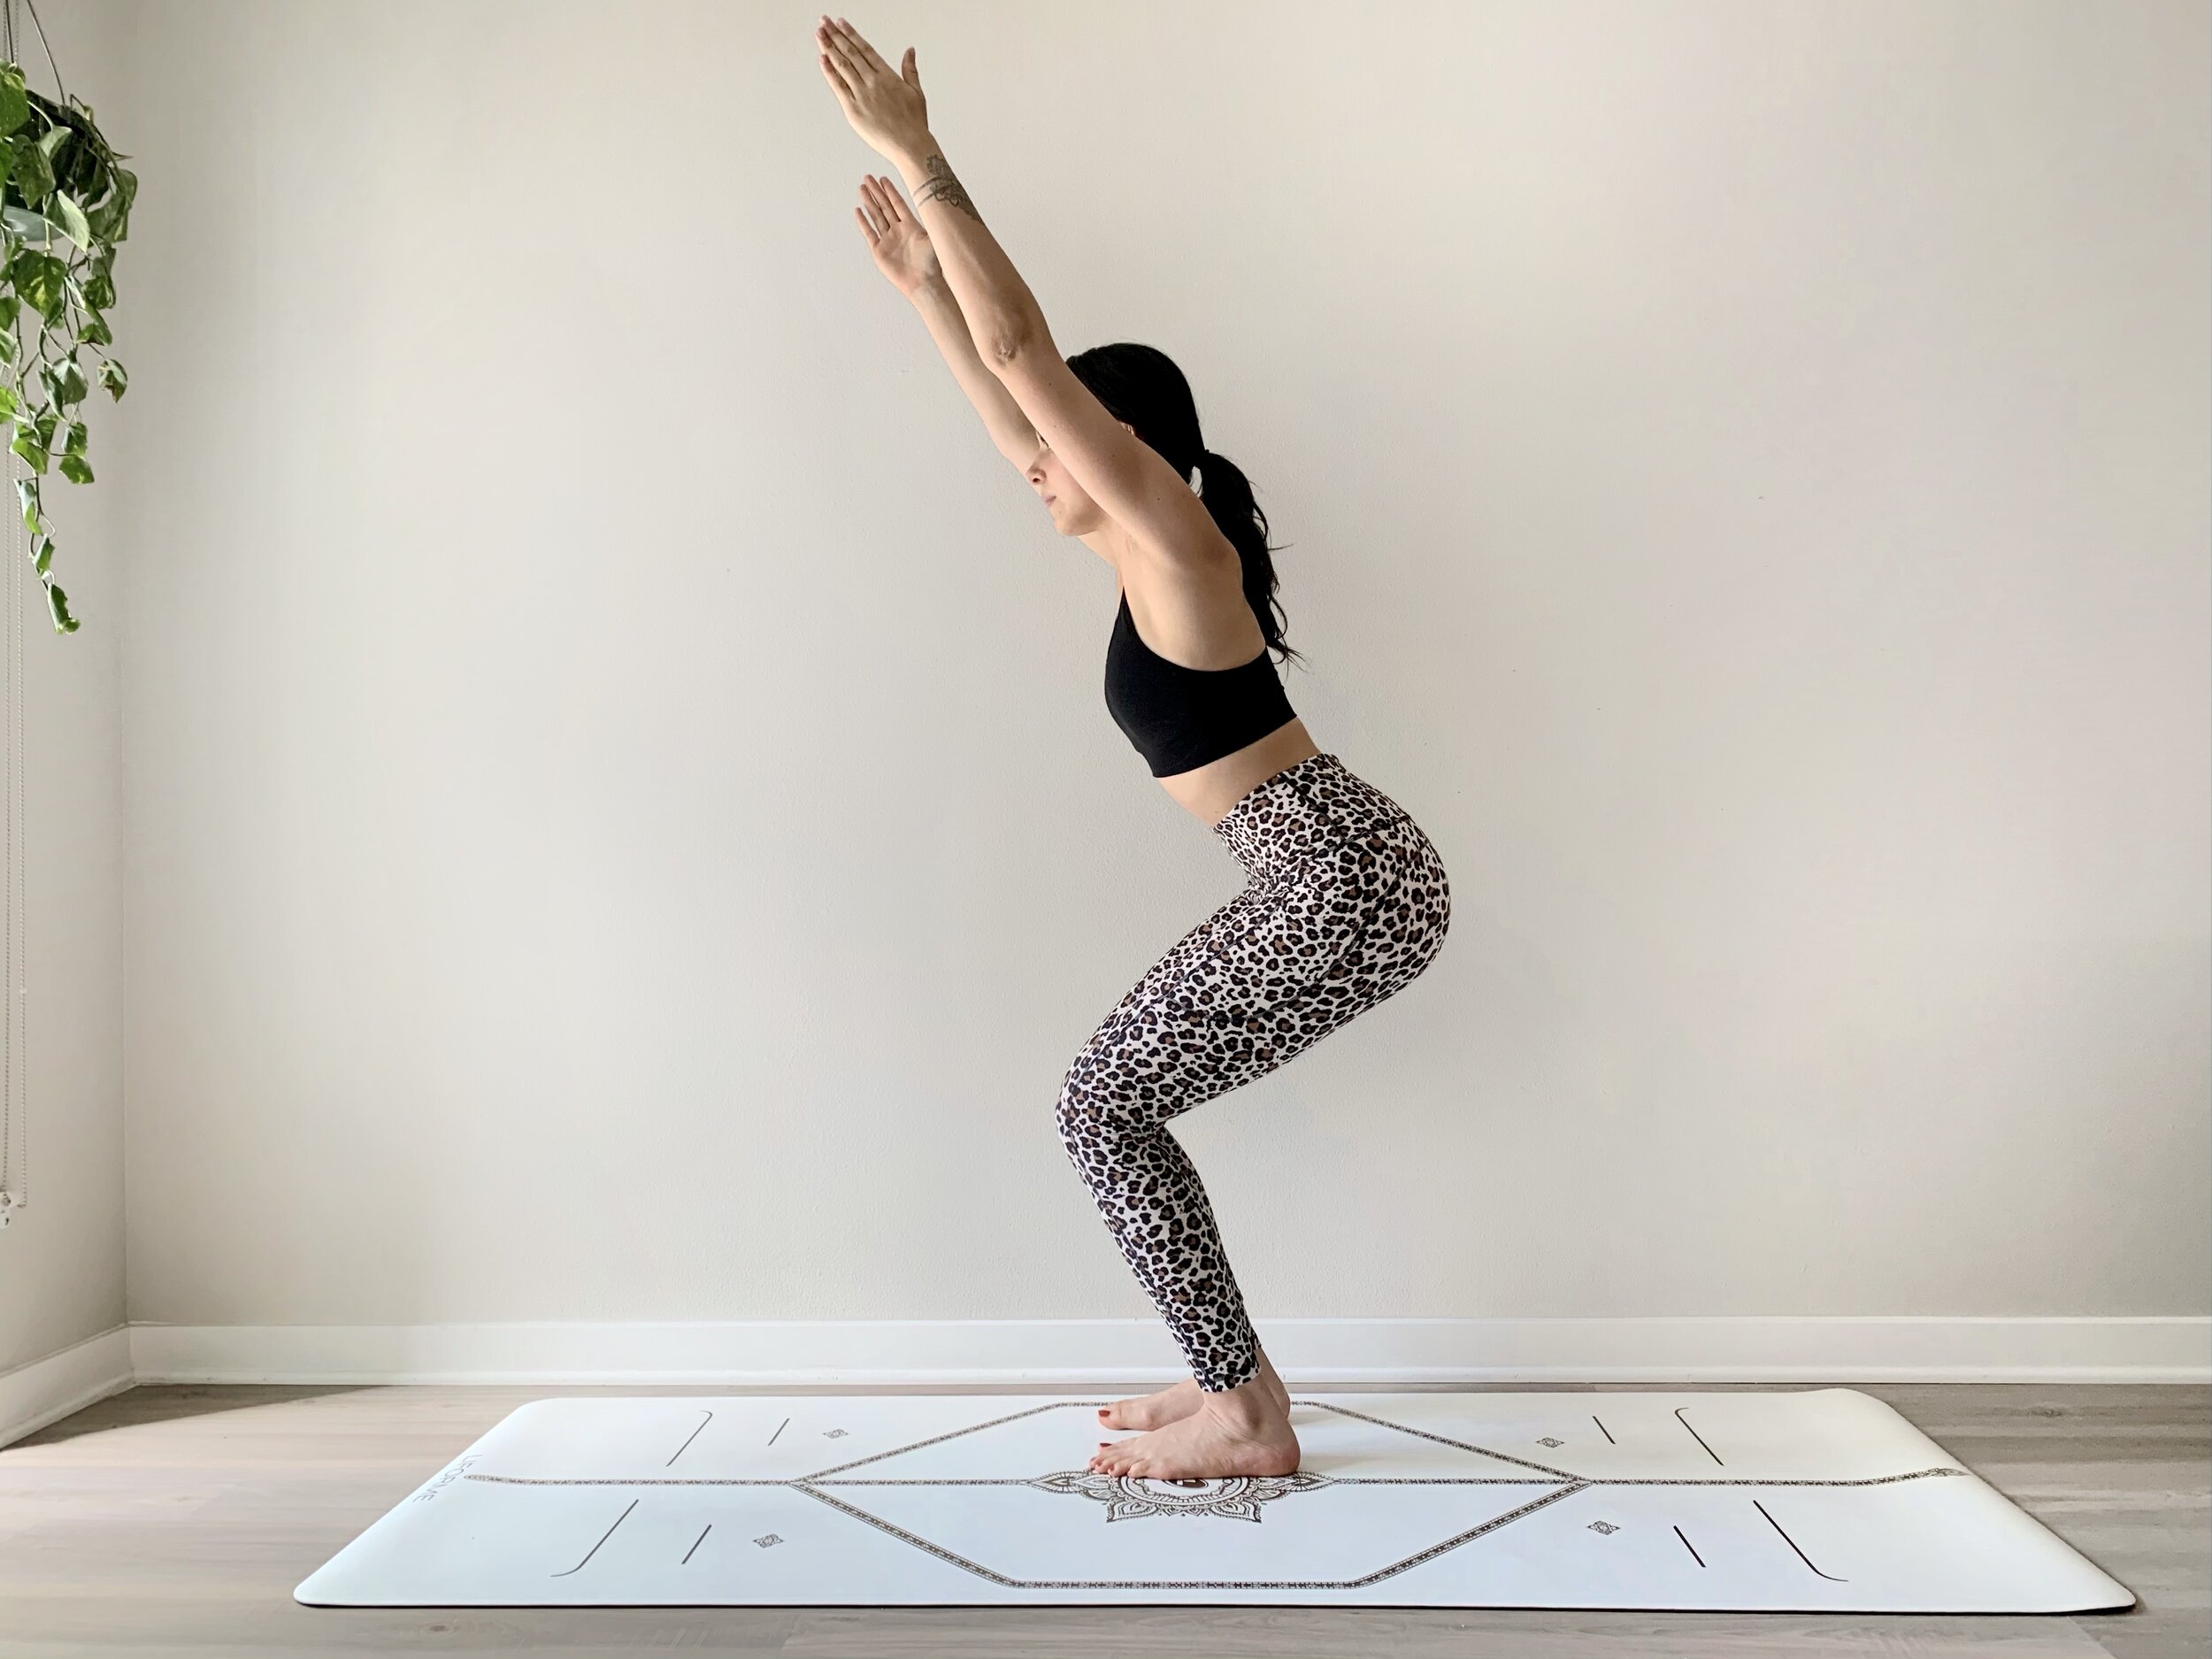
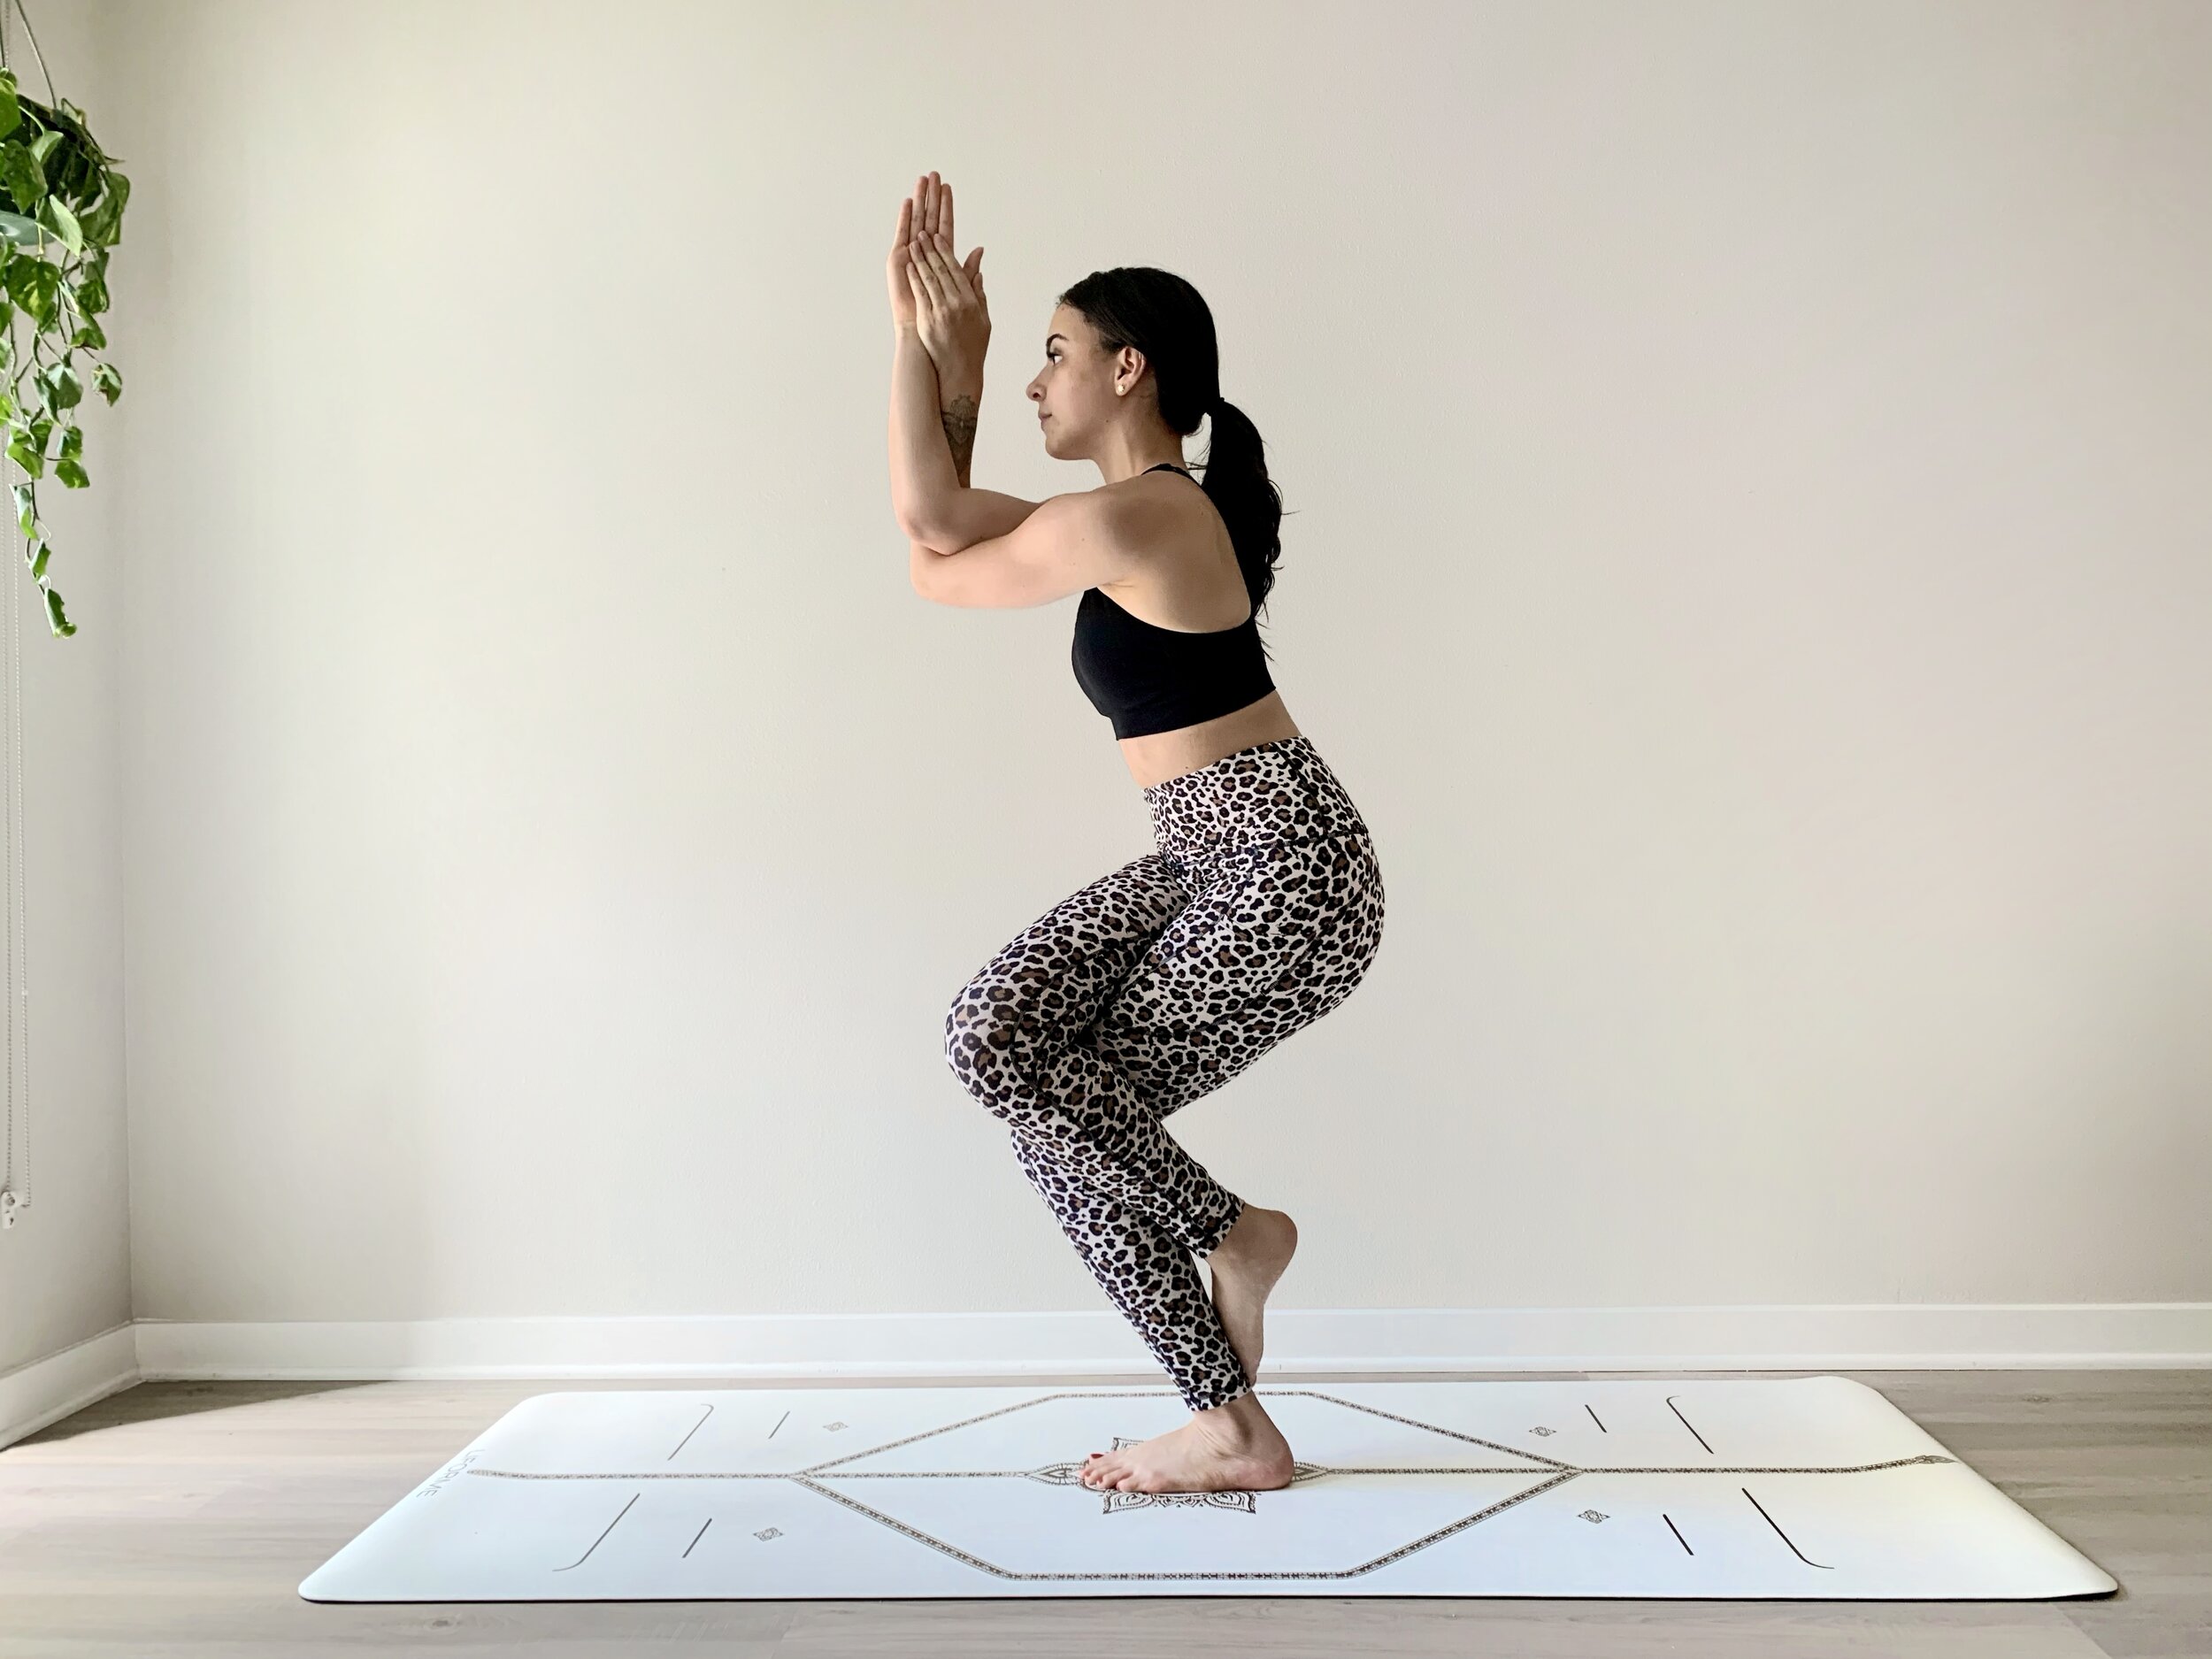
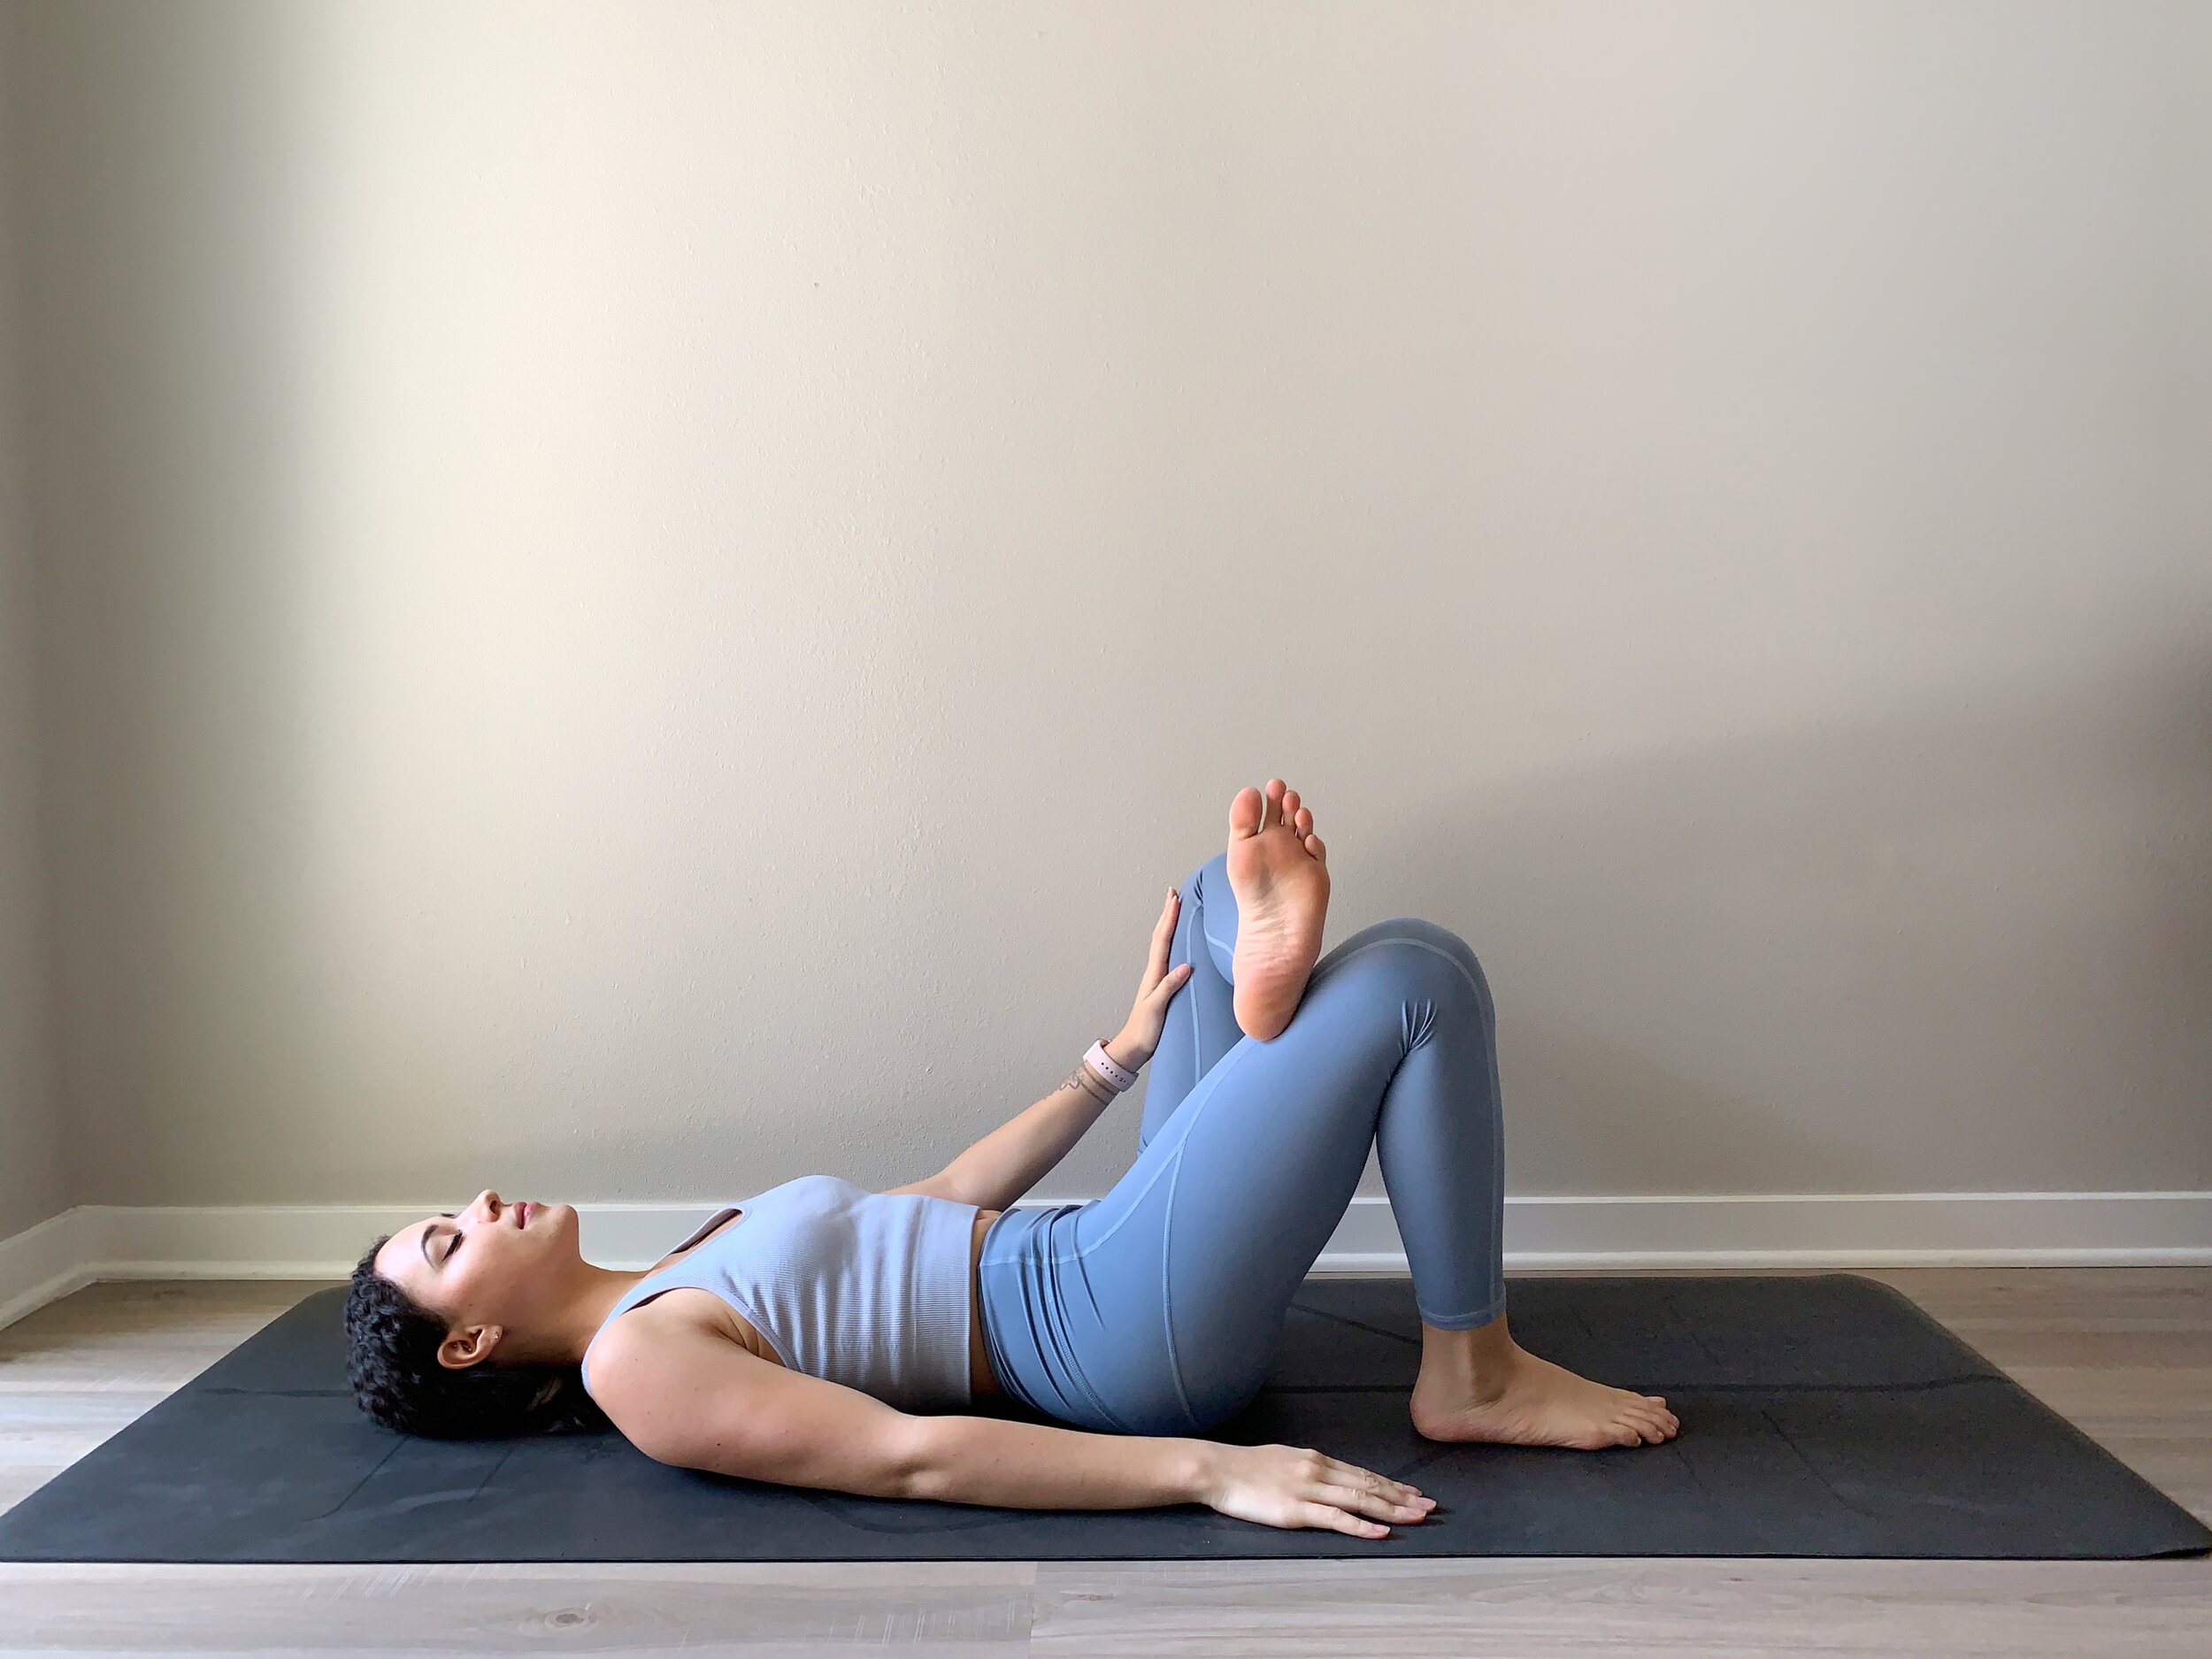
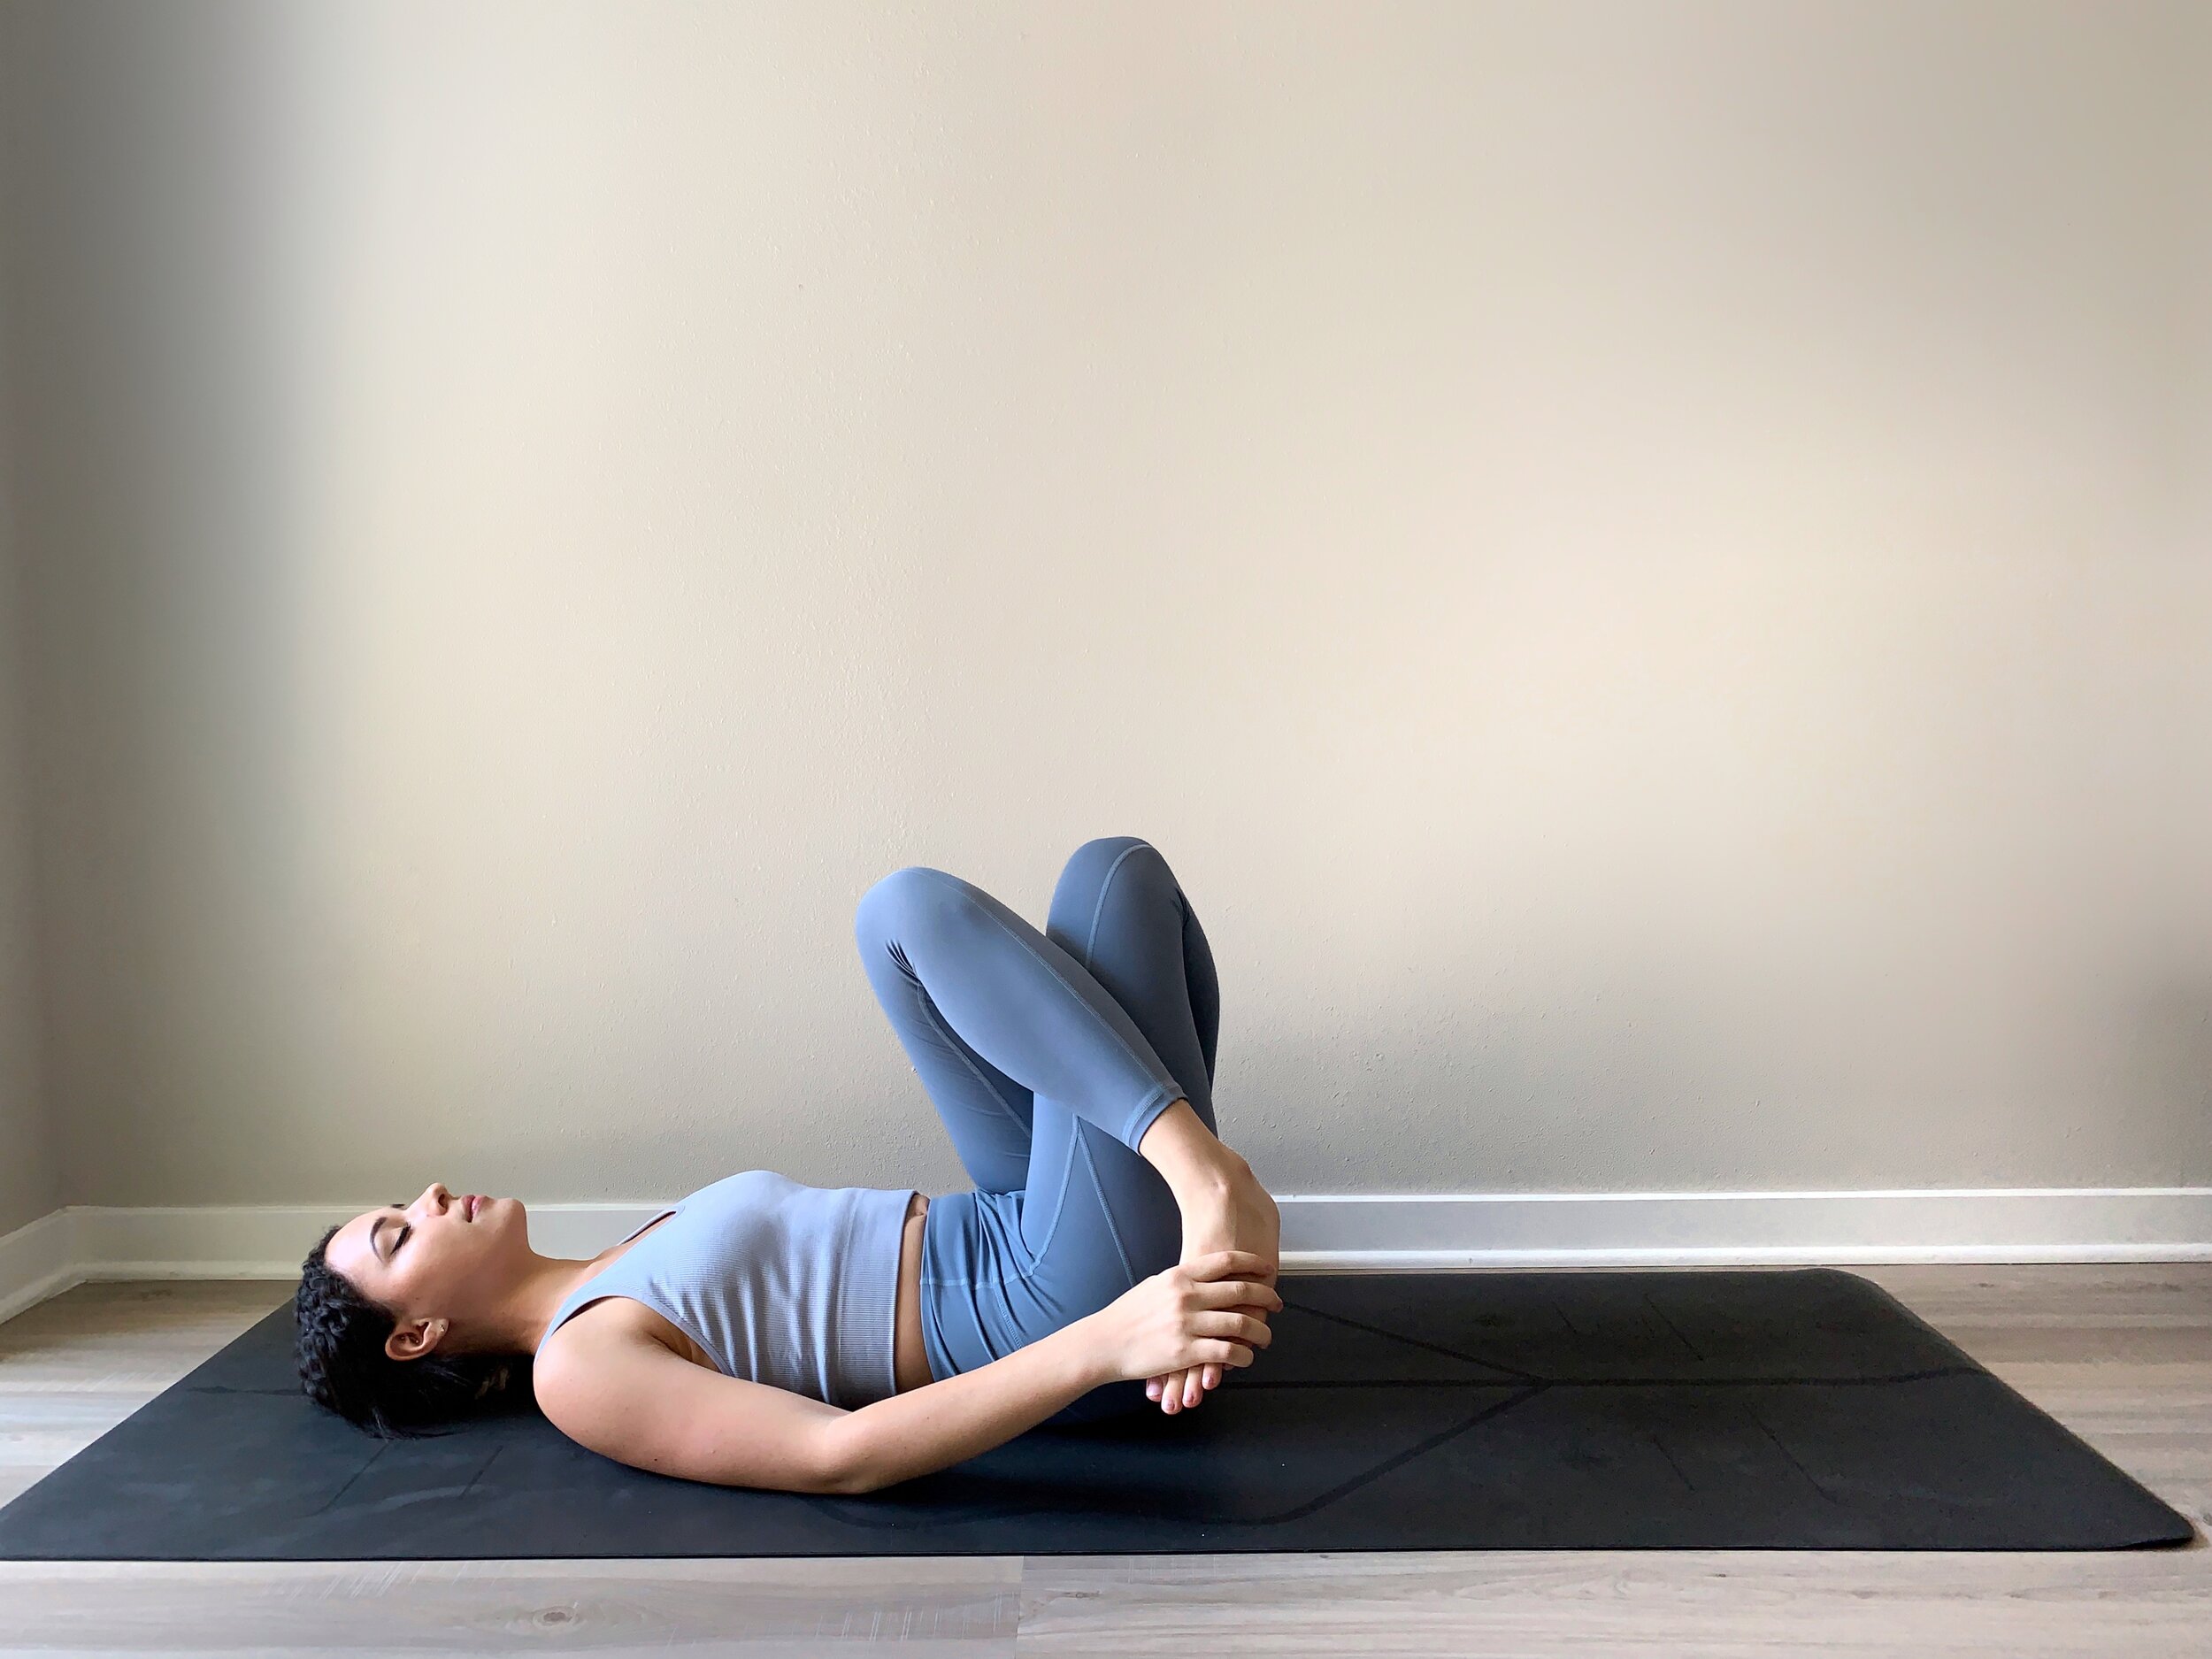
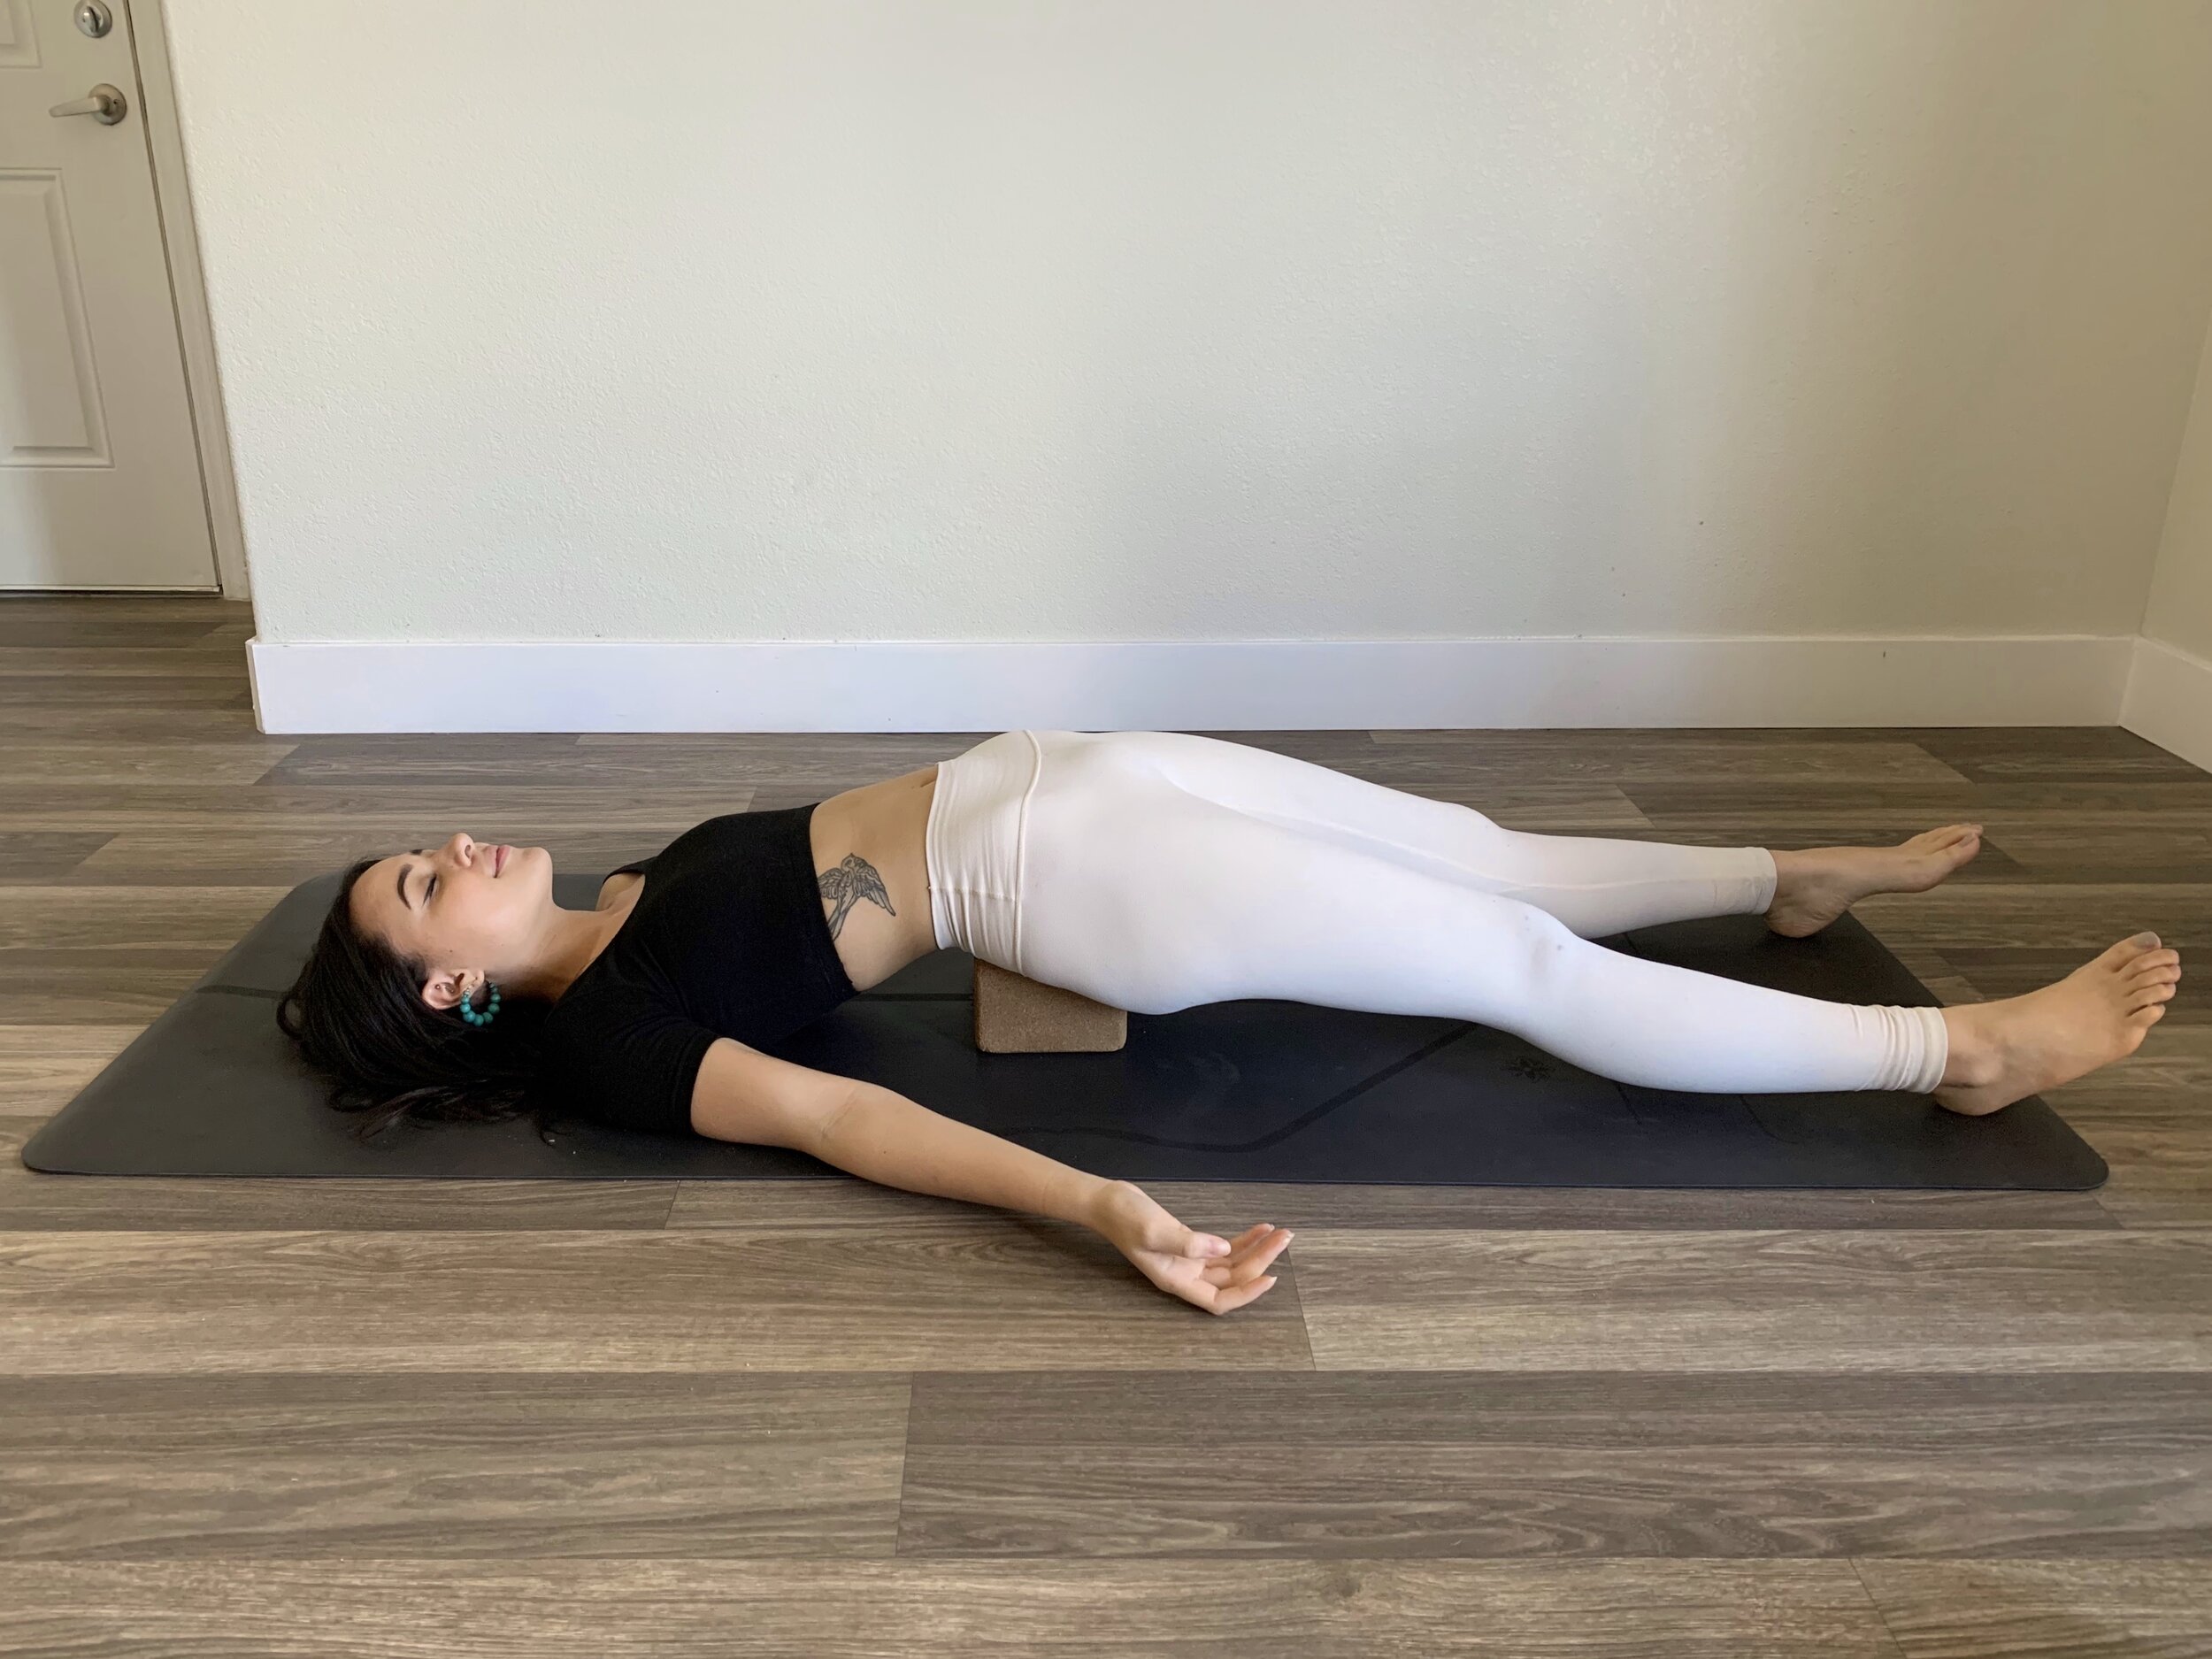
In general, backbends are an energizing and stimulating pose. They’re great to do first thing in the morning to kick start the nervous system and awaken the body. There are so many benefits to backbends, but here are a few of the biggies (and my favorites) plus some explanation into the why behind them:


STIMULATES THE SYMPATHETIC NERVOUS SYSTEM

Although much of yoga is about relieving stress and calming the body and mind, there’s still a very large aspect of stimulating the body. We do this for a variety of reasons; to build strength + endurance, to stimulate energy flow within the body and to increase circulation + maintain cardiac health. Therefore it’s important to stimulate our nervous system and innervate the sympathetic nervous system (also known as the “fight or flight” response) as well as our parasympathetic nervous system (also known as the “rest and digest” or relaxation response). It is the Yang to the Yin.

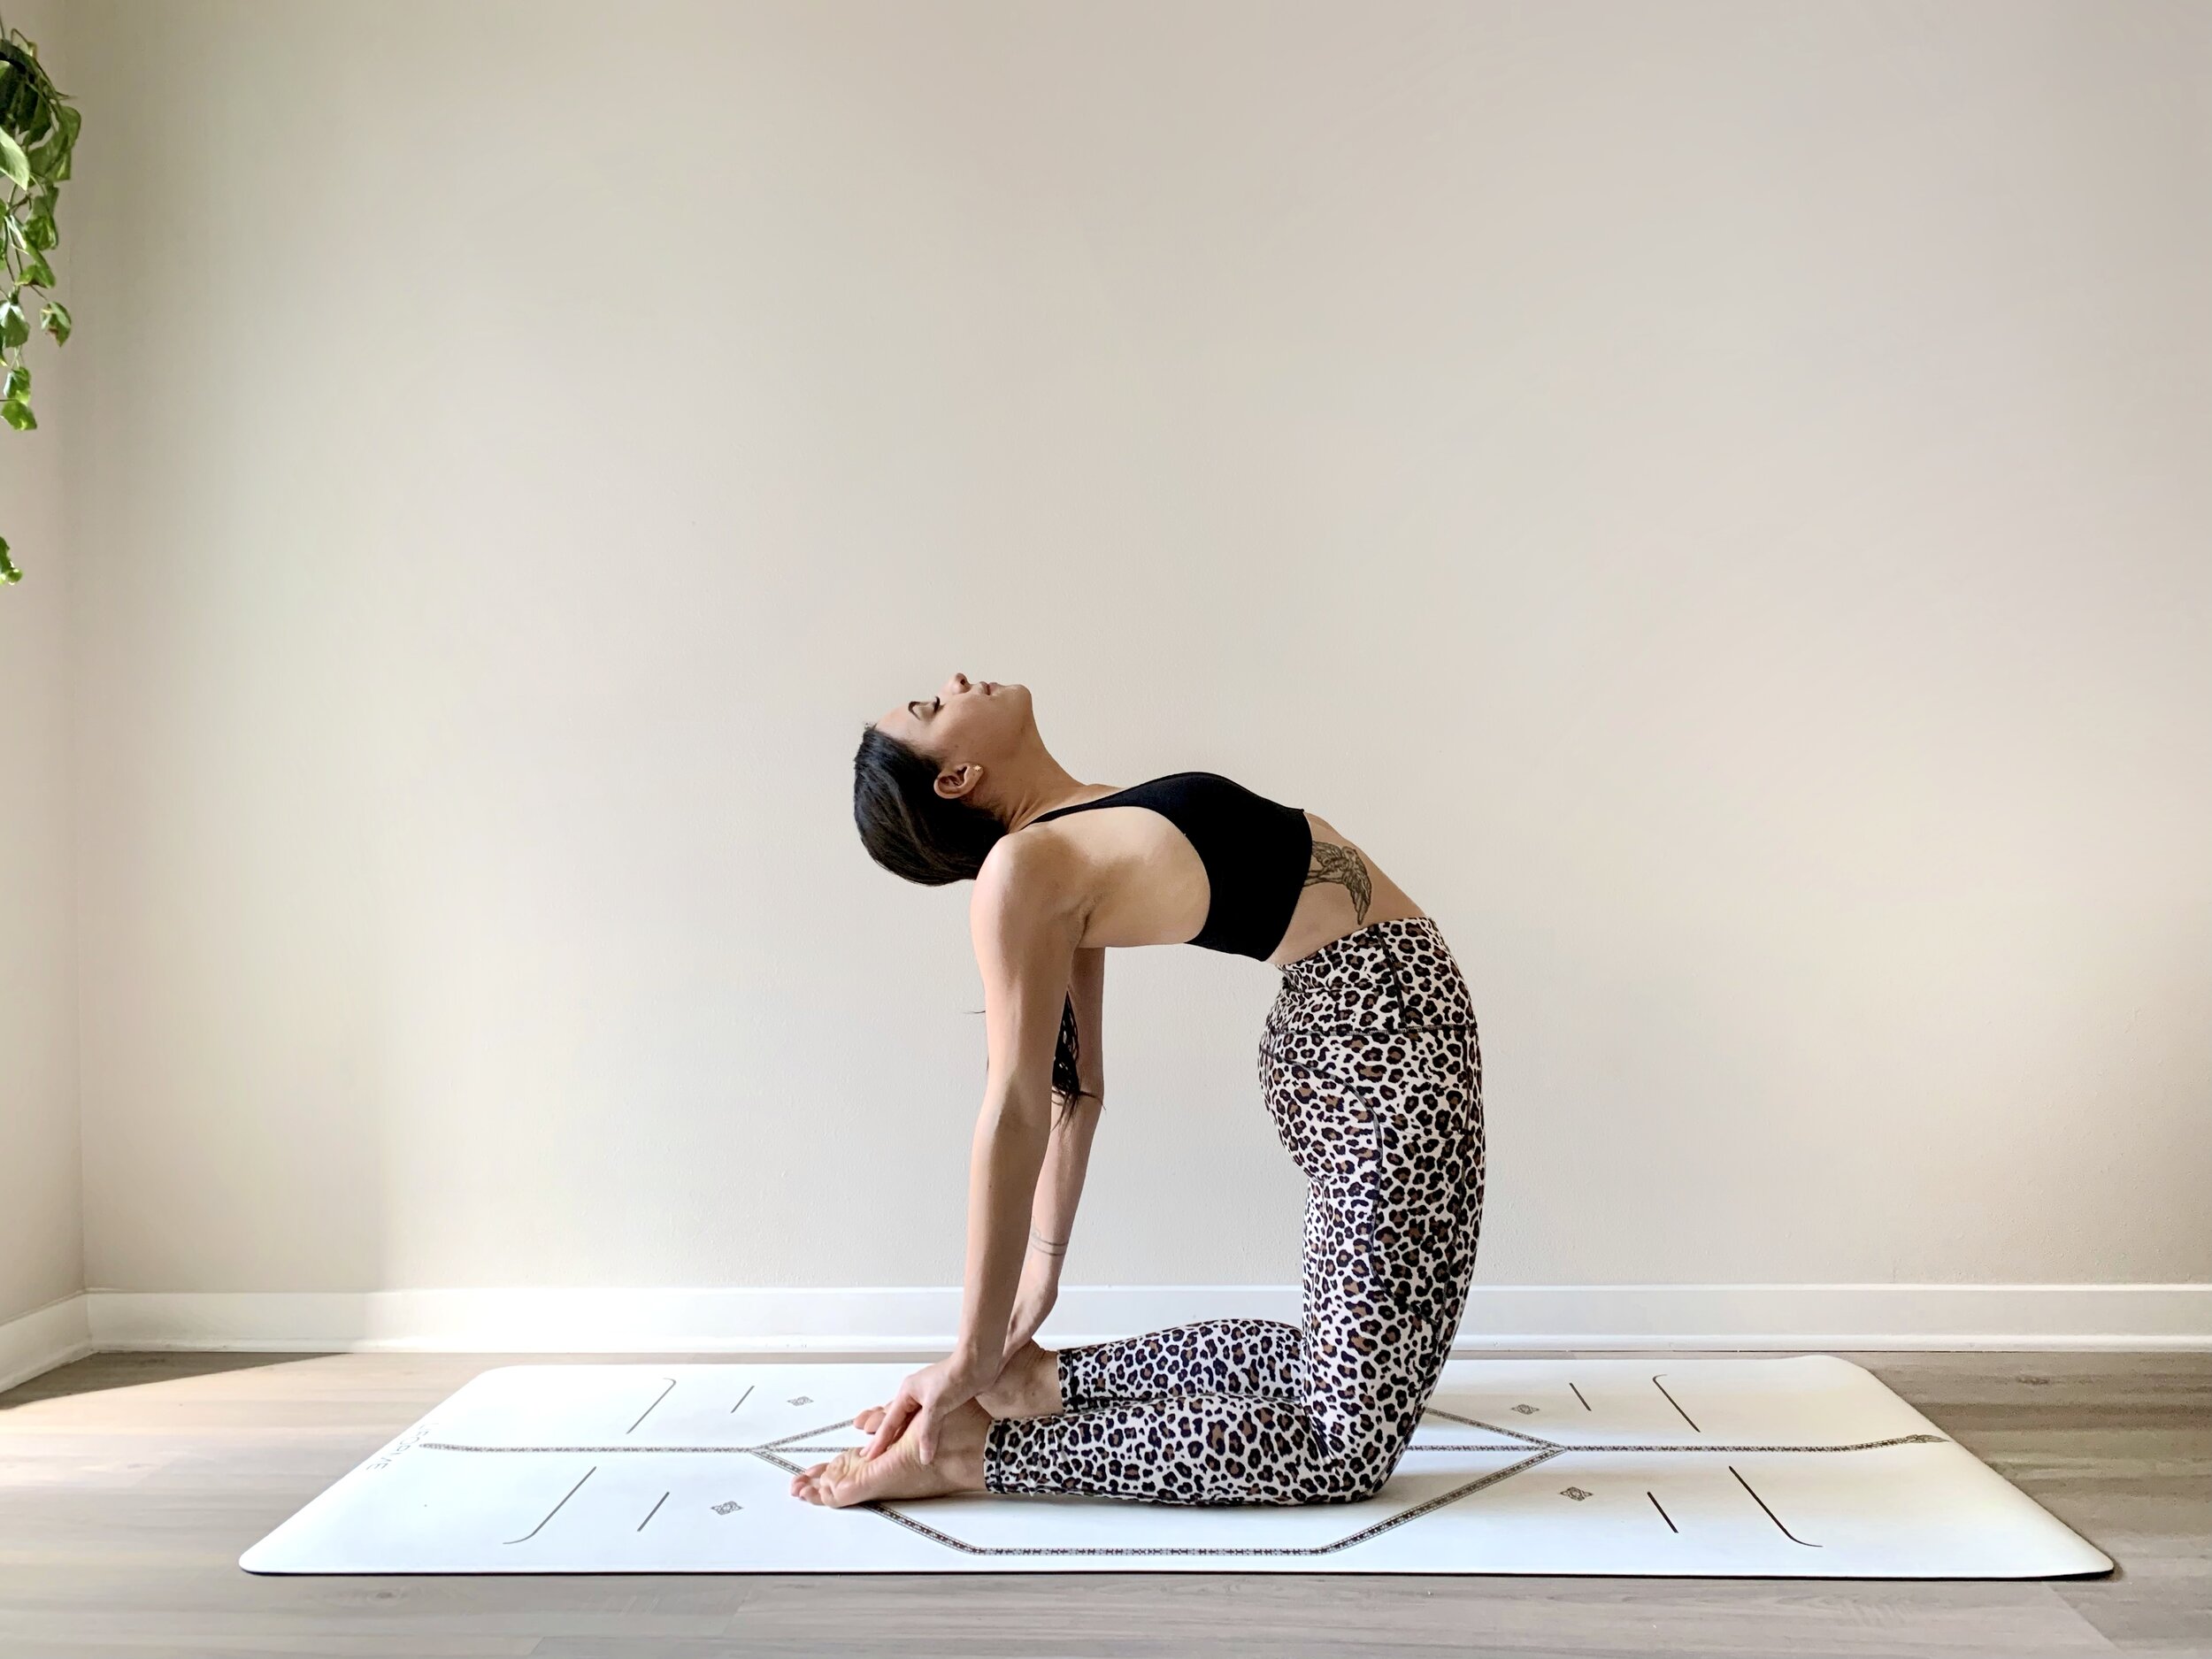
In our backbends, pressure is increased at the heart center due to compression of the chest cavity, the adrenals are squeezed and the heat in the body is increased which stimulates the sympathetic nervous system. This activates and energizes the body and can be therapeutic for fatigue, low energy and mild cases of depression.


HELPS TO INCREASE IMMUNITY + STIMULATE THE LYMPHATIC SYSTEM

Compression of the thymus gland (located in the center of our chest) into the sternum (breastbone), helps to stimulate the thymus gland - a very important organ in our lymphatic system. It also aids in massage of the spleen - our largest lymphatic organ in the body. These glands are largely involved in maturation and storage of white blood cells in the body. They help to filter red blood cells + kill cells that have been infiltrated by a pathogen (bad things like bacteria, infection, virus etc.), ultimately helping to remove infection in the body.

Backbends also usually involve a compression or opening of areas in the body that contain our lymph nodes - mainly the armpits, groin and neck. This helps stimulate the lymph nodes and movement of lymphatic fluid through these nodes, helping to filter lymph fluid to remove infection and waste in the body.


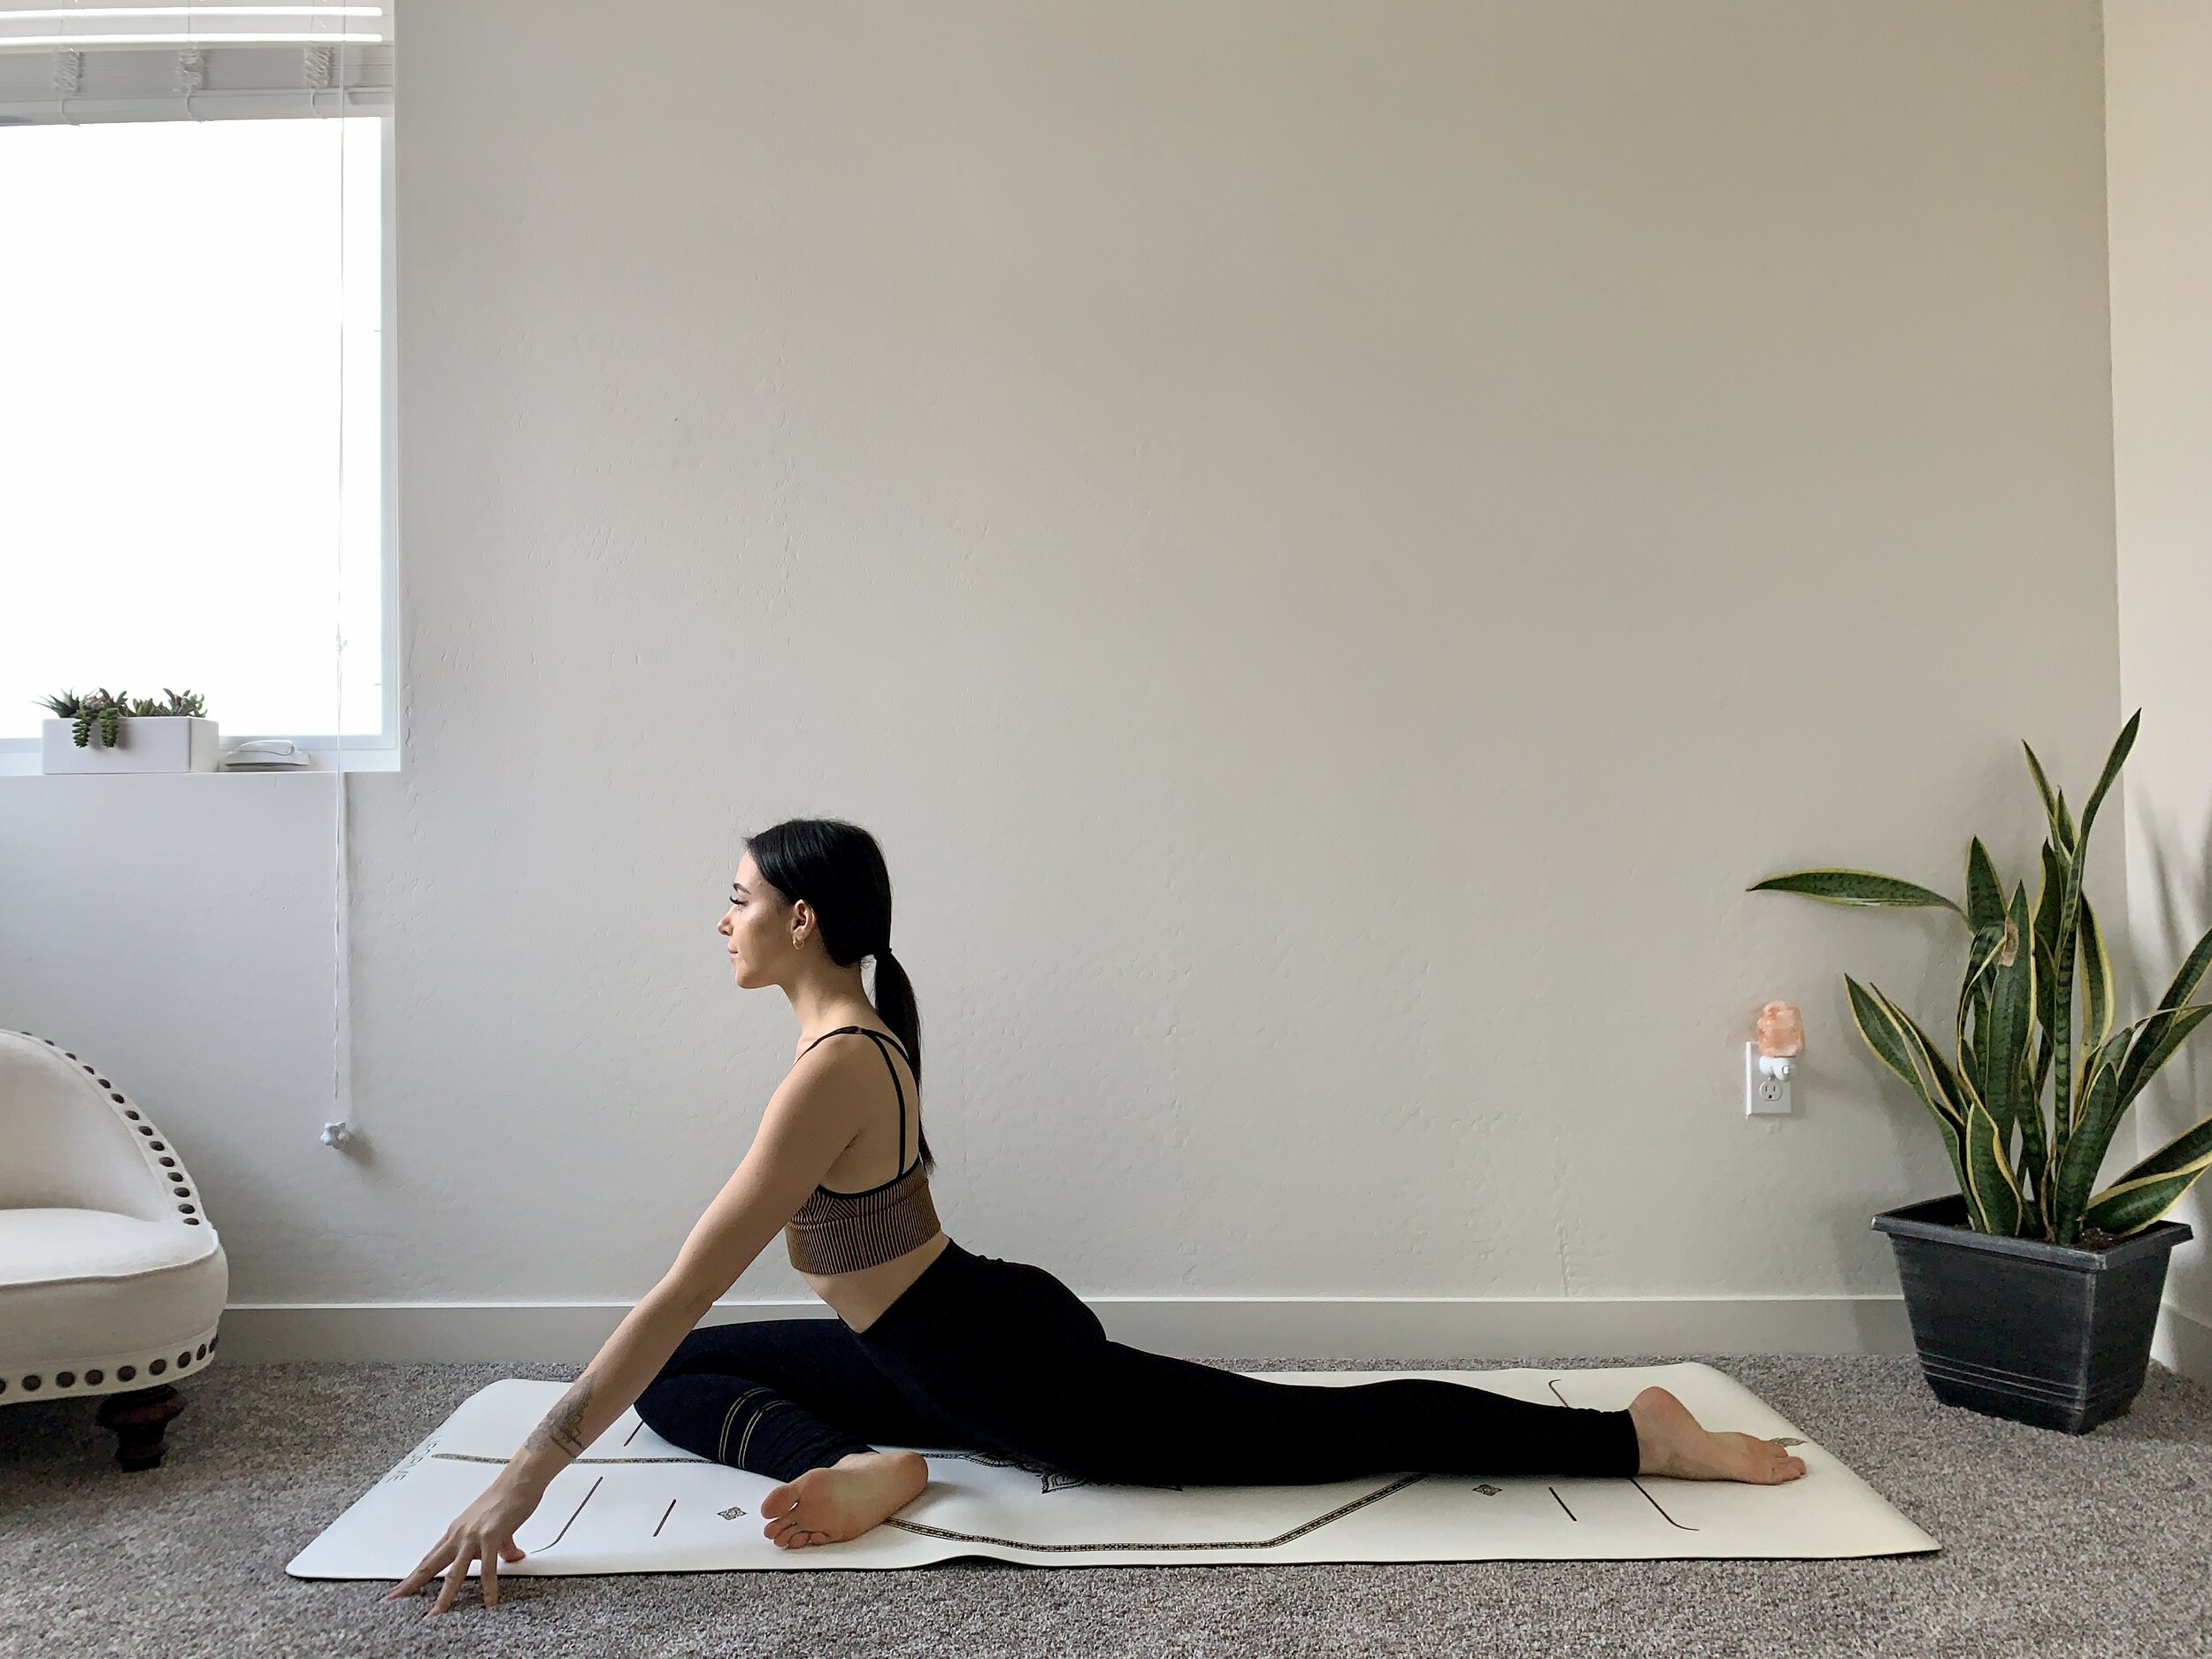
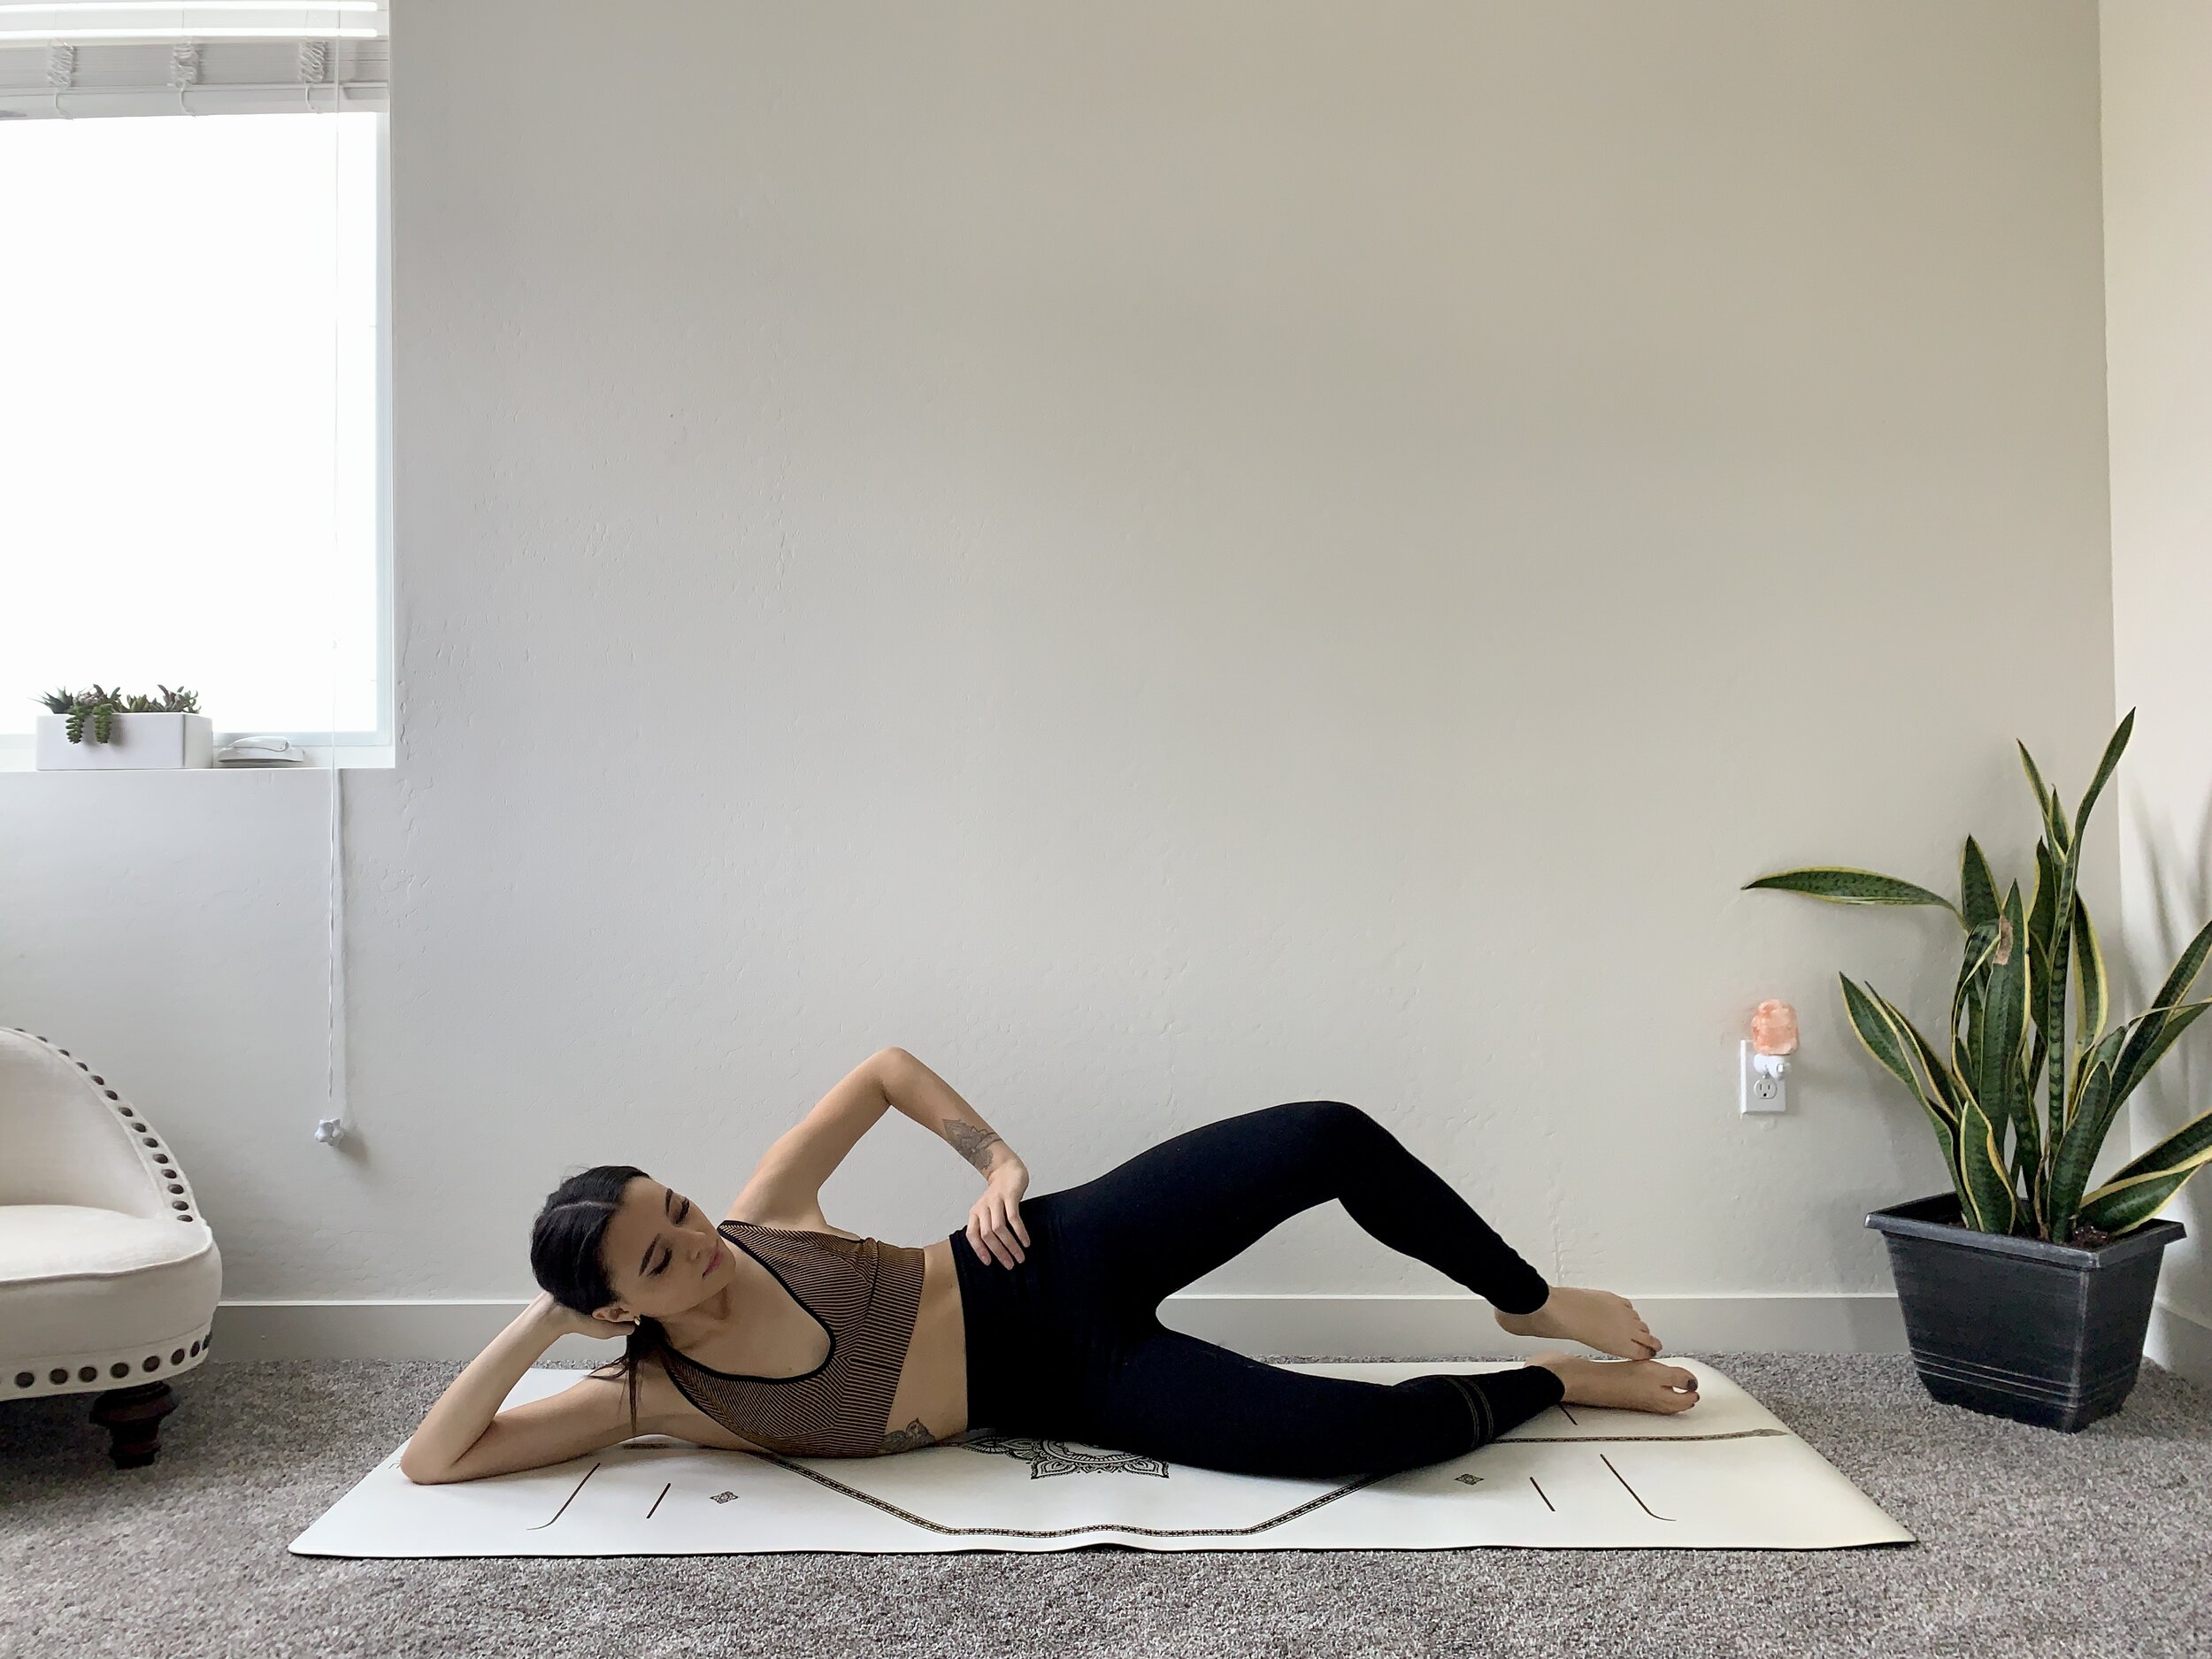
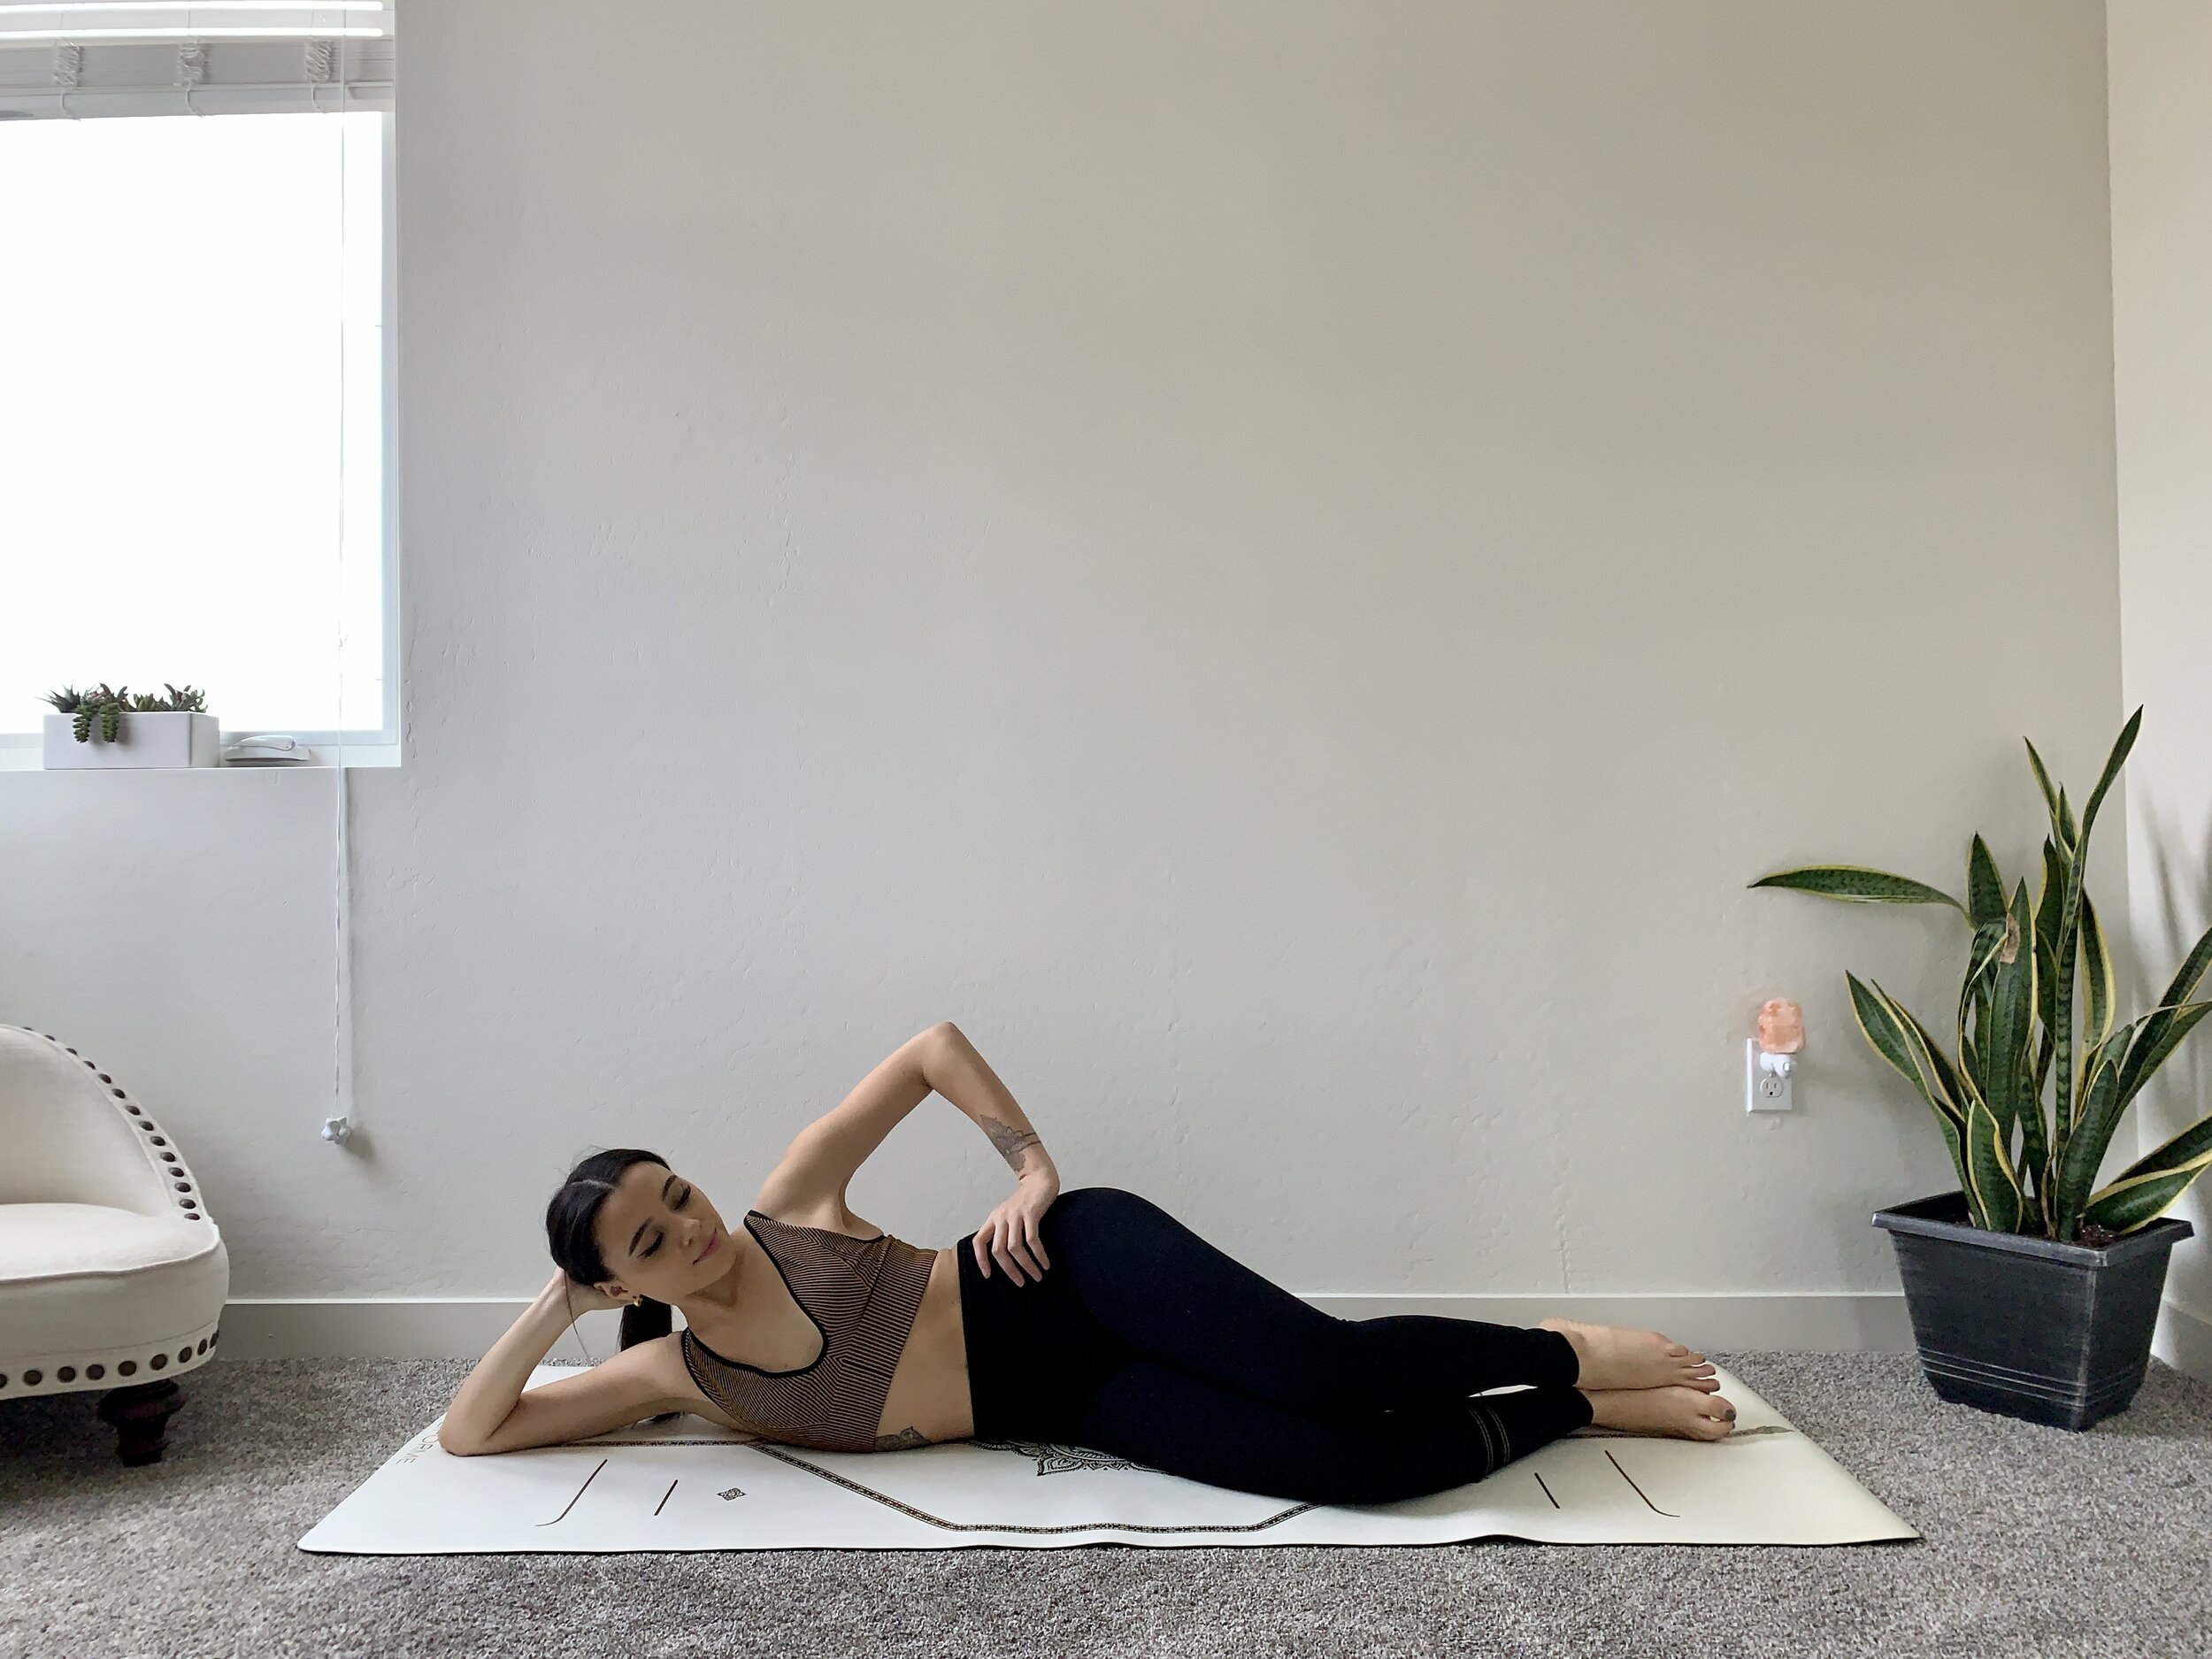
CONTRIBUTES TO OVERALL SPINAL HEALTH & CORRECT POSTURE

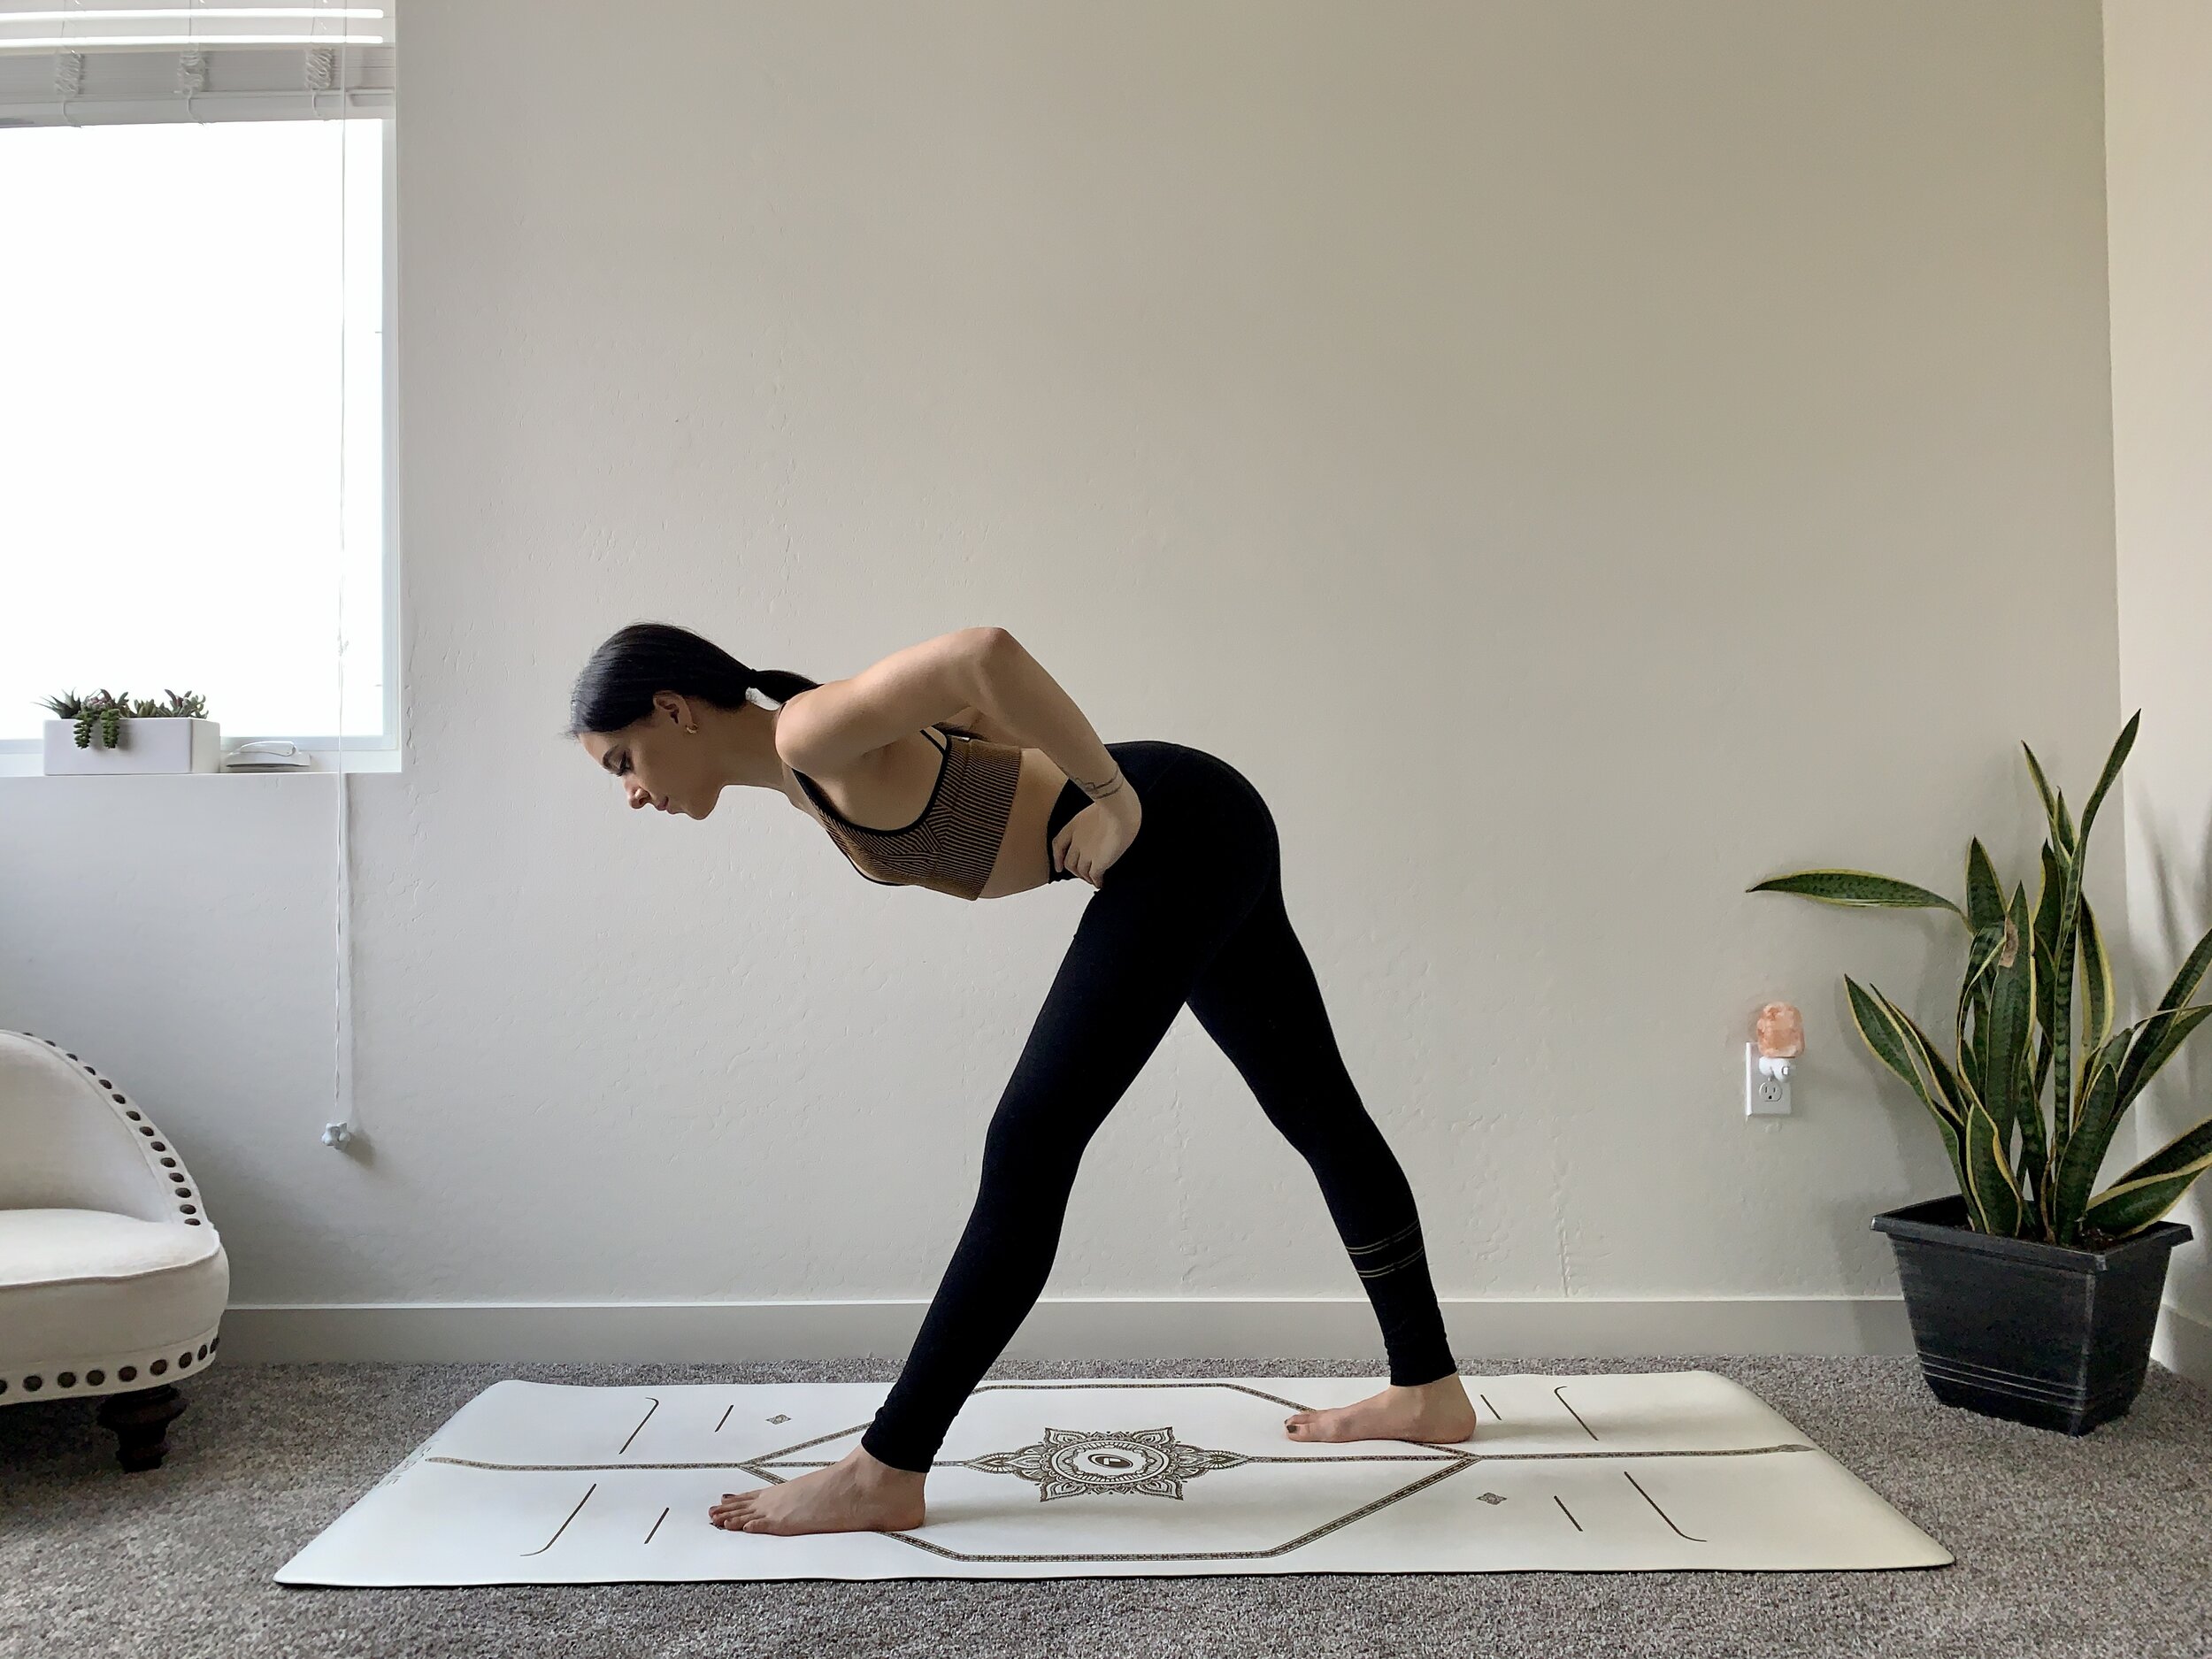
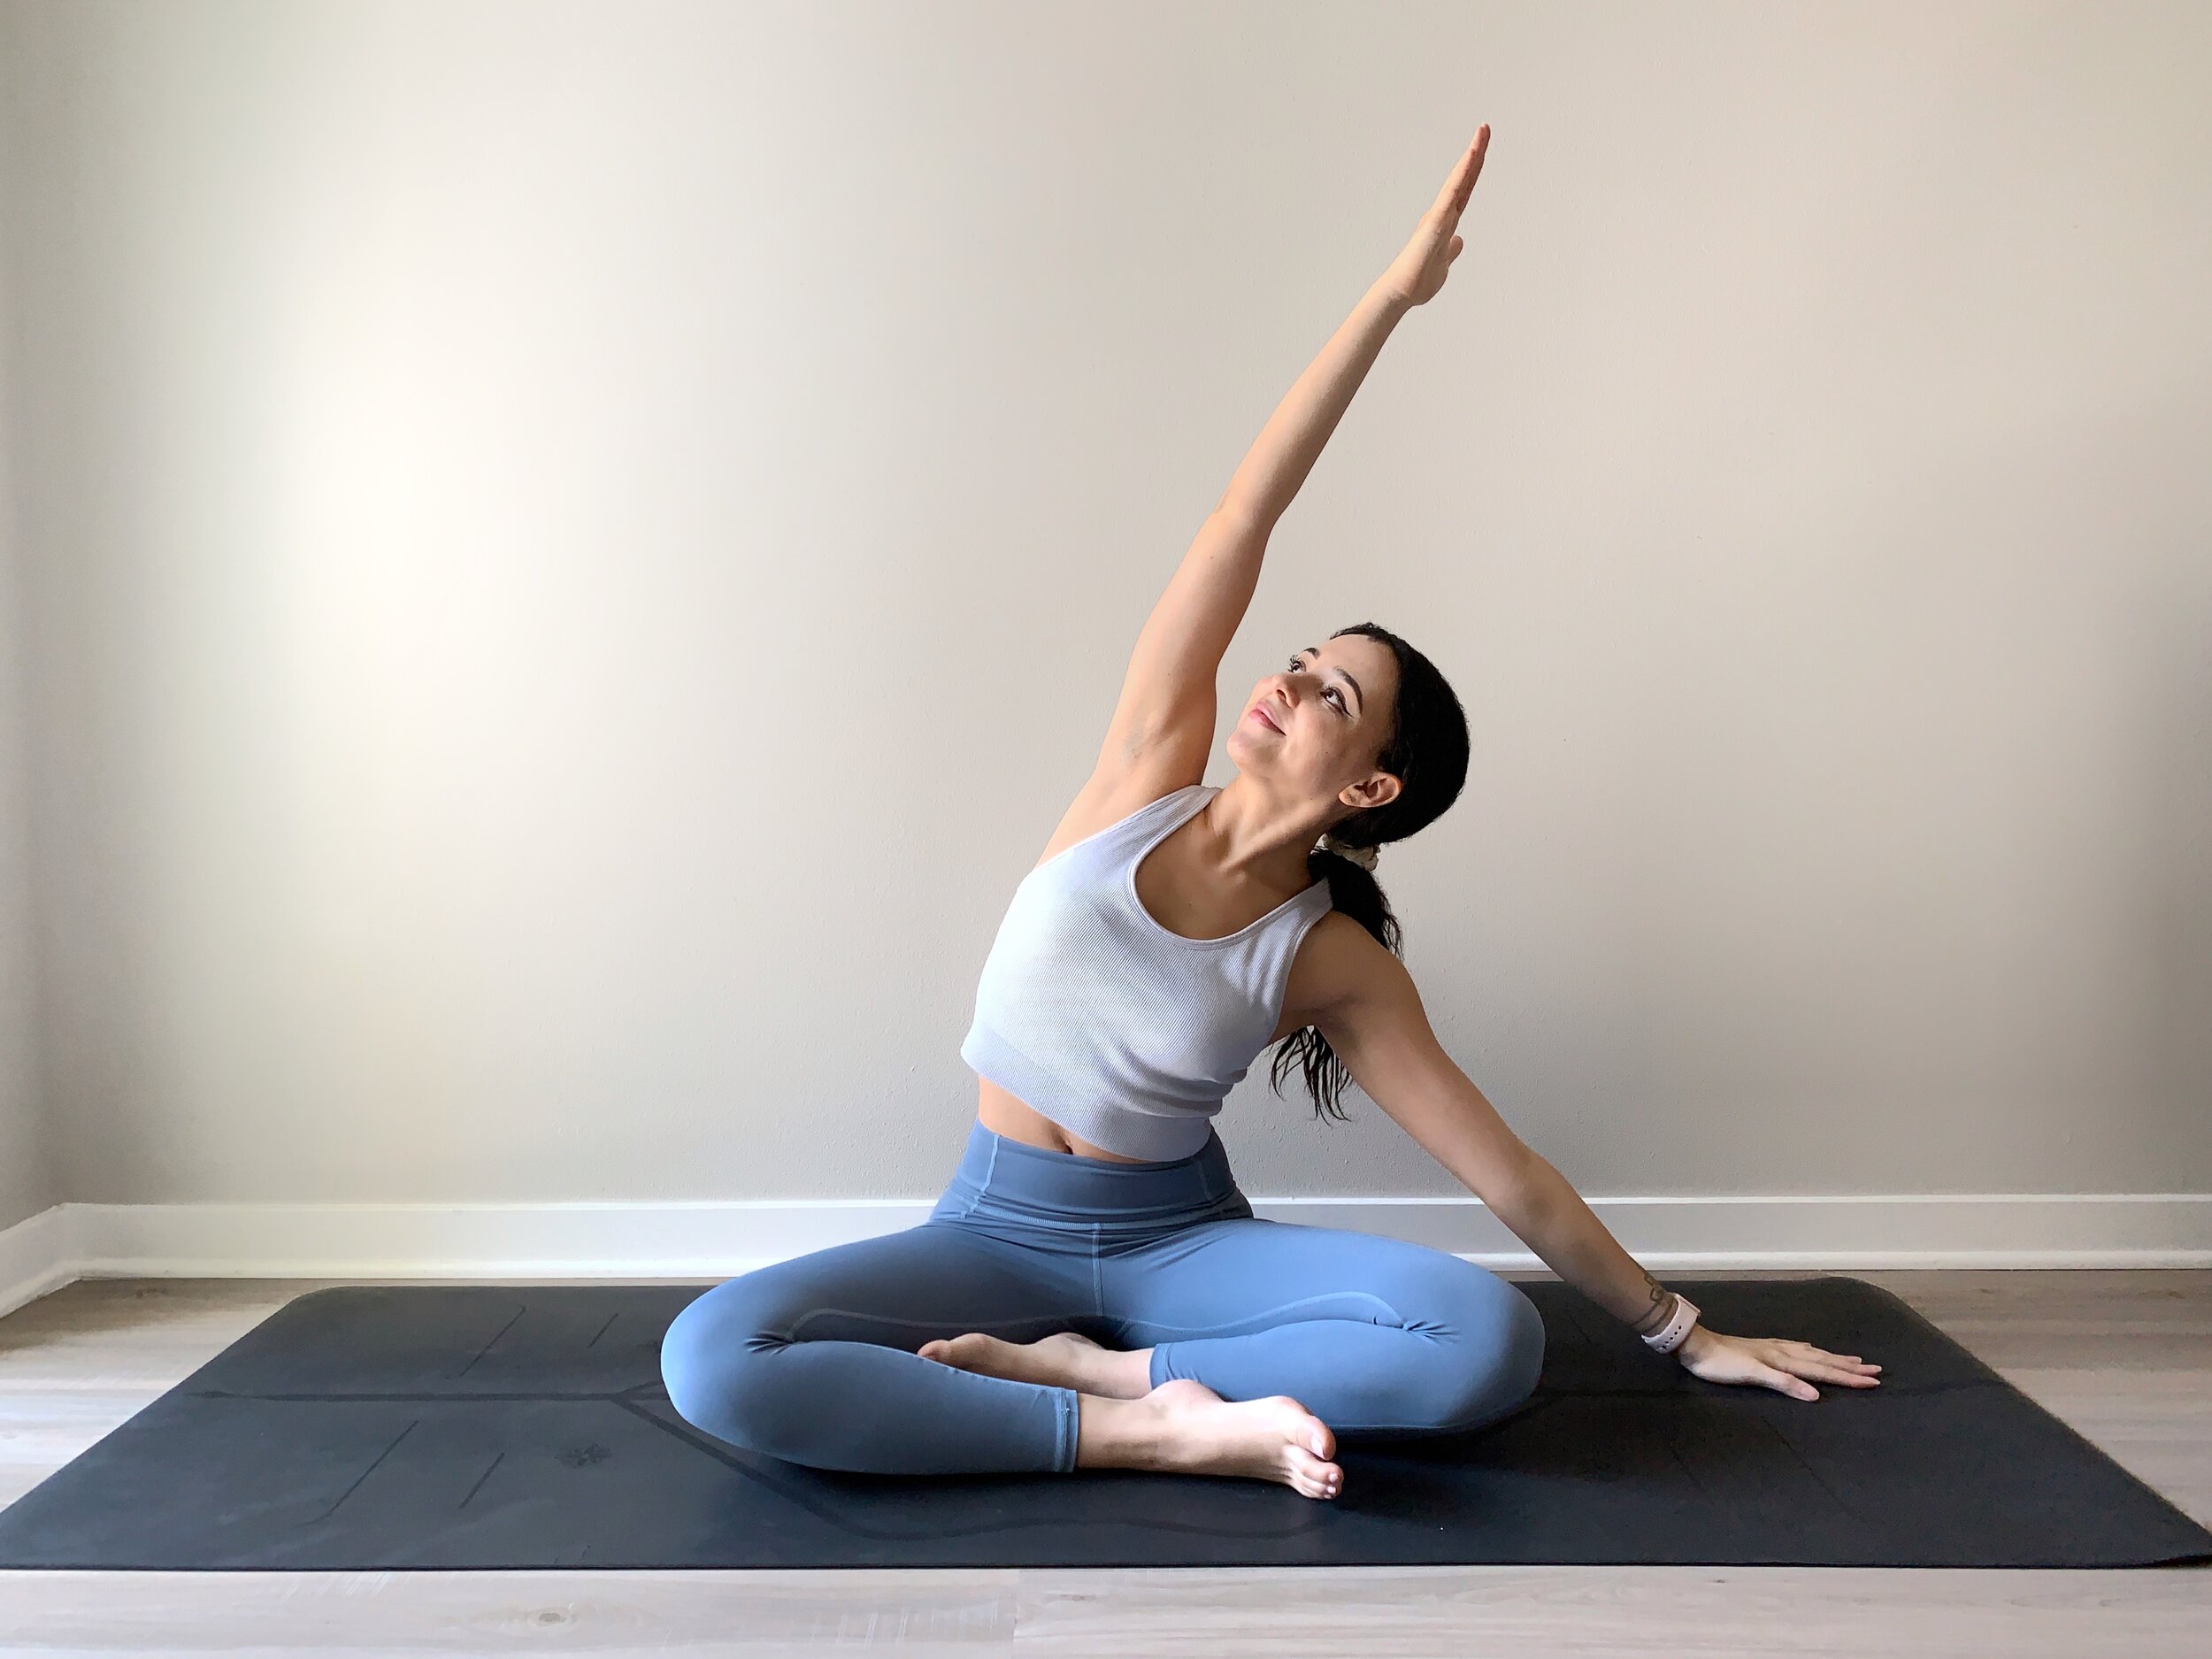
When bending backwards safely and mindfully in yoga, we open up the front side of our body and start to explore the range of movement in the spine. Particularly the cervical + thoracic spine (our mid to upper spine). This is particularly important with the type of modern-day daily activities we are commonly exposed to. For example - working at a desk, driving, watching TV, housework etc. These repetitive movements create this type of ‘hunched forward’ posture. After a prolonged period, this shortens the muscles in the chest which in turn pulls the shoulders forward, further rounding out through the upper spine and shoulders. Backbends help to reverse the effects of this hunched posture and opens the chest to stretch and release tension or tightness through the chest muscles.

In our backbends, we also explore the spine’s natural range of movement. This helps to strengthen the muscles that surround and support the spine including the QL (quadratus lumborum) and erector spinae. This helps to correct and maintain spinal alignment which contributes to an overall better posture.


MOVES & RELEASES ENERGY (PRANA)

When we talk about ‘energy’ in a yoga sense, we are talking about Prana or the force within our body that gives us vitality rather than the more physical energy we gain from nutrition, oxygen, etc.

So when energy starts to get stuck or blocked in a particular area, it starts to manifest in us physically, emotionally and mentally. For example, butterflies in the stomach - mental states of nerves and stress - cause a block in our energy giving us this physical sensation of butterflies or knots in our belly…. backbends can help us to move and release stuck energy throughout almost the entire body helping us to feel balanced and clear.

In particular, it opens through the chest which opens the heart, helping to become more welcoming to love, life and relationships. Also our stomach + solar plexus area which is related to self-confidence and personal power. So balance in this area helps us to feel more empowered within ourselves.


TRAINS THE BODY TO STAY CALM WHEN UNDER STRESS OR CONFRONTED WITH FEAR

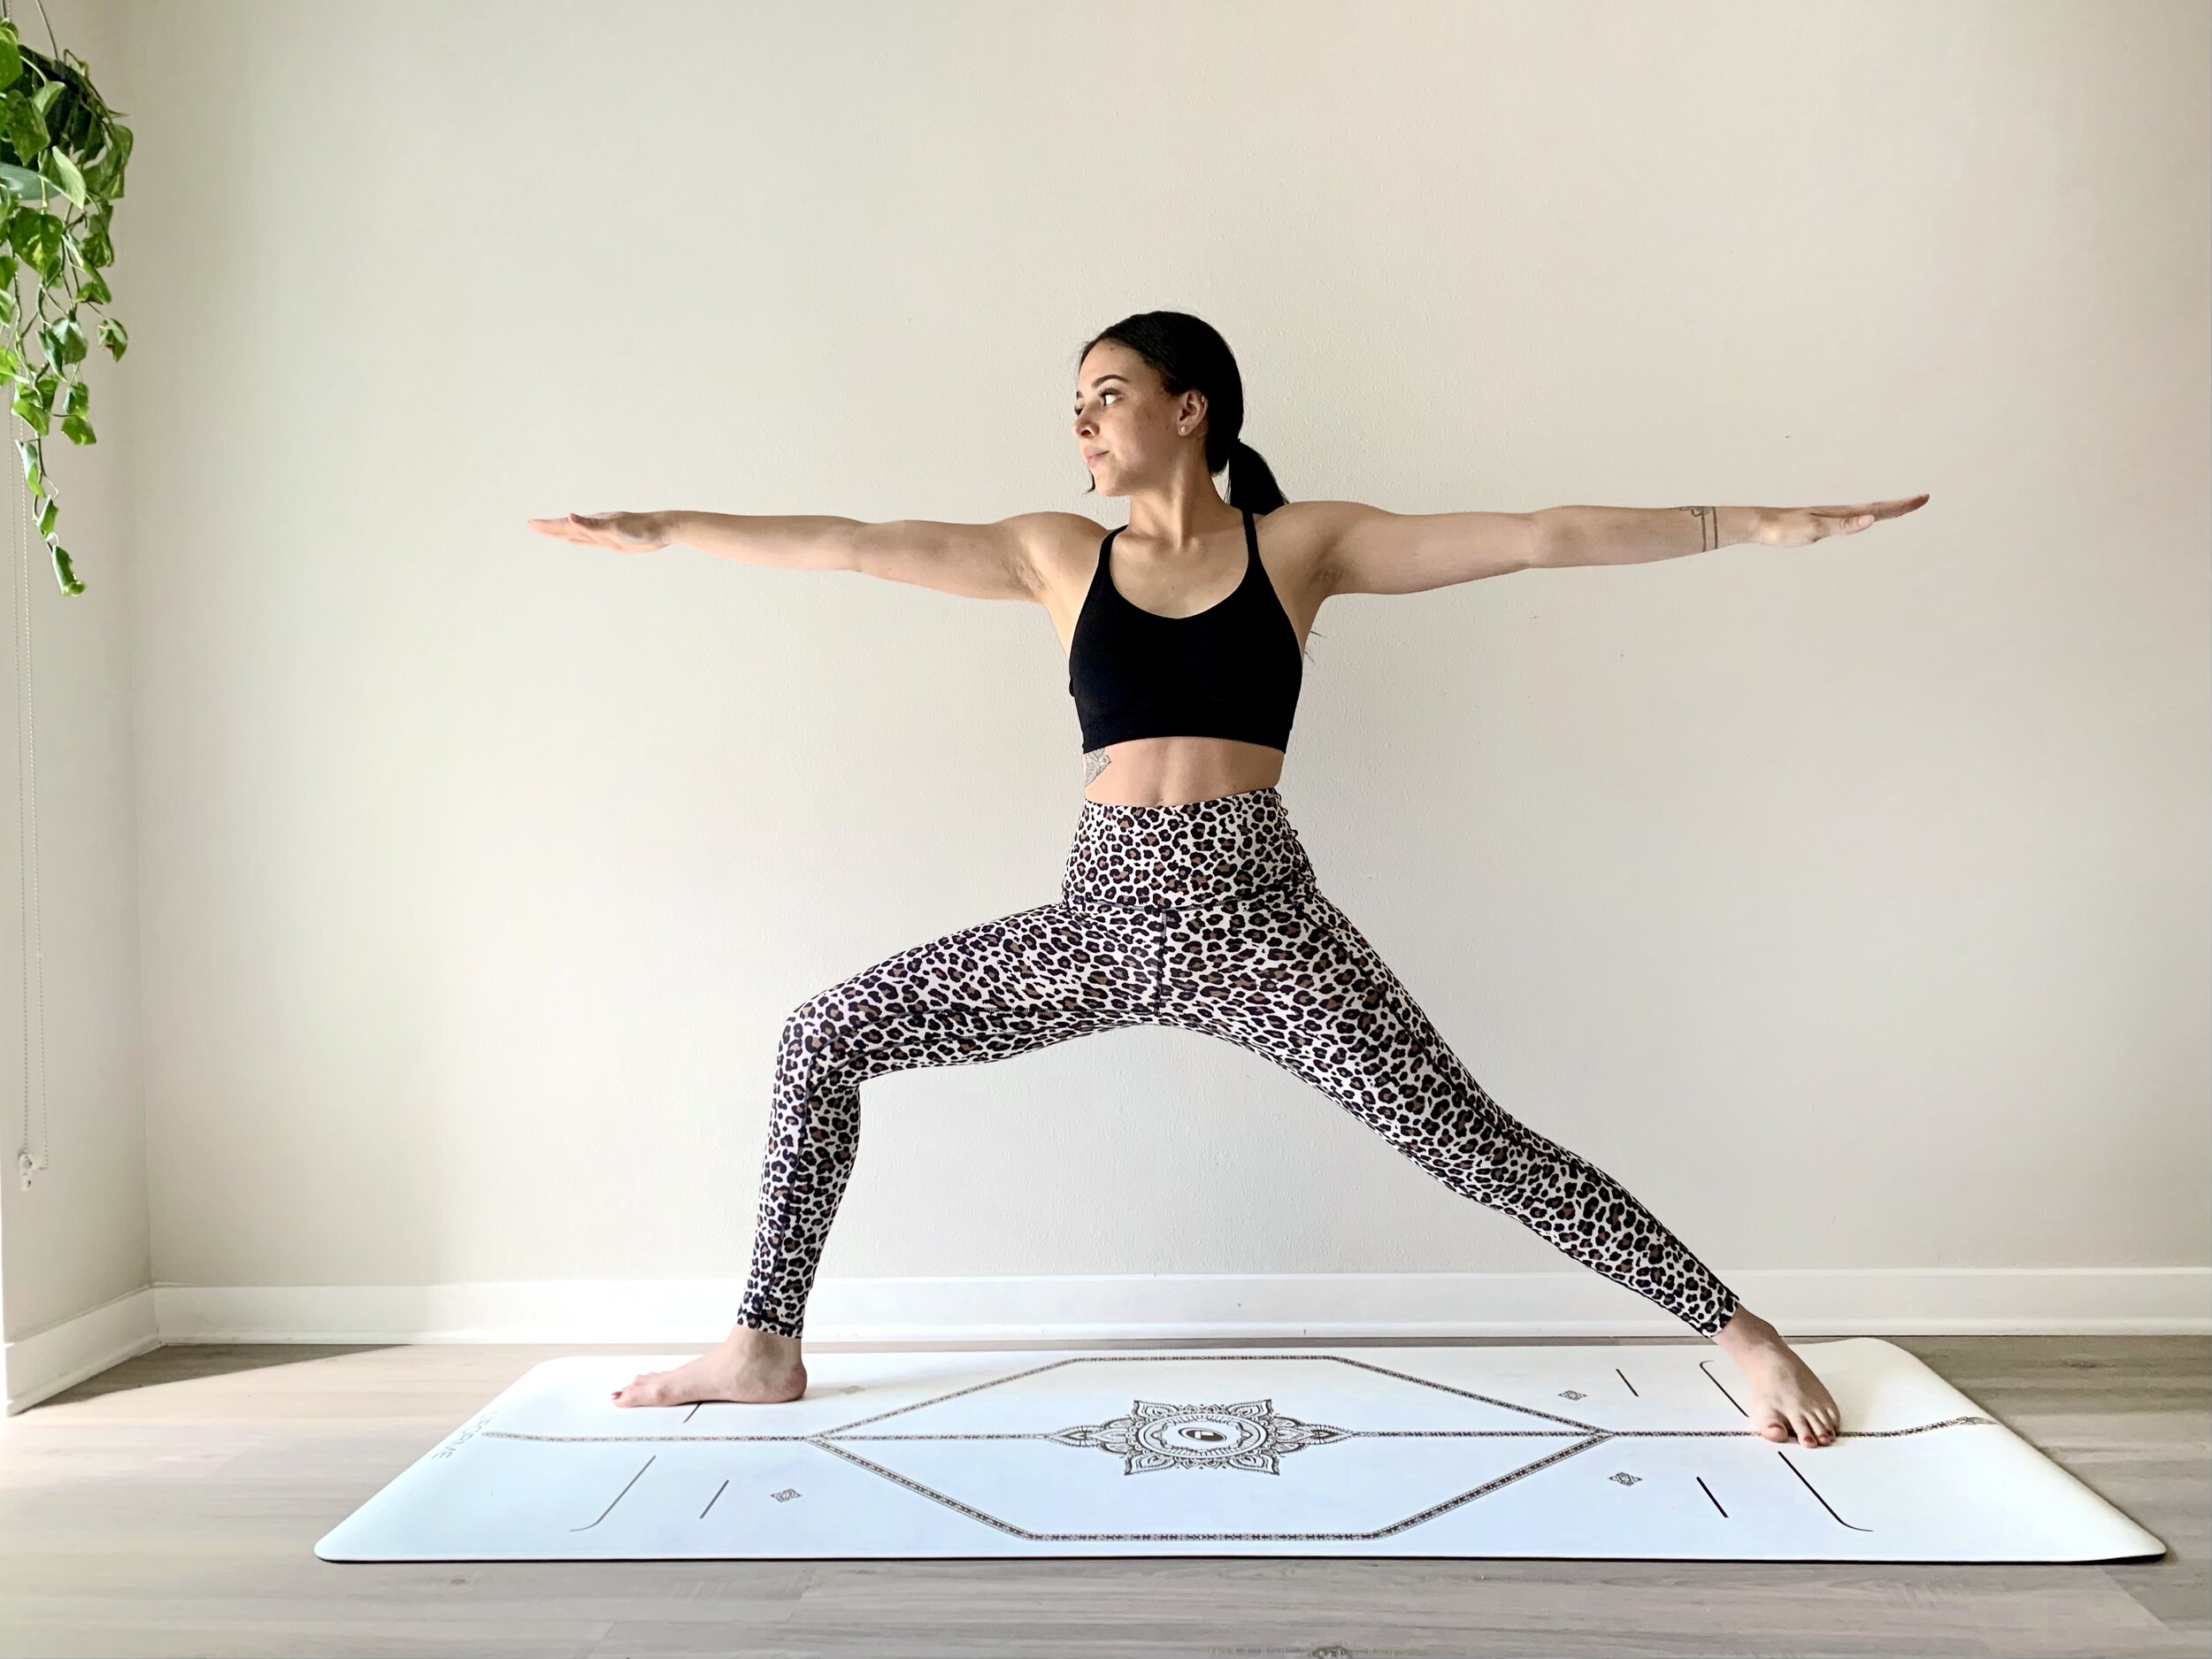
According to Traditional Chinese Medicine (TCM), we store a lot of emotions in the organs of our torso. Our backbends stimulate some of these ‘powerhouses’ of emotion storage: the hips, heart, stomach and kidneys for example.

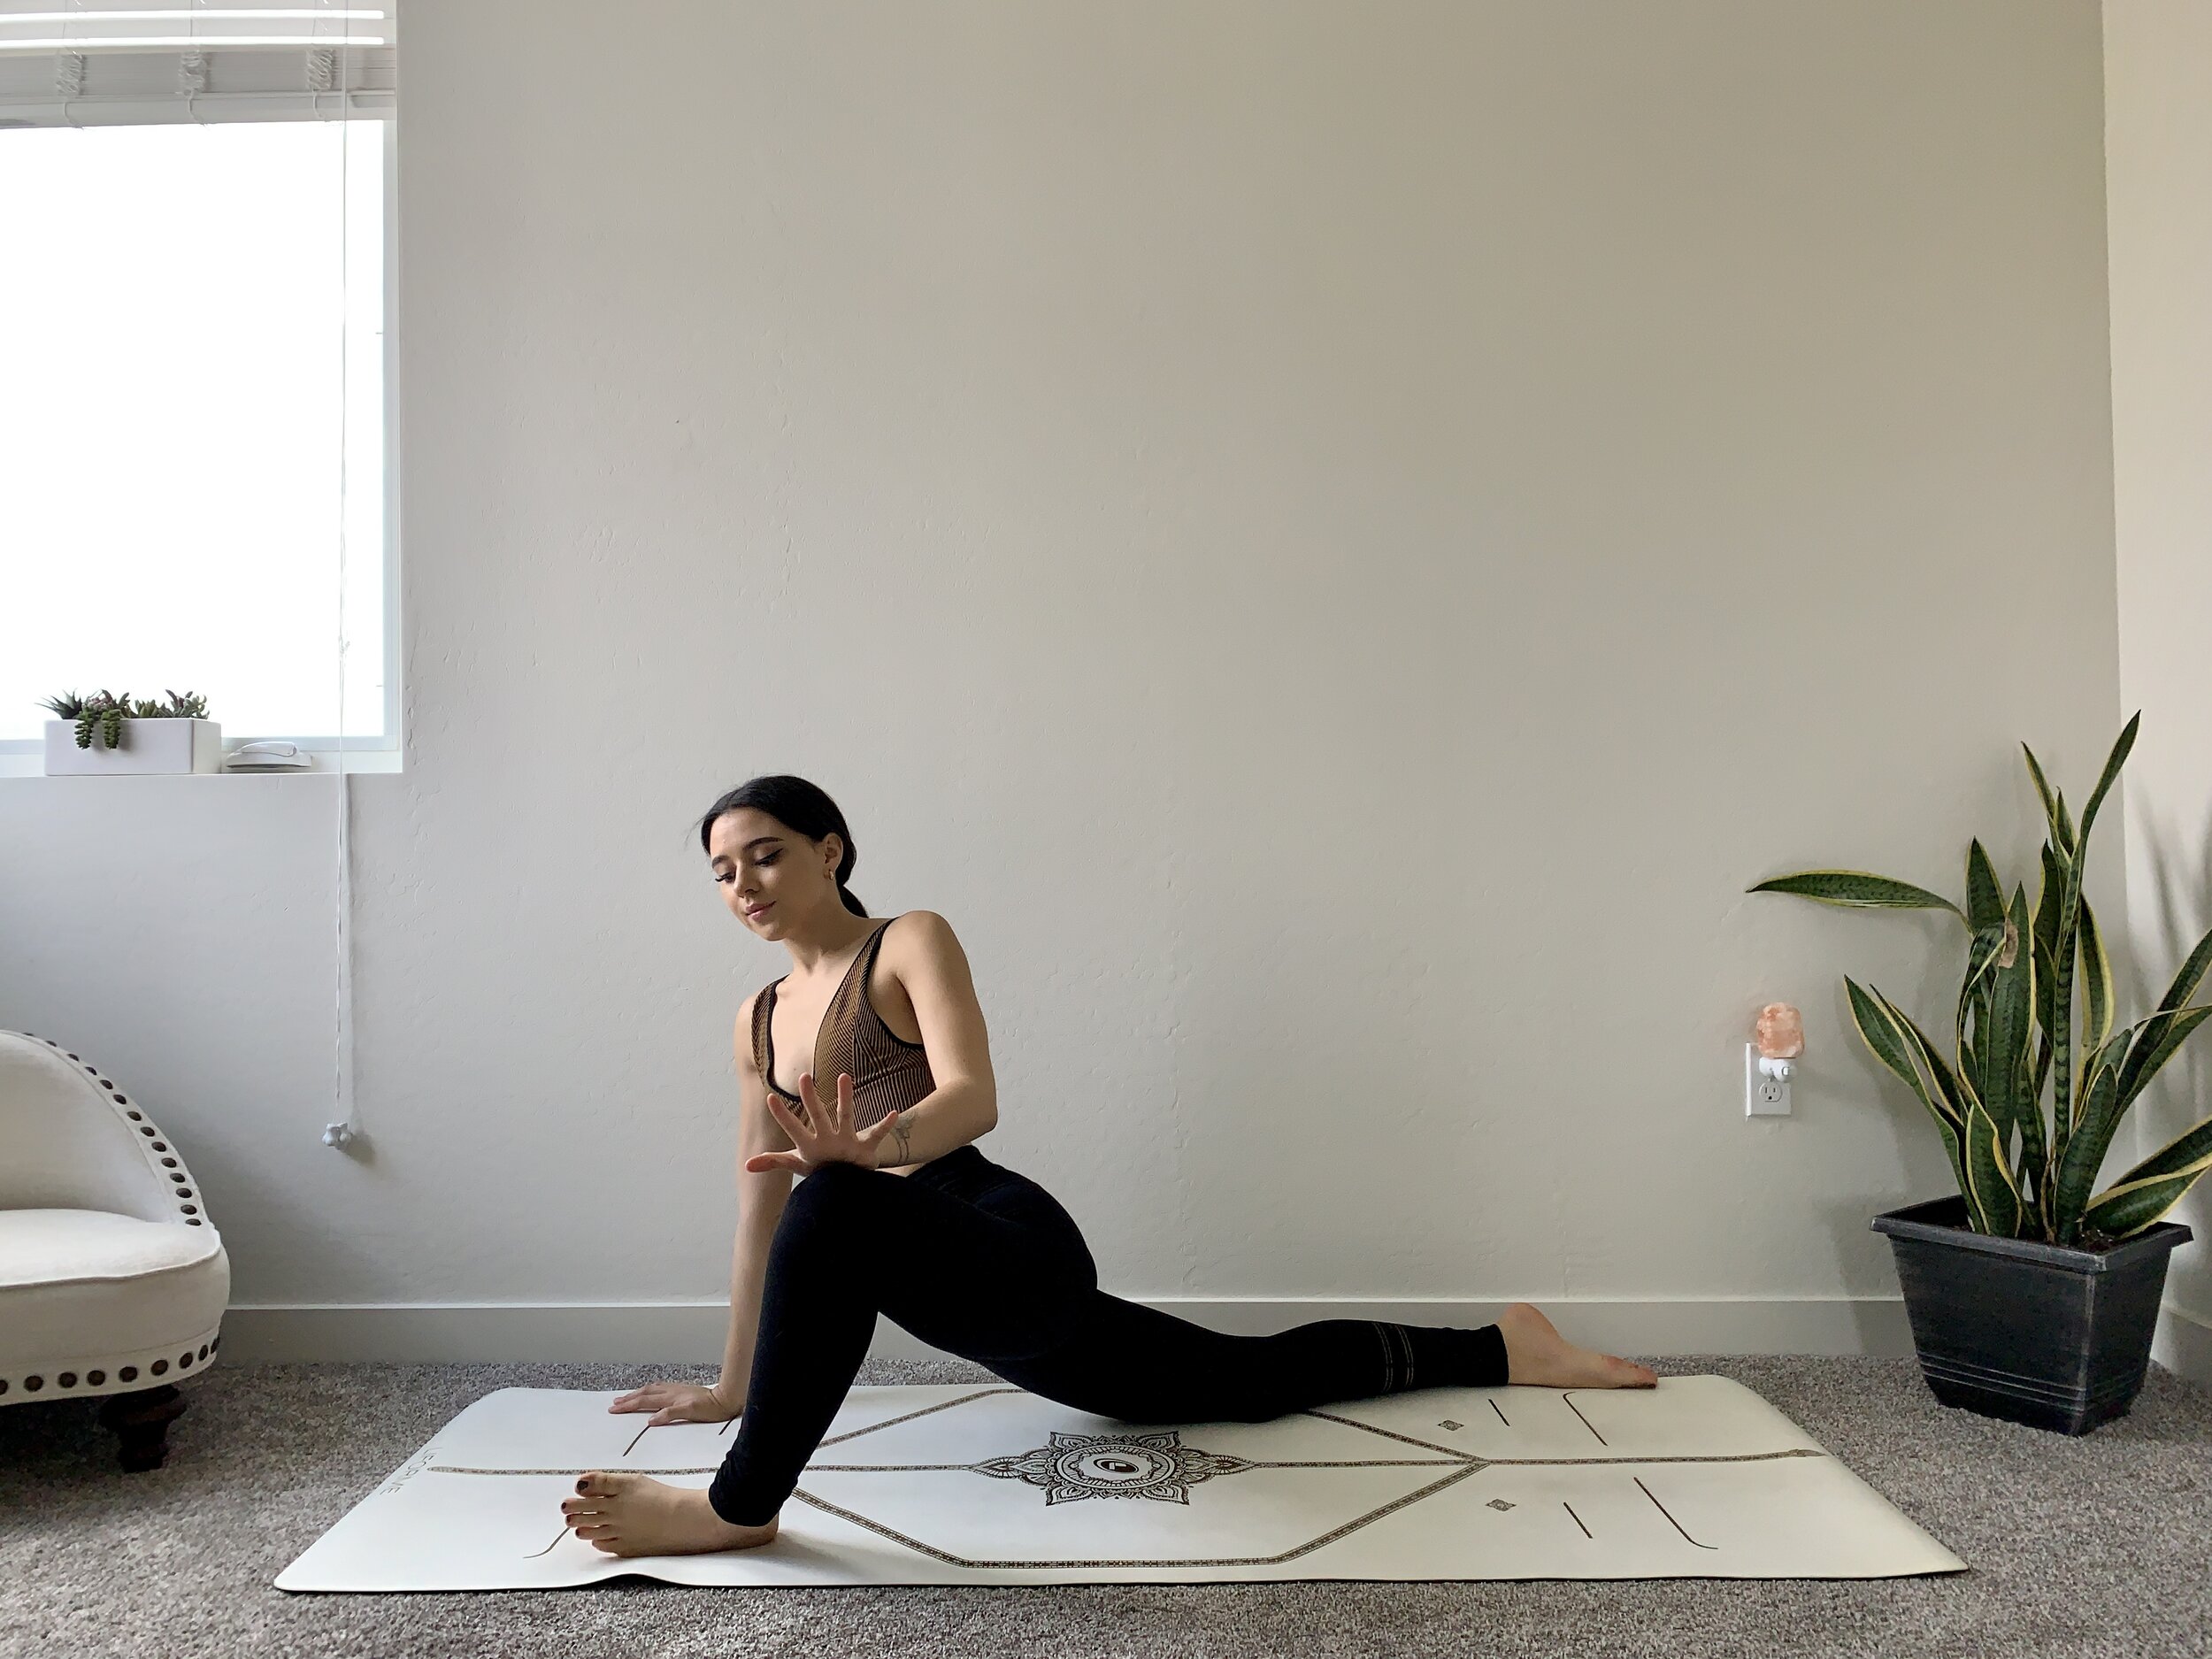
Our backbends in particular, squeeze into the kidneys which house the emotion of fear. This allows us to confront fear, giving a feeling of letting go or becoming free. I know when I’m practicing lunges with a backbend and my arms overhead, I am sometimes reluctant to release my head backwards, but the times I do I feel so open and free afterwards. An interesting feeling! I’ve also noticed an increase in self-confidence when I’m able to remain calm and perform a backbend which initially felt challenging.

The stimulation of the nervous system paired with the use of Ujjayi Breath (the Yogic Breath - breathing in and out through the nose, constricting the back of the throat), helps train the body to remain calm + in control when perhaps our body is experiencing stress or a large emotional release. This can be applied to our life off the yoga mat, using similar techniques in stressful situations. This helps the body to deal and process stress or challenges in life without the physical overreaction of the nervous system (that fight or flight response where your heart starts racing, your breath shallows and your body prepares for danger).


So those are my 5 favorite benefits to backbends! I hope that this information encourages you to include more of these postures in your regular practice. Be sure to check out the 21-Day Open Your Heart backbend challenge on the Jess Yoga app.

6 Realistic Tips For A Consistent Yoga Practice

FullSizeRender 19.jpg

Throughout the past years of my yoga journey, I’ve experienced many ups and downs as far as motivation and consistency.

Here is a brief overview…

During my first two years of practicing yoga I was extremely committed. I was practicing asana (physical postures) everyday for at least an hour. Because it was something new to me, I felt excited to practice each day. I found inspiration through connecting with the online yoga community, participating in challenges and setting goals for myself to learn certain postures. I was mostly practicing strong and intense styled yoga — vinyasa and power, because that was all that I knew. However, I soon realized that I was pushing myself too hard and not giving my body adequate time to rest and recover. As a result, I was left feeling tired and burnt out. Not only physically, but I felt my mental health starting to take a toll as well. I went through a phase where I hardly had the desire to unroll my yoga mat. It started feeling more like a chore, something I ‘had’ to do, rather than something I would look forward to doing.

Around this time I ended up taking a six-month break from both social media and my physical practice and instead, decided to focus more of my attention to my practice off the mat. At this time, I decided to sign up for a Yoga Teacher Training, where I immersed myself in a 200 hour course — learning meditation, breath-work techniques and the philosophy of yoga. This, I realized was what my practice was missing. I immediately felt a strong desire to get back into the physical practice again.

Fast forward three years and now I finally feel as though I have found the true balance in my yoga practice. I don’t practice physical asana every single day, but I am still consistent. I am a big believer in practicing yoga on and off the mat, so I try to incorporate some aspect of yoga in my daily life. I am excited to share with you some of the lessons I have learned over the years, and hopefully these tips help you to stay motivated in your own yoga practice.

1) Find your intention

An intention is essentially something you want to amplify or cultivate more of (either on the mat or in your life). So you are trying to find your ‘why’ or your purpose. So if you don’t know what your intention is, perhaps ask yourself why you practice yoga in the first place. What does yoga provide for you? How do you feel after practicing? Personally, I practice yoga because it allows me to live a more calm and mindful life. I am more present and self-aware because of the physical, mental and spiritual benefits. The reason why it is so important to find your intention, is because this is what will help motivate you to stick with your practice. I have found writing down my intention really helps. You can keep it in a journal or maybe you have it placed somewhere that you see it everyday to help remind you. Know that your intentions might change over time and that’s okay.

2) Keep it short & sweet

I think one of the most common excuses we make up is that ‘we don’t have time.’ The truth is, if something is important to you, then you’ll make time for it. Remember that it’s not all or nothing. A little goes a long way. In the beginning of my own personal practice I had this mindset. I thought, “Well if I can’t fit in an hour long class then I’m not going to practice at all.” Which is eventually what lead me to burnout because I was forcing myself to do long sessions.

But here’s the thing: it’s not about how long you practice for, it’s about showing up for yourself. Taking 10-20 minutes is all you need to get the full effects of a session. When strapped for time, I find even just a few rounds of sun salutations or 10 minutes of seated meditation can set a more relaxed tone for the day. The most important thing is to really listen to your body and learn what it needs.

3) Stick to a schedule

Set aside time each day for when you can dedicate to your practice.

This is going to be different for everyone, we all live different lives and have different schedules. I don’t believe in there being a ‘wrong’ or ‘right’ time of day to practice. I believe whatever time works for you, works for you. What I would recommend is to come up with a specific time each day (or every other day, or week, or however often you decide you want to practice) that you can commit to. Keep it consistent! If you’re a morning person then great, practice in the morning before your day gets started. Or maybe you’re the type of person who likes to workout in the evening because you like to have that as something you look forward to at the end of the day. Again, there’s no right or wrong time to practice yoga. It’s about finding out what works for your schedule and sticking to it!

Another thing that might help you is to write down in your calendar or in your phone what days you plan on practicing. Finding a regular, set time each day is so important because then you can build the rest of your schedule around your practice and not the other way around. You won’t have to worry or stress out about having to find time or a way to fit in a yoga session. If you’re practicing yoga at a studio, buy a membership rather than a single class. Yes, it is more expensive, but it also might motivate you to actually go, because you have already spent the money.

4) Find inspiration

There are so many different ways you can do this.

One way is to find a yoga buddy, someone who can either practice with you or keep you accountable, a partner, friend, roommate. So you can tell them, “hey I’m trying to practice yoga 3-4x this week, can you just check in on me, ask me how it’s going from time to time.” And usually what happens is if you share a goal with someone you’re twice as likely to stay committed to it.

I think for me in the beginning of my practice, I used social media to really help me stay inspired. I didn’t have many people in my life at the time who practiced yoga, so I turned to the online community. I started talking to other yogis on instagram and joining in on yoga challenges. I remember I tried one for an entire month and it really helped me stay accountable. You can also use Instagram to keep track of your progress, or simply take photos for yourself! It’s fun to look back on old photos to see how far you’ve come in your physical practice. It is also helpful when you’re practicing at home to record yourself so that you can check your alignment and make sure you’re practicing certain poses correctly. If you’re using social media, make sure that you’re using it in a healthy, positive way. Remember not to compare yourself.

Another easy way you can inspire yourself is by setting up a warm and welcoming yoga space in your house, if you practice at home. I love my little yoga area because I’ve filled it with some of my favorite plants and it’s just a nice, spacious area that’s really inspiring to practice in. I find it’s helpful to have a specific place set aside solely for my yoga practice that way I don’t have to worry about making more space.

5) Try a new style

As I mentioned briefly in the overview, when I first started practicing yoga, I mostly stuck to fast-paced vinyasa and power styled classes. It wasn’t until my yoga teacher training, that I was introduced to yin. After my first few sessions of this slower-paced style, I remember thinking that it was so different from what I had ever practiced before and I could tell that it was something that I needed to balance out my yoga practice.
I’m sure there are some yogis out there who might disagree with me on this, and are more committed to one lineage or one style of yoga. And that’s fine! I’m sure that works for some people. But I believe that lack of inspiration usually comes out of boredom. What I’ve learned is that a little bit of variety is better for me personally. I enjoy being able to pick different styles to practice based on how I’m feeling and what’s going on with my body. So some days I do feel like I need a good power vinyasa class and other days, for instance, when I’m on my menstrual cycle, I know that I need a restorative class. And that’s how I’ve been able to come back to a more enjoyable practice.

If you’re currently struggling to keep up with a consistent practice, or are lacking inspiration, take a look at the style of yoga you practice most often. Is there something new you can learn? If you focus solely on asana, how can you incorporate breath-work or meditation in your practice?

6) Take your yoga off the mat

This is a big one, at least it was for me, as I started transitioning into a more balanced lifestyle. Yoga is more than asana. Asana is actually just 1 of the 8 limbs of the yogic path. So I encourage you to explore the deeper philosophy of yoga. Take the yoga values of non-attachment, gratitude and non-harming off the mat and into your day. This is such a great way to incorporate yoga into your daily life. The physical aspects of yoga definitely teach us valuable lessons, like patience, acceptance and endurance. So use those lessons when a co-worker annoys you, or you miss the bus, get an argument with your sibling or parent. Take a moment to pause, breathe and calm your nervous system. Think before you react. The practice can go as deep as you want it to — physically and spiritually.

Hip-Focused Yoga Sequence

Before I became a full-time yoga instructor, I worked at a chiropractic clinic as a massage therapist. I went to a bodywork school and studied neuromuscular therapy, structural integration and myofascial release. Although I was only in the field for less than two years, I’m grateful for the knowledge that I learned because I’m still able to weave it into my yoga teachings today!

Anatomy and the technical exploration of asana is something I’m really passionate about. For instance, we often talk about poses that open or stretch the hips in yoga, but what does that really mean? The hips are a complicated area, anatomically speaking. Generally, when we talk about opening the hips we're referring to the muscles around the pelvis, legs, lower spine and sacrum. These include big muscle groups like the hip flexors, hamstrings, glutes, adductors (inner thighs) and abductors (outer thighs), as well as many smaller, deeper muscles including the piriformis and the psoas.

Many people find that their "hips" are tight due to spending a lot of time sitting, both at work and in cars. This tightness, which can cause back pain and sciatica and affect mobility, is really in all the muscles surrounding the pelvis. People think hip openers are limited to poses like pigeon, where the femur is externally rotated, but something like eagle, where the leg is internally rotated is also a hip stretch.

So what does this mean? Essentially, almost any yoga pose can be thought of as a hip opener since we are using the muscles around the hips in many different ways.

The sequence below offers a variety of poses to improve hip flexibility and mobility. We’ll take a look at three stretches for each compartment of your hip (Hip Flexors, Adductors, Hamstrings, External Rotators, Abductors). This is my go-to hip routine that is safe to practice several times a week. I love the feeling of space and strength it gives me. I hope it helps you feel good in your body, too!

15 Hip Opening Yoga Poses

Hip Compartment #1: Hip Flexors

IMG_0650.jpg

Pose 1: Anjaneyasana (active)

Keep your back thigh vertical in this low lunge. Why? Because keeping your back thigh vertical and stacking your pelvis and spine directly over your thigh helps stretch your quadriceps and hip flexors. Keep the core engaged and legs squeezing in towards each other.

IMG_0660.jpg

Pose 2: Anjaneyasana (passive)
Lower your hips forward and down to isolate and stretch your hip flexors, especially your rectus femoris. The pelvis is anteriorly tilted to provide lumbar and hip extension.

Pose 3: Anjaneyasana with side bend
Leaning into the side bend from Anjaneyasana helps stretch your obliques and quadratus lumborum along with your hip flexors. Use a block for added support.

Hip Compartment #2: Adductors

Pose 1: Malasana
Malasana provides a thorough, inner leg stretch while also flexing the knees and hips deeply.

IMG_0721.jpg

Pose 2: Utthan Pristhasana
This is a variation on Lizard pose that stretches the outer hip (adductor) muscles, including the gluteus medius.

Pose 3: Bound Side Angle
The action of binding in this posture provides you with a shoulder opener in addition to the adductor stretch.

Hip Compartment #3: Hamstrings

Pose 1: Parsvottanasana
This foundational standing pose allows you to focus on stretching one set of hamstrings at a time. This may be more effective for students with tight hamstrings than stretching both sets of hamstrings at a time like you do in Uttanasana.

IMG_0850.jpg

Pose 2: Prasarita Padottanasana
In addition to stretching your hamstrings, this wide-legged forward fold pose also stretches your adductors.

Pose 3: Half Split or Standing Split
Half Split is a great stretch for beginners working on their hamstrings. Beginners should keep the chest lifted and spine extended long. For a deeper stretch, fold forward without compromising a straight spine.

Standing Split, while similar to Parsvottanasana, is a more advanced one-legged standing posture which provides a deep, isolated hamstring stretch. Use blocks for more support.

Hip Compartment #4: External Rotators

Pose 1: Pigeon and Reclined Pigeon Pose
This intermediate posture uses the weight of your entire body to stretch your external rotators. Stay upright or fold forward in this variation.

For a more restorative stretch, recline on your back and clasp your leg to stretch your glutes, external rotators and abductors.

Pose 2: Ankle-to-Knee
Placing one ankle on the opposite inner knee externally rotates your thighs even more deeply than Pigeon Pose. For more support add a pillow or block underneath the top knee. To deepen the stretch lean forward.

IMG_0950.jpg

Pose 3: Baddha Konasana
Along with providing external rotation, this butterfly stretch also creates space in the inner-thigh adductors. Stay upright with a straight spine, or lean forward to increase the sensation of the stretch.

Hip Compartment #5: Abductors

Pose 1: Gomukhasana or Reclined Gomukhasana
This classic seated posture provides efficient leverage for opening your abductors. For a more beginner-friendly variation, extend your bottom leg straight.

Reclining in Gomukhasana allows your entire body to relax and settle, while providing you with a deep abductor stretch.

IMG_1035.jpg

Pose 2: Gomukhasana with sidebend
Including a sidebend in this posture gives you a deep abductor stretch while also releasing tension in your obliques and quadratus lumborum.

Pose 3: Clamshell
Although this isn’t a traditional yoga pose, this hip exercise is great for improving flexibility, strength and mobility in the hips. It incorporates both external rotation of the hip, as well as internal rotation. It also helps strengthen the abductors, upper glutes and inner thighs.

7 Yoga Poses To Improve Your Focus & Concentration


With all the daily distractions we are constantly faced with, it can be hard to stay focused and productive. Thankfully, yoga can help! According to yoga philosophy, dharana, which is a Sanskrit word that translates to ‘concentration’, is the sixth limb of yoga, which can be described as a state of focused attention used during asana, pranayama and meditation.

Working on dharana can increase your brain power, bring you into the present moment and reduce mental distractions. In theory, these yoga practices can possibly prevent or reduce the effects of dementia, ADHD, Alzheimer’s disease and other memory/mental issues.

Below are 7 yoga poses and a simple, yet effective yoga class you can practice to help stay present and better focused all around.

FullSizeRender 43.jpg

1. Tadasana (Mountain Pose)

This introductory balance pose is considered the ‘mother of all asanas’ as it’s the base from which all other yoga poses emerge. Mountain pose enables you to bring your full awareness to your breath as you begin to strengthen your nervous system and center your focus. It will improve your posture, steady your breathing and strengthen your ankles, knees and thighs.

How To Do It: Stand on your mat with your big toes touching and heels slightly apart. Next, lift your toes with control and slowly place them back on the mat. Firm your thighs, lift your kneecaps, tuck your tailbone slightly and keep your hips directly in line with your ankles. Keep the core slightly engaged by drawing the lower belly into the spine. Focus on pressing the crown of your head toward the ceiling while you inhale and then drop your shoulders and reach your fingers toward your mat as you exhale.  

IMG_6769.jpg

2. Phalakasana (Plank)

This common transitional pose increases strength in your core, arms and shoulder muscles. It tones your entire body and generates heat. It is the perfect pose for beginners and helps you develop focus and endurance.

How To Do It: Begin on all fours with your shoulders in line with your wrists and fingers active and spread. Engage your belly upwards as you extend one leg back at a time with your toes tucked and your thighs nice and flexed. Your spine is long and there should be a straight line from the head to your heels. Keep your arms engaged as you push up from the mat. Roll your shoulder blades down your back and lengthen your tailbone towards your heels.

FullSizeRender 47.jpg

3. uTKATASANA (Chair Pose)

This standing pose, which is included in Sun Salutation B, helps to strengthen the thighs, open shoulders in flexion, tone the arms and mobilize the upper back.

How To Do It: Stand in Mountain Pose. As you inhale, extend the arms up overhead and reach your fingers toward the ceiling. As you exhale, bend the knees and sink the hips down and back toward the floor. Press the shins back to move a bit more weight into the heels. Allow the shoulder blades to spin out and up away towards the outer armpits (upward rotation). Spin the inner thighs back and down. Draw the upper arms back in line with the ears while softening the front ribs.

IMG_6778.jpg

4. Garudasana (Eagle Pose)

This standing balance pose strengthens the ankles/thighs, tones the inner thighs, stretches the outer hips, opens the upper back and improves focus and balance. It also improves your core strength.

How To Do It: Stand in Mountain Pose with your knees slightly bent. Shift your weight into your left foot and cross your right thigh over your left. See if you can hook your right foot behind your left calf. Engage the inner thighs by squeezing them into the midline. Feel how this brings more stability to the pose. Next, cross your right elbow over your left (like you're giving yourself a hug) and bring the palms of your hands (or the backs of your hands) together. Lift the elbows up and away from the face to bring more space across the upper back. Life the the sternum and spread the collarbones. Sit deeper, descending the tailbone.

FullSizeRender 48.jpg

5. virabhadrasana II (Warrior II)

This classic standing warrior pose strengthens the shoulders, arms and legs and stretches the legs, chest and shoulders. Practicing Warrior II improves your stamina, endurance, balance and concentration.

How To Do It: Begin in Mountain Pose, step your left foot back so that it’s parallel to the back of the mat. Feel the inside of your thighs open towards the outside edge of your feet. Extend your arms out through the fingertips as you draw the shoulder blades together. Arms parallel to the floor. Let the top of the shoulders drop away from the ears. Gaze over your right middle finger. Ground down the outside edge of the back foot and draw up through the inside of the arch. Shoulders over hips, elbows roughly over knees. Head above tailbone.

IMG_6797.jpg

6. USTRASANA (CAMEL POSE)

This backbend improves focus and body posture and can help boost your energy and fight fatigue. Camel pose opens the entire frontside body and strengthens the back.

How To Do It: Sit in a kneeling position with your knees hip width distance apart. Bring your hands on your hips or to your low back. Gently squeeze the shoulder blades together and draw the elbows in toward your midline. Focus on lifting the sternum up toward the ceiling while you inhale and then press your hips forward to slowly bend backwards. As you exhale, slide your palms to your heels as you straighten your arms to come into the full variation.

FullSizeRender 49.jpg

7. PADMASANA (LOTUS POSE)

This cross-legged yoga pose is traditionally known to calm the mind and prepare you for deep meditation. Lotus pose stretches the knees, ankles and hips and strengthens the spine and upper back. Practice this pose at the beginning or end of your practice to help channel your thoughts in a single direction, thus improving concentration.

How To Do It: Sit on the floor with your legs extended. Bend your right knee and hug it to your chest. Next, bring your right ankle to the crease of your left hip so the sole of your right foot faces the sky. The top of your foot should rest on your hip crease. Then, bend your left knee. Cross your left ankle over the top of your right shin. The sole of your left foot should also face upwards, and the top of your foot and ankle should rest on your hip crease. Draw your knees as close together as possible. Press your groins toward the floor and sit up straight. Rest your hands on your knees with your palms facing up. Bring your hands into Gyan Mudra by creating a circle with each index finger and thumb, keeping the rest of the fingers extended. Soften your face and bring your gaze to your ‘third eye,’ the space between your eyebrows.

Practice online with me! Use this 30-minute class to improve your focus and concentration.

5 Ways Yoga Can Improve Your Mental Health

IMG_2997.JPG

October 10th is World Mental Health Day. Every year, this day is meant to raise awareness about mental health, combat stigma and encourage ways for people to receive support. Mental health affects millions of people in America alone, and it's time we start having an open and honest discussion about it.

For those who are familiar with my story, you already know what prompted me to start yoga in the first place. For those who may not be aware, during my teens and early twenties, I struggled with anxiety and depression. It was something that I unconsciously hid and felt ashamed about for a long time. It wasn’t until I discovered yoga and sought professional help, that I was able to heal and recover.

Yoga continues to teach me how to become more aware of my thought patterns, how to observe them without judgement and how to gracefully let them go. I have learned how to be mindful of the way I speak to myself, to separate myself from my thoughts and to live with much more presence and ease. For this, I am extremely grateful.

Yoga is truly life-changing. I know not only from personal experience, but from the findings of many scientists and researchers who have investigated how yoga affects individuals with mental health conditions. The results are promising, suggesting that yoga helps improve mental health issues, including anxiety, depression, post-traumatic stress disorder and many others.

Along with these findings are ground-breaking studies (which you’ll find referenced throughout this blog) which suggest that yoga has the ability to change the structure and function of the brain. These ‘neuroplastic’ changes also prove why and how yoga can benefit people who are struggling with their emotional health.

In this article I’m going to share with you 5 ways that yoga can drastically improve your overall health and welling.


1. Increases Relaxation

Yoga can increase relaxation by altering the stress response system, helping to ‘tame’ and quiet down the nervous system. In this way, the mental benefits of yoga happen with the reduction of stress by decreasing cortisol (stress hormone) levels in our body. A common theme in yoga is the process of ‘letting go’ — releasing deep holding patterns in the body and finding a state of balance to support healing. Longer-held postures such as those in Yin or Restorative yoga, encourages slowing the breath down, which allows us to shift away from the sympathetic nervous system’s fight-or-flight response, the place we react from when feeling overwhelmed and unable to cope with the many demands of our lives. Then, a space is created to move into the place of rest-and-digest, or the parasympathetic nervous system, which is responsible for activating the relaxation response. This decreases anxiety and produces a calm feeling in the body and mind. One study involved 24 women who characterized themselves as emotionally distressed. The results revealed the impressive effects of yoga for stress relief. Along with decreases in anxiety, depression and fatigue, the women also showed much lower cortisol levels, all after just 3 months of consistent yoga.

2. Promotes Mindfulness

Mindfulness means being present in the current moment, and it can be a surprisingly difficult state to achieve. The concept of focusing on the ‘now’ is central to yoga. Mindfulness can be developed and enhanced through various yogic techniques, such as meditation, awareness of the breath, our thoughts, feelings, bodily sensations and surrounding environment. It’s important to explore mindfulness and observe the thought patterns of your mind through a gentle, nurturing lens and a place of non-attachment and non-judgement. A mindfulness-based cognitive therapy (MBCT) study found that students who practiced mindfulness reduced their anxiety, excessive worry and negative thought patterns. Mindfulness training also improved their emotional well-being, professional development and resiliency to stress. 

3. Builds Self-Confidence

All yoga styles, practices and philosophies bring your scattered awareness from the external world to inside you. In this way, yoga makes you more aware of your existence and teaches you that you’re completely in yourself. This sense of internalization boosts the self-confidence of students, which may prevent many mental health issues. In a study to assess attention and self-esteem in girls using an integrated yoga module, low-income high school students reported improvement in attention and self-esteem. Practicing yoga enhanced their mental health and led to academic improvement. Empowering yoga poses such as Plank Pose, Tree Pose, Bridge Pose and Warrior Pose not only strengthen us physically, but mentally as well, building self-confidence and improving self-esteem.

4. Improves Concentration, Focus & Memory

Yoga is all about linking breath with motion and becoming fully present in mind and body. The practice itself is centered on concentration – focus on the breath, the alignment and the movement. Research shows that even a very short period of yoga practice can have immediate effects on the brain, as far as improving attention, memory and judgement. In a study published in the Journal of Physical Activity and Health, 20 young female students participated in 20 minutes of yoga followed by meditation and deep breathing, and then followed that with 20 minutes of aerobic exercise. The researchers carried out cognitive testing on the participants after each session to test their cerebral capabilities. The results showed that the cognitive scores were higher in the women that had participated in yoga, than those who did not. The tests highlighted that after just one 20 minute yoga session, participants were able to focus better, process information quickly, more accurately and also learn, hold and update pieces of information more effectively.

5. Enhances Mood & Emotional Wellbeing

Because yoga increases your ability to be present, you can recognize your emotions more clearly. You can sit with your emotions in a state of more openness and curiosity, which in turn increases emotional intelligence. In addition, a consistent yoga practice improves circulation in the endocrine glands, which enhances the functions of hormones that play a primary role in the physiology of depression. This results in a reduction in depression and improved overall mood. In one particular study, Scandinavian researchers measured brain waves before and after a 2 hour yoga class and found that alpha waves (relaxation) and theta waves (unconscious memory, dreams, emotions) increased significantly. These results indicate that the brain is deeply relaxed after yoga and that participants have better awareness of their subconscious and emotions.

The impact of yoga on mental health is diverse and expanding. Yoga is a unique mind-body practice that can be used to deepen your relationship with yourself and improve your mental health and overall wellbeing. Personally, I believe that mental health day should be every day. There shouldn’t be a single day that goes by where we aren’t checking in with ourselves and our mental state. Getting in the daily habit of tuning in to how you feel, can help you become more aware and mindful of your mental state. Yoga creates this space for you to be able to question, be curious, process the emotions you are experiencing and understand yourself a little better.

With one in four people affected by mental health disorders at some point in their lives, many people are viewing yoga practices and wellness retreats as effective strategies that can help protect and restore the mental health of individuals throughout the world. As yoga becomes more accepted and practiced to support mental health disorders, there’s a big possibility that more research will be published to guide those towards living more healthy and mindful lives. This is just the beginning.

Practice free yoga classes online with me, at the comfort of your own home.

*Editor’s Note: The information in this article is intended for your educational use only and is not a substitute for professional medical advice, diagnosis or treatment. Always seek the advice of your physician or other qualified health providers with any questions you may have regarding a medical condition and before undertaking any diet, supplement, fitness or other health programs.

9 Gentle Seated Yoga Poses For Beginners

IMG_4416.jpg

Most seated yoga postures are suitable for beginner students, as the majority are easily adapted to any level of strength or flexibility. Sitting on the floor also provides a position of stability, which facilitates opening the body.

I've put together 9 gentle seated poses that are most commonly used and vital for beginners. I've even arranged them in order of a sequence/flow so you could use this as a practice on it's own! Be present as you connect with your breath, watch your thoughts and observe the sensations that arise.


IMG_4437.JPG

1.     Seated Side Bend (Parsva Sukhasana)

  • Start in Easy Pose, by sitting on the mat with your sit-bones on the ground. Cross your shins parallel to the mat and lengthen your spine by pushing your sit bones into the ground and creating length through the crown of your head.

  • Place your right hand on the floor with your elbow slightly bent or straight.

  • Inhale as you reach your left arm up and overhead. Exhale as you lean to the right side.

  • Hold the pose for 30 seconds to 1 minute, switch sides and repeat.

* Tip: Keep the hips grounded, and as you lean your torso to the right, pull your rib cage to the left.

IMG_4436.JPG

2.     Seated Spinal Twist (Parivrtta Sukhasana)

  • Start in Easy Pose with your back straight and arms relaxed. Inhale here.

  • As you exhale, place your right hand on the left knee and twist your torso to the left.

  • Keep your shoulders and neck relaxed, soften the belly and lift the sternum to lengthen the torso.

  • Hold the pose for 30 seconds to 1 minute, switch sides and repeat.

* Tip: Draw your tailbone toward the floor and keep the lower back long.

IMG_4435.JPG

3.     Head To Knee Forward Bend Pose (Janu Sirsasana)

  • Sit on the floor with your feet together and your legs extended.

  • Bend your right knee and bring the sole of your right foot close to your left thigh.

  • Exhale as you hinge at the hips, slowly lower your torso and reach for your left foot.

  • Hold the pose for 30 seconds to 1 minute and then switch sides.

* Tip: Keep your spine long, lower and lengthen your torso until your chest and belly touch the thigh, and feel the stretch in the back of the extended leg. Lengthen through the spine as you inhale and, deepen the stretch as you exhale.

IMG_4433.JPG

4.     Bound Angle Pose or Butterfly (Baddha Konasana)

  • Sit on the floor, bend your knees, press the soles of your feet together and drop your knees out to the sides.

  • Inhale to lengthen your torso, growing tall through the crown of your head. Grasp the tops of your feet with your hands, pressing the thumbs against the soles of your feet.

  • Hold the pose for 1 - 2 minutes.

* Tip: Bring your heels close to your pelvis, press the hips down, lengthen your spine, drop the shoulders down and back and open your chest. Option to fold forward for a passive stretch in the hips.

IMG_4432.JPG

5.     Wide Legged Seated Forward Fold (Upavistha Konasana)

  • Begin seated in Staff Pose with a tall spine and your legs extended straight out in front of you.

  • Take your legs as wide as is comfortable, keeping the feet flexed and active so that the inner legs don’t collapse inwards.

  • Place your hands on the ground in front of you as you maintain length in the spine, keep your shoulders relaxed and your chest lifted. Inhale here.

  • As you exhale, slowly begin to walk your fingertips forward until you find an edge that feels appropriate for your body.

  • Hold the pose for 1 - 2 minutes.

* Tip: Keep the kneecaps pointing straight up toward the ceiling, with your heels rooting firmly into the ground. In your forward fold, if it feels comfortable, you can come down onto your forearms, or take your torso down onto the ground between your legs.

6.    Half Lord Of The Fishes - Version A (Ardha Matsyendrasana A)

  • Begin in Easy Pose, extend the right leg straight out in front of you, bend the left leg (or cross the left leg over the right), placing the left foot flat on the floor close to the right knee.

  • Place the left hand directly behind you. Wrap the right arm around the left knee and pull the knee in towards your chest. Press down through your hips and up through the crown of your head to lengthen the spine.

  • Hold the pose for 30 seconds to 1 minute and then switch sides.

* Tip: As you inhale press the hips down and reach the crown up to lengthen the spine. As you exhale use the arms to gently deepen the twist. Relax the shoulders down and press the chest open.

7.     Reclined Pigeon Pose (Supta Kapotasana)

  • Lie on your back with your knees bent and feet on the floor. Cross your left ankle over your right thigh with an inhale. 

  • Thread your left arm through your legs and interlace your hands behind your right thigh. Draw your thigh toward you with an exhale. Relax the shoulders and arms. Flex your feet.

  • Hold the pose for 30 seconds to 1 minute and then switch sides.

* Tip: Make sure you keep both hips pressed into the ground and distribute the weight evenly between both sides.

IMG_4423.JPG

8.     Reclined Cow - Face Pose (Supta Gomukhasana)

  • Lie on your back with your knees bent.

  • Stack your left knee over your right knee, winging your feet out to the sides slightly. Gently lift your right foot up off of the ground.

  • Take hold of the outer edge of your right foot with your left hand and the outer edge of your left foot with your right hand.

  • Gently press your knees away from chest and relax shoulders to the floor.

  • Hold the pose for 30 seconds to 1 minute and then switch sides.

* Tip: The more you bend your elbows towards the ground and flex your feet, the deeper you will get into the pose.

IMG_4438.JPG

9.     Final Resting Pose (Savasana)

  • Lie down flat on your back face up, separating your legs and letting the fleet splay apart. Place your arms alongside your body, palms facing up.

  • Close your eyes and relax. Release any tension from your body.

  • Take a couple of big deep breaths, lengthening your spine as you exhale.

  • Stay here for at least 2 minutes.

* Tip: Mentally scan your body from head to toe to help release any last bit of tension.


Practice with me in a 30-minute guided yoga class!

What Is Yin Yoga?

FullSizeRender 3.jpg

Yin Yoga is a passive type of yoga geared toward maintaining the health and fluidity of the joints and balancing the body's energies. Yin Yoga is often called the yoga of the joints because unlike other styles of yoga, the emphasis is not on the muscles but on the deep connective tissue. Connective tissue is made up of fascia, ligaments and tendons which surround and form your joints.

The poses in Yin Yoga are held for an extended amount of time. Beginners can hold poses for up to one minute, but more advanced practitioners can hold poses usually 2-5 minutes, sometimes longer. It applies moderate stress to the connective tissues, improves the range of motion in your joints and also strengthens them. Although your muscles will also be stretched, that is not the focus of the practice. It is best to practice yin yoga while your muscles are cold and not warmed up, even if that sounds counterintuitive. The reason we do this is so that we can send the "stress" and the "stretch" to the connective tissues. If the muscles are warm they will steal the focus away from the joints. You can use as many props as you need to in Yin Yoga. Blocks, bolsters and straps are all great ways to support your body to make sure you are respecting your edge and not going too far.

Four main principles when practicing Yin yoga:

  1. Find an appropriate edge: Move slowly and gently into the pose, and look for an appropriate amount of intensity, never stretch so far as to cause pain.

  2. Stillness: consciously try to release into the pose, and to remain still, without shifting position.

  3. Hold the position: begin by holding for 1-3 minutes gradually progressing to 5 minutes or more.

  4. Come out of the pose gently and slowly.


In this blog post, I will cover the history, philosophy and benefits of Yin Yoga and include a video to a full 1-hour Yin Yoga class on my Youtube Channel.

Yin Yoga History and Philosophy

There are two basic types of yoga, yin and yang. Yang Yoga works our muscles and Yin Yoga works our ligaments, joints and bones. In today’s yoga culture we mainly focus on the yang. In Vinyasa, Hatha, Power, Ashtanga, etc. the main focus is our muscles. But, in order to have a balanced practice and to avoid injury, we should also be practicing Yin Yoga.

Yin Yoga is thought by some to be the oldest form of Hatha Yoga. The roots of Yin Yoga are in India and China. Ancient yoga practitioners sat in poses similar to Yin poses during their meditation. In addition to this, thousands of years ago Kung Fu practitioners were taught to hold poses for an extended amount of time while practicing various breathing techniques.

Yin Yoga takes a more meditative approach, going much deeper than the physical focal points of Yang-related practice. It is proven that as you age, your joints become less flexible. So Yin Yoga makes sure the health and flexibility are maintained.

Yin yoga poses are also designed to improve the flow of qi (or chi) the subtle energy that, according to Chinese medicine, runs through the meridian pathways of the body. It is suggested that these meridians are created by our connective tissue and that the improved flow of qi improves organ health, immunity and emotional wellbeing.

Yin Yoga in the Western World

Yin Yoga was brought to the Western world in the 1970s by Paul Grilley. His original form of Yin Yoga was called Daoist Yoga, after changing the practice to help the body energetically it became what we know of as Yin Yoga today.

Paul Grilley’s book, Yin Yoga: Principles and Practice, is a great introduction to Yin Yoga if you want to learn more about the philosophy, concepts and postures, would highly recommend this book.

Sarah Powers was a student of Paul Grilley and helped him refine the practice. She is the one how ultimately came up with the name “Yin Yoga.”

Yin Yoga Benefits

There are many contraindications (including pregnancy) for yoga poses, which is why consulting your doctor before practicing yoga is essential. You should also have a certified yoga teacher to learn and practice under. 

Yin Yoga benefits are wide-ranging from the physical to the more subtle, energetic. It can be extremely helpful in having a balanced yoga practice.

Yin Yoga…

  • Increases circulation and improves flexibility

  • Calms and balances the mind + body

  • Reduces stress and anxiety 

  • Releases fascia

  • Encourages deeper relaxation

  • Improves joint mobility

  • Brings balance to the organs through meridian stimulation

  • Hydrates tissues and muscles

  • Detoxifies

  • Reduces degeneration of tissues

  • Balances prana

My History with Yin

I first experienced a Yin Yoga class in my 200-hr teacher training in Charlotte. It was a requirement for students to attend a certain amount of classes offered at the studio. The Yin class was in the evening and because I had already taken a Vinyasa class that morning, I decided to try something different.

After that first class I was hooked. It was so different from what I had ever practiced before. I remember walking out of that class feeling completely blissed out, calm and balanced. It was exactly what my mind and body needed and I could tell immediately that this was something that was missing from my yoga practice.

After just one time of practicing, I could feel the Yin Yoga benefits. But once I started a regular practice, those benefits increased dramatically. The biggest benefit I feel physically is the release of tension knots in my upper back and shoulders and mentally, Yin gives me the space to slow down.

My love for Yin only grew over the years. Eventually I decided that I wanted to continue learning and studying yoga. I ended up traveling to Goa, India for a month to complete a 300-hr Vinyasa and Yin Yoga teacher training. While I was there I became a certified Yin Yoga Teacher.

10 Yin Yoga Poses and their Specific Benefits

Pontoon: release hip flexors, quads and abdomen

FullSizeRender 5.jpg

Reclined Butterfly: stimulates abdominal organs, stretches the inner thighs, groins and knees and helps relieve the symptoms of stress, mild depression, menstruation and menopause.

FullSizeRender 14.jpg

Supported Fish: expands the chest and can relieve neck and shoulder tension

FullSizeRender 15.jpg

Caterpillar: stresses the ligaments along the back of the spine while compressing the stomach organs, which helps aid digestion

FullSizeRender 12.jpg

Sphinx or Seal: helps to open the front of the body, activates the ligaments along the spine and compresses the lower spine, sacrum and region of the kidneys and the adrenal glands

FullSizeRender 18.jpg

Child’s Pose: aids digestion, reduces stress

IMG_0498.jpg

Sleeping Swan: creates external rotation in the front leg, and targets the quads and hip flexors

IMG_0503.jpg

Deer Pose: helps to rotate hips, aids digestion, helpful during menopause and pregnancy, can be beneficial for those with high blood pressure and asthma

FullSizeRender 16.jpg

Saddle: targets the quadriceps and maybe a mild stimulation of the abdominals especially with the arms above the head

FullSizeRender 10.jpg

Corpse Pose: balances the nervous system by moving away from anxiety and hyper-stimulation to this state of relaxation where digestion, the immune system and other essential systems are restored and enhanced

FullSizeRender 13.jpg

Yin Yoga Video

This is a 60-Minute Yin Yoga practice including all of the postures listed above.

Props needed: two blocks. Optional: one blanket & one bolster.

There will be modifications and variations offered so that all levels can practice! I hope you enjoy.

Namaste,

Jessica

How To Embrace Mindfulness On Your Yoga Mat

Adjustments.jpeg

With the rise of advanced technology around social apps, live streams and video platforms, more and more people are starting to turn to online yoga. And there are many reasons why…

Read: Yoga At Home Vs. Yoga At A Studio

The main two being: it saves time and money. When practicing yoga at home, you set your own class time and you don’t have to worry about traveling and making it to the studio on time. You can practice at any time of day or night, depending on your schedule. This allows for more flexibility and gives you complete control over your practice. Practicing at home also tends to be cheaper than buying a membership to a studio. Thanks to platforms like YouTube, you can find many free videos and classes. For these two simple reasons, practicing yoga at home is a convenient choice for many.

However, the biggest disadvantage most people fine with practicing yoga at home is that it’s easier to become distracted or unmotivated. Without a class structure or teacher to hold you accountable, dedicating yourself to a home practice might be difficult.

Whether you are practicing yoga at home or at a studio, it’s important to learn how to develop a sense of mindfulness maintaining a moment-by-moment awareness of our thoughts, feelings, bodily sensations, and surrounding environment, through a gentle, nurturing lens. This allows us to stay focused in the present moment and avoid distractions.

Here are 7 useful tips to help you embrace mindfulness on your yoga mat:

  1. Remove distractions.

    If you must have your cellphone with you, cover it with something and place it at the back of your mat. If having your phone nearby isn’t a necessity, then keep all your personal belongings in a cubby, locker or outside of the yoga room. If you are practicing at home, turn your cellphone on silent or completely off to avoid being interrupted. Your practice area should only contain your mat and props needed for practice.

  2. tap into your own experience.

    Set up your practice space and before class starts either come to a seated position for some quiet meditation, or simply lie on the mat with your eyes closed. Although it’s great to practice with friends, it can take away from your own preparation for practice to be outwardly focused. In the first few moments, try to tune into how you feel. This is not to judge your experience or set unrealistic goals for yourself, but simply to begin the process of noticing and increasing your awareness.

  3. Set An intention.

    An intention, or Sankalpa, is simply a quality or virtue that you want to cultivate more of in your practice or in your life. This is best done at the beginning of your practice. An example could be, “I will give my focus to my breath throughout the practice”. You could even come up with a mantra or positive affirmation such as “I am peaceful” or “I am centered.” Setting an intention can be broad and rather general, or it can be very specific. When you notice your mind beginning to stray, return to your pose by reciting your intention in your head. This is one way we can live a more intentional life; we are starting to take our yoga "off the mat" and turning our practice into one of mindfulness.

  4. Resist the urge to compete.

    If you are practicing at a studio, this can be hard if the students around you are practicing advanced variations of the poses being presented. Do your best to stay connected to what makes the most sense for you in every pose. If you are practicing yoga at home, you may find yourself comparing your own practice to your teachers’ or the persons’ on the screen. Remember that comparison isn’t a healthy habit to have. Over time it can have a negative impact on your self-esteem and even start to affect your mental wellbeing. However it is fairly common, so if at times you find yourself falling into the comparison trap, don’t feel bad or judge yourself. Simply come back to your own practice and focus on what feels good to you.

  5. Be aware of emotions that come up — accept & then let go.

    Our practice can be a trigger to other emotions. It could be the teacher’s voice, something he or she brings up, your perceived level of ability to do a particular pose, or the person next to you and the sound of their breath. An important aspect of mindfulness involves acceptance, meaning that we pay attention to our thoughts and emotions without judging them—without believing, for instance, that there is a “right” or “wrong” way to think or feel. Use your practice as a chance to play with the idea of accepting and letting go of these emotions. Rather than rehashing the past or imagining the future, tap into your present experience by bringing awareness to your breath and physical practice.

  6. Pay attention to your body.

    Notice when your body is telling you it needs to rest or modify and honor it. Just as competing with others can pull us out of our own experience, forcing our body into certain poses and pushing beyond our physical limits will bring us out of awareness and into our heads. Stay connected to your breath and notice when you need to stop and take a break. If the breath starts to become uneasy or staggered or you feel any type of pain, come into Child’s Pose and take a moment to tune back in and rest.

  7. Take time for Savasana.

    Allow your body to come to a complete state of relaxation and let the mind do what it does. Some students will feel the urge to skip Savasana, but I truly believe this is one of the most important parts of the practice. After all, it is the end of the practice that sets the tone for how you will feel as you leave your practice. When you come into Savasana, it goes without saying that the idea is to physically relax. But, just as in meditation, if you find your mind wandering, let it do its thing.

    I hope these few tips provided you with fresh insight and inspiration to bring more mindfulness to your yoga mat!

    How do you stay mindful, present and aware in your yoga practice?

    Practice with me online!

I hope to meet you on the mat!

With love & gratitude,

Jess

Top 5 Tips For Yoga Beginners

IMG_8197 2.JPG

When I ventured on the path of yoga nearly five years ago, I had no idea where this practice would take me.

Back then I was simply looking for a way to stay physically active and to calm an anxious mind. When I first started practicing yoga I could just barely touch my toes. When I tell people this now they usually think I’m joking… but I really wasn’t that flexible. I grew up playing soccer and was a competitive athlete for over 13 years. My body overall was tight and stiff. I couldn’t sit still for more than a minute and my mind was constantly racing. During my time of practicing yoga I’ve had to work through a lot of limitations within myself, not only physically but mentally as well. One of the amazing things about this practice is that you never stop growing, or learning. You come to realize that there are no limitations.

Looking back, there are many things that I now know that I wish I knew when I first started practicing yoga. The type of questions that I get asked most often across all platforms usually have to do with starting yoga.

So, I thought I’d share my tip five tips for yoga beginners…

  1. Know your intentions

    The first question you should ask yourself is, “Why do I want to do yoga?”

    Is it to gain more flexibility? To have more strength? To be more in tune with your body? Whatever your reasons are, you need to be true to it. This will be your motivation in continuing your practice and growing as a yogi. Know that your intentions might change over time and that’s okay. When I first started practicing yoga it was mostly because I wanted an exercise routine to stay in shape. Over the years, as my practice shifted into the subtle energetic teachings, my intentions started to shift as well. I started seeing profound improvements not only in my physical body, but in my mental health as well. Now, whenever I step on my mat I set the intention of maintaining a sense of inner peace through the physical body. I no longer practice to keep up with a physical appearance (but hey — if that’s your intention, that’s fine too)! There’s no right or wrong intention when it comes to practicing yoga. It’s really a personal choice and depends on your own specific goals.

  2. Find a location that feels good for you

    There are no rules about where you should practice. I personally started my practice with YouTube videos and iPhone apps at home. (This is what ultimately inspired me to start my own YouTube channel and create my own app, Jess Yoga!) I stuck with a few teachers that I felt connected to and grew my practice with them until I thought I was ready to get deeper into the philosophy and principles of yoga. I eventually started going to a local studio that immediately became my second home and where I ended up doing my first teacher training.

    It’s important to try different studios and teachers in your area. You will learn that they all have different styles of teaching, and it’s just a matter of how you feel after the class. Do you feel energized? Relaxed? What feeling are you looking for after a class?

    Regardless if you’re starting your yoga journey at home or at a studio, it’s important to find a location and teacher that resonates with you. If you tried yoga and feel unsure about it, don’t give up. Try other classes with new teachers before you abandon yoga completely. Sometimes it may take a couple of classes before you get connected and discover the right teacher or class for you.

  3. Listen to your body & honor your limits

    It’s great to be inspired by these beautiful shapes our bodies can make. But if there’s one yoga principle that you need to remember, it is a term in Sanskrit called “Ahimsa”, which means non-violence towards other beings and yourself. It’s so easy for us to not cause harm to those around us, but we also need to remember to respect our body’s limits and know that everything is a process. I always tell my students to know the difference between discomfort and pain and to go two steps back when you feel like you’re going to hurt yourself getting into the pose.

    Remember that most yoga poses have different versions and modifications. It can be very inviting to go for the more advanced options even when your body is asking you not to. It can also be tempting when you see what somebody else’s body can do, whether that’s someone on the mat next to you at a studio, or a photo you happen to come across on social media. Don’t compare yourself to others. It’s silly and often doesn’t come from a place of love, but instead self-judgement.

    Always listen to your body, honor your limits and stay in the first variation if that is where your breath is steady. If the pose makes you hold your breath or the breath becomes labored and ragged, think about taking a step back. Listen to your intuition, take a rest when you need to and trust the feedback of your own body.

  4. Use props

    Pretty straight to the point — props were created for the purpose of helping you get into a pose without hurting yourself. It aids in making you understand how a pose is really supposed to feel with full support and safety. Trust me when I say that even teachers use belts and blocks during their practice because they understand its benefits. Set the ego aside, treat your body with respect and put those props to good use! 

  5. Remember it’s not about the final pose

    I wish I had learned this earlier in my practice; it would have saved me several backaches and joint pains from trying so hard to get to the final pose. The practice of yoga asana doesn’t focus on getting to that backbend or handstand, it’s about being stable and at ease with where you are at this very moment. It is scanning your body for tension and using your breath to ease it while being completely and totally present in the pose. It’s the very experience you are having and not the shape that you’re taking. Don’t get discouraged or upset with yourself if a pose doesn’t come right away. It’s been five years into my practice and I still can’t put my foot behind my head or balance completely on my hands. If I can’t do a certain pose yet I am no longer frustrated. Because from my experience, I know it will come. And after it’s mastered, the beginner’s mindset is gone and something else will come and grab my attention again. And I look back and realize it was the journey that was so fun, not the final pose.

Always remember that yoga is a personal journey. When you start to realize the benefits of the practice not only on your body but also on your mind, it will become more of a lifestyle rather than just another fitness routine. I hope these tips have provided you with new insight and you found something helpful in these words.

Thanks for taking the time to read!

Love, Jess

PS. Find more blog posts related to yoga for beginners below

Yoga At Home Vs. Yoga At A Studio

How To Start A Yoga Practice

5 Secrets For Improving Flexibility

FF2FE344-232F-4433-A5E0-51BC7A2EF24B.jpg

Before I started yoga I could barely touch my toes, but I owe my current flexibility to patience and years of practice. Ask other practitioners and I’m sure they’ll share the same thing. Many people who start practicing yoga are not flexible to begin with, quite the opposite actually. I like to remind students of this because it’s common to hear someone say they can’t do yoga because they’re not flexible… that’s like saying you can’t take a shower because you’re dirty. If you look at it this way, you can see that it may take a few showers to feel fully clean, but surely that’s better than being dirty. Over time, yoga can help you become more flexible (that's why it’s called a practice) but you don't have to know how to twist or fold your body into a human pretzel to start. Flexibility is a result of yoga — not a prerequisite. You start where you are and the practice willingly meets you there.  

Here are some secrets I’ve learned over the years and tips for increasing flexibility in yoga:

  1. Know your range of motion & limitations.

    Anatomically, the structure of our bones can affect the way certain postures look and feel. For example, in chair pose (utkatasana) limitations may come from tight hamstrings, but also from low range of motion in the pelvis and hip joints. Our DNA shapes and controls our skeletal system, ultimately determining our physical characteristic. Each and every body is uniquely different. Therefore, something that may be good for one person, may be dangerous for another, and vice versa. There are certain postures that should be completely avoided by people with specific medical conditions, and these same postures may greatly help others. I strongly encourage getting to know your own body to help increase flexibility.

  2. Loosen up through relaxation.

    Believe it or not, our flexibility is not determined by our muscles, but instead by the nervous system. For example, say you have tight hamstrings and you do a forward fold. Your brain will send a warning signal to your hamstrings (via the nervous system) and your hamstrings will respond by contracting. They do this as a survival mechanism: when they contract they may lose flexibility, but they gain strength, which they use to protect you. Your first instinct might be to push past this feeling. Pulling yourself deeper won’t improve your flexibility and could actually cause you to get injured. Flexibility is not about pulling on our muscles until they grow longer, it’s about teaching our muscles to relax when we hit our limits. A relaxed muscle is a loose muscle, and that’s where you find flexibility.

  3. Give Yin a try.

    Yin yoga is great for increasing your flexibility. This style of yoga in particular stretches and targets both the deep connective tissues between the muscles, and the fascia throughout the body. The aim is to increase circulation in the joints and improve flexibility as the poses stretch and work the bone and joint areas. There’s a lot of scientific evidence that supports the argument that your muscles need time to relax. Staying in a pose for 5 breaths is good for your muscles, but stay for five minutes and you might be amazed by how much deeper your muscles relax at the end compared to when you first started.

  4. Use your breath.

    With every inhale, focus on alignment and check on the integrity of your posture. With every exhale, think about letting go and sinking a little deeper into the posture. A lot of our muscle tension comes from a fearful brain. This turns on the sympathetic nervous system, which triggers muscle contraction. The moment you realize you’re holding your breath or clenching, is when you should stop. When you constrict your breath, oxygen gets cut off from your muscles, which also makes them tighten. Remain calm by keeping your breath long and smooth and reminding yourself that you are safe so your brain and nervous system can relax. Try counting your breath when you’re holding a stretch. Allow your inhales to be the same length as your exhales, or your exhales to be even longer. This will inevitably lead to your muscles relaxing and lengthening.

  5. Make a plan + stay consistent.

    Set goals for yourself and stick with them. When it comes to flexibility, improvements are made by inches, not miles so it’s harder to track and easier to give up. Take a before and after picture so you have a physical measures of your improvements. The only way to see results is to stay consistent. Create a daily habit to practice or stretch, even if it’s just for a few minutes a day. Although the postures are not the end goal when it comes to yoga, there’s nothing wrong with having a physical goal to motivate you. Use the postures as tools for self-discovery. 

Wherever you are in your practice, remember to honor that space. And flexibility is not just about the body, it's about the mind too. It's about being open to new experiences, tuning inwards to connect with your breath and realizing how much your body and mind are connected. Overall, be patient and don’t compare your progress to others. Enjoy the journey, because that’s what it is really about. 

Love, Jess